Dad is stationed in the town of Ajmer in the northwest of India. Ajayadeva, an 11th-century Rajput ruler, founded it. It surrounds the expansive lake of Ana Sagar and is surrounded in part by the Aravalli Hills range. Ajmer’s most historic landmark is the Sharif Dargah, considered among India’s holiest Muslim shrines. Khwaja Moin-ud-din-Chishti, a Sufi Saint from Persia, is enshrined there. Pilgrims worldwide visit to be blessed by the Khwaja and have their wishes and desires come true.
Ajmer is 8 miles from Pushkar, a town that hosts the Pushkar Mela (Fair). It is one of the world’s largest camel/cattle fairs. Like all fairs, it holds other attractions, amusements, local arts, crafts, and food. Multitudes descend on Pushkar to enjoy the fair. Pushkar Lake, located by the town, is a sacred lake to the Hindus.
Ajmer is different from the other towns we have lived in. It is a semi-desert, arid climate.
Dust storms precede the monsoon season—with its welcome rain and coolness from the heat. These dust storms kick up the dry earth and transport it with strong winds into every nook and cranny. It is like a sandstorm; you better get inside if you see it coming!
One such storm is on its way. The wind is picking up, and the sand blots out the sun. Mama calls out to us kids to shut all the doors and windows. We scramble. The dust storm hits and soon passes, followed by the sweet smell of rain. It is pretty heavy for the long-awaited monsoon season’s first rain. I can smell the dry earth soaking up the moisture. Since it is tea time, Mama has cook fix us pakoras to accompany evening tea. They are perfect for a rainy monsoon evening!
Pakoras (aka Bhajis) are deep-fried fritters or dumplings made with chickpea flour (besan). The chickpea flour used is the Indian small brown chickpea, not the garbanzo chickpea. You can fix pakoras with various vegetables such as potatoes, spinach, onions, zucchini, eggplant, cauliflower, cabbage, spinach, chilies, or a combination of vegetables. as well as paneer.
Pakoras can be made prepped in two ways. One, you dip the vegetable of your choice into the seasoned chickpea batter to coat, and then deep fry them.
The other method is to chop or grate a combination of vegetables. Add the chickpea flour and seasonings, and then deep fry them.
This recipe is the batter dipped and fried pakoras. Pakoras are served as snacks or appetizers, but generally a tea-time snack served with hot milky sweet chai.
Pakoras(aka Bhajis) are deep-fried savory fritters or dumplings made with chickpea flour(besan).
- 2 cups potatoes (peeled and sliced not thicker than 1/4 inch)
- 1½ cup besan (gram flour)
- ¼ cup rice flour (optional)
- ½ tsp turmeric powder
- ½ tsp cumin powder
- ½ tsp chili powder (or to your taste)
- ⅛ tsp ajwain seeds (thymol or carom seeds)
- ⅛ tsp baking soda
- 1 tsp salt (or to your taste)
- ½-¾ cups water
- 2 cups oil (for deep frying—use an oil with a high smoke point like peanut or canola, safflower, or soybean)
- Dash chaat masala or black salt (available at any Indian grocery store)
In a mixing bowl, combine all the dry ingredients.
Add a little water at a time and whisk until smooth. The consistency should coat the back of a spoon. You don't get delicious pakoras if the batter is too thin.
Scrub, peel, wash, and slice the potatoes. Keep a bowl of water handy and place the cut potatoes in the bowl as you go along. Do not cut them too thin or too thick.
Rinse again, drain, and pat dry with paper napkins or a kitchen towel, and place them in the chickpea batter. If you don't pat or drain them dry, the excess water will thin the batter, and the pakoras will end up with a thin layer of batter.
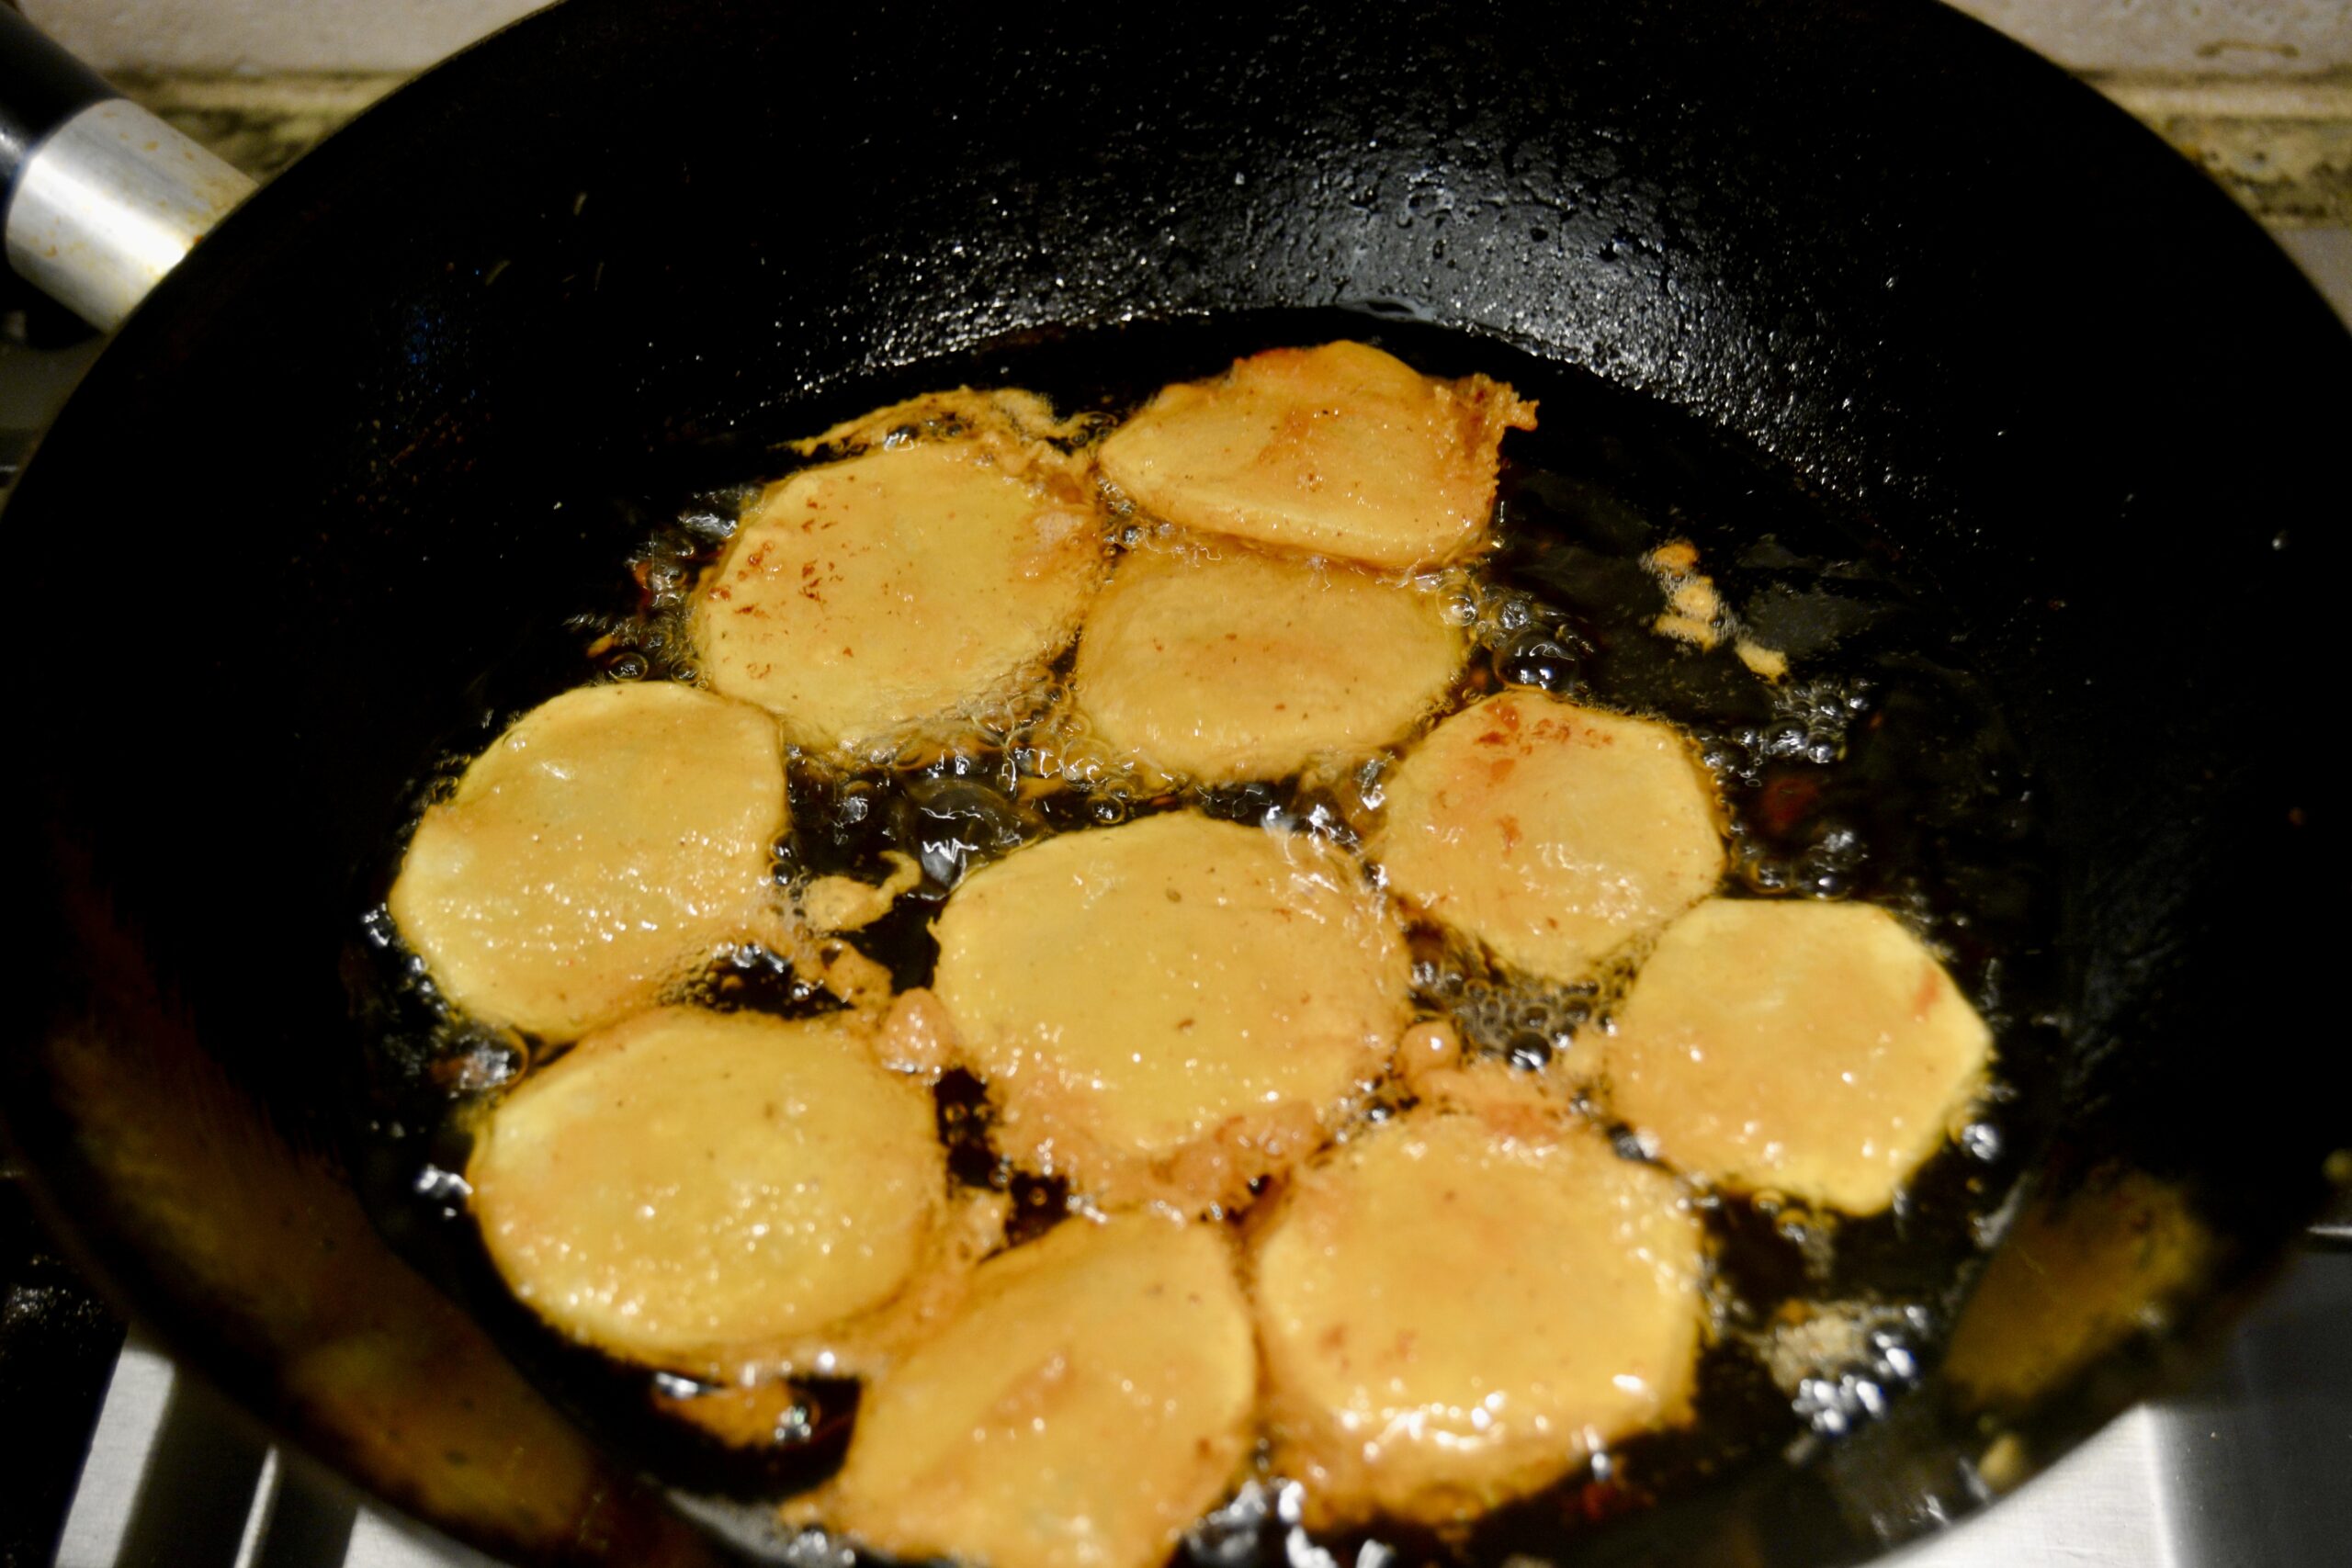
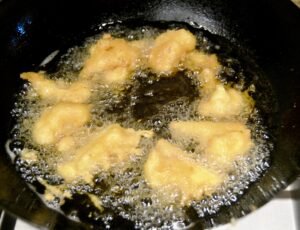
Heat oil on medium-high heat in a deep wok or pan (approximately 350 degrees if you use a reading thermometer).
When hot, carefully pick each slice of potatoes from the batter and slide them in slowly and carefully into the hot oil. You can use kitchen tongs to do this. I use my fingers, but you must be careful of the hot oil.
Deep fry in batches on medium heat till golden brown. It takes about 4-5 minutes on each side.
Remove with a slotted spoon or sieved spatula and drain on paper towels to absorb excess oil. If any crisp bits are floating around from the batter, remove those too before you put in the next batch to fry.
Depending on how large your fryer is, it will take several batches. Do not crowd them in.
Sprinkle chaat masala or black salt over the pakoras and toss gently.
Place hot pakoras on a serving dish.
Serve with mint chutney, tamarind chutney, tomato ketchup, or hot sauce.
Rice flour absorbs excess moisture, giving the pakoras a crispier finish.
You can also cut the potatoes in half and fix many varieties of them.
Pakora Variations
 Cauliflower Pakoras
Substitute the potatoes for cauliflower flowerets. Cut about 2 cups of the flowerets to about an inch or a little more in size. Slice lengthwise and in half again in case the pieces are too broad. Wash, pat dry, dip in batter, and fry. Turn gently after 3-4 minutes. Fry until you get a nice golden brown color—approximately 8 minutes.
Zucchini Pakoras
Wash two medium zucchini, pat dry, and slice into circles. Add to batter, coat each slice well, and deep fry in batches, slowly turning them around till golden brown. Approximately 6-7 minutes.
Eggplant Pakoras
Wash the eggplant and cut it into thin circles. If you use the large Black Beauty variety, you can cut the circles in half if they are too large. Wash and pat dry. Dip in batter and fry on medium-high heat till golden brown on both sides. Approximately 8-10 minutes.
Cauliflower Pakoras
Substitute the potatoes for cauliflower flowerets. Cut about 2 cups of the flowerets to about an inch or a little more in size. Slice lengthwise and in half again in case the pieces are too broad. Wash, pat dry, dip in batter, and fry. Turn gently after 3-4 minutes. Fry until you get a nice golden brown color—approximately 8 minutes.
Zucchini Pakoras
Wash two medium zucchini, pat dry, and slice into circles. Add to batter, coat each slice well, and deep fry in batches, slowly turning them around till golden brown. Approximately 6-7 minutes.
Eggplant Pakoras
Wash the eggplant and cut it into thin circles. If you use the large Black Beauty variety, you can cut the circles in half if they are too large. Wash and pat dry. Dip in batter and fry on medium-high heat till golden brown on both sides. Approximately 8-10 minutes.


")

")
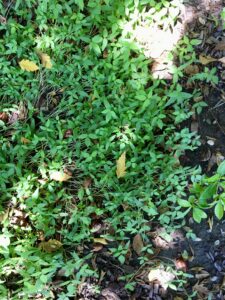 I walk out into my backyard to pick some eggplant that are ready to be cooked. Suddenly, I spot some lush greenery in the corner of the garden by the tree I hang my birdhouse on. Strange! I do not remember growing anything in that corner.
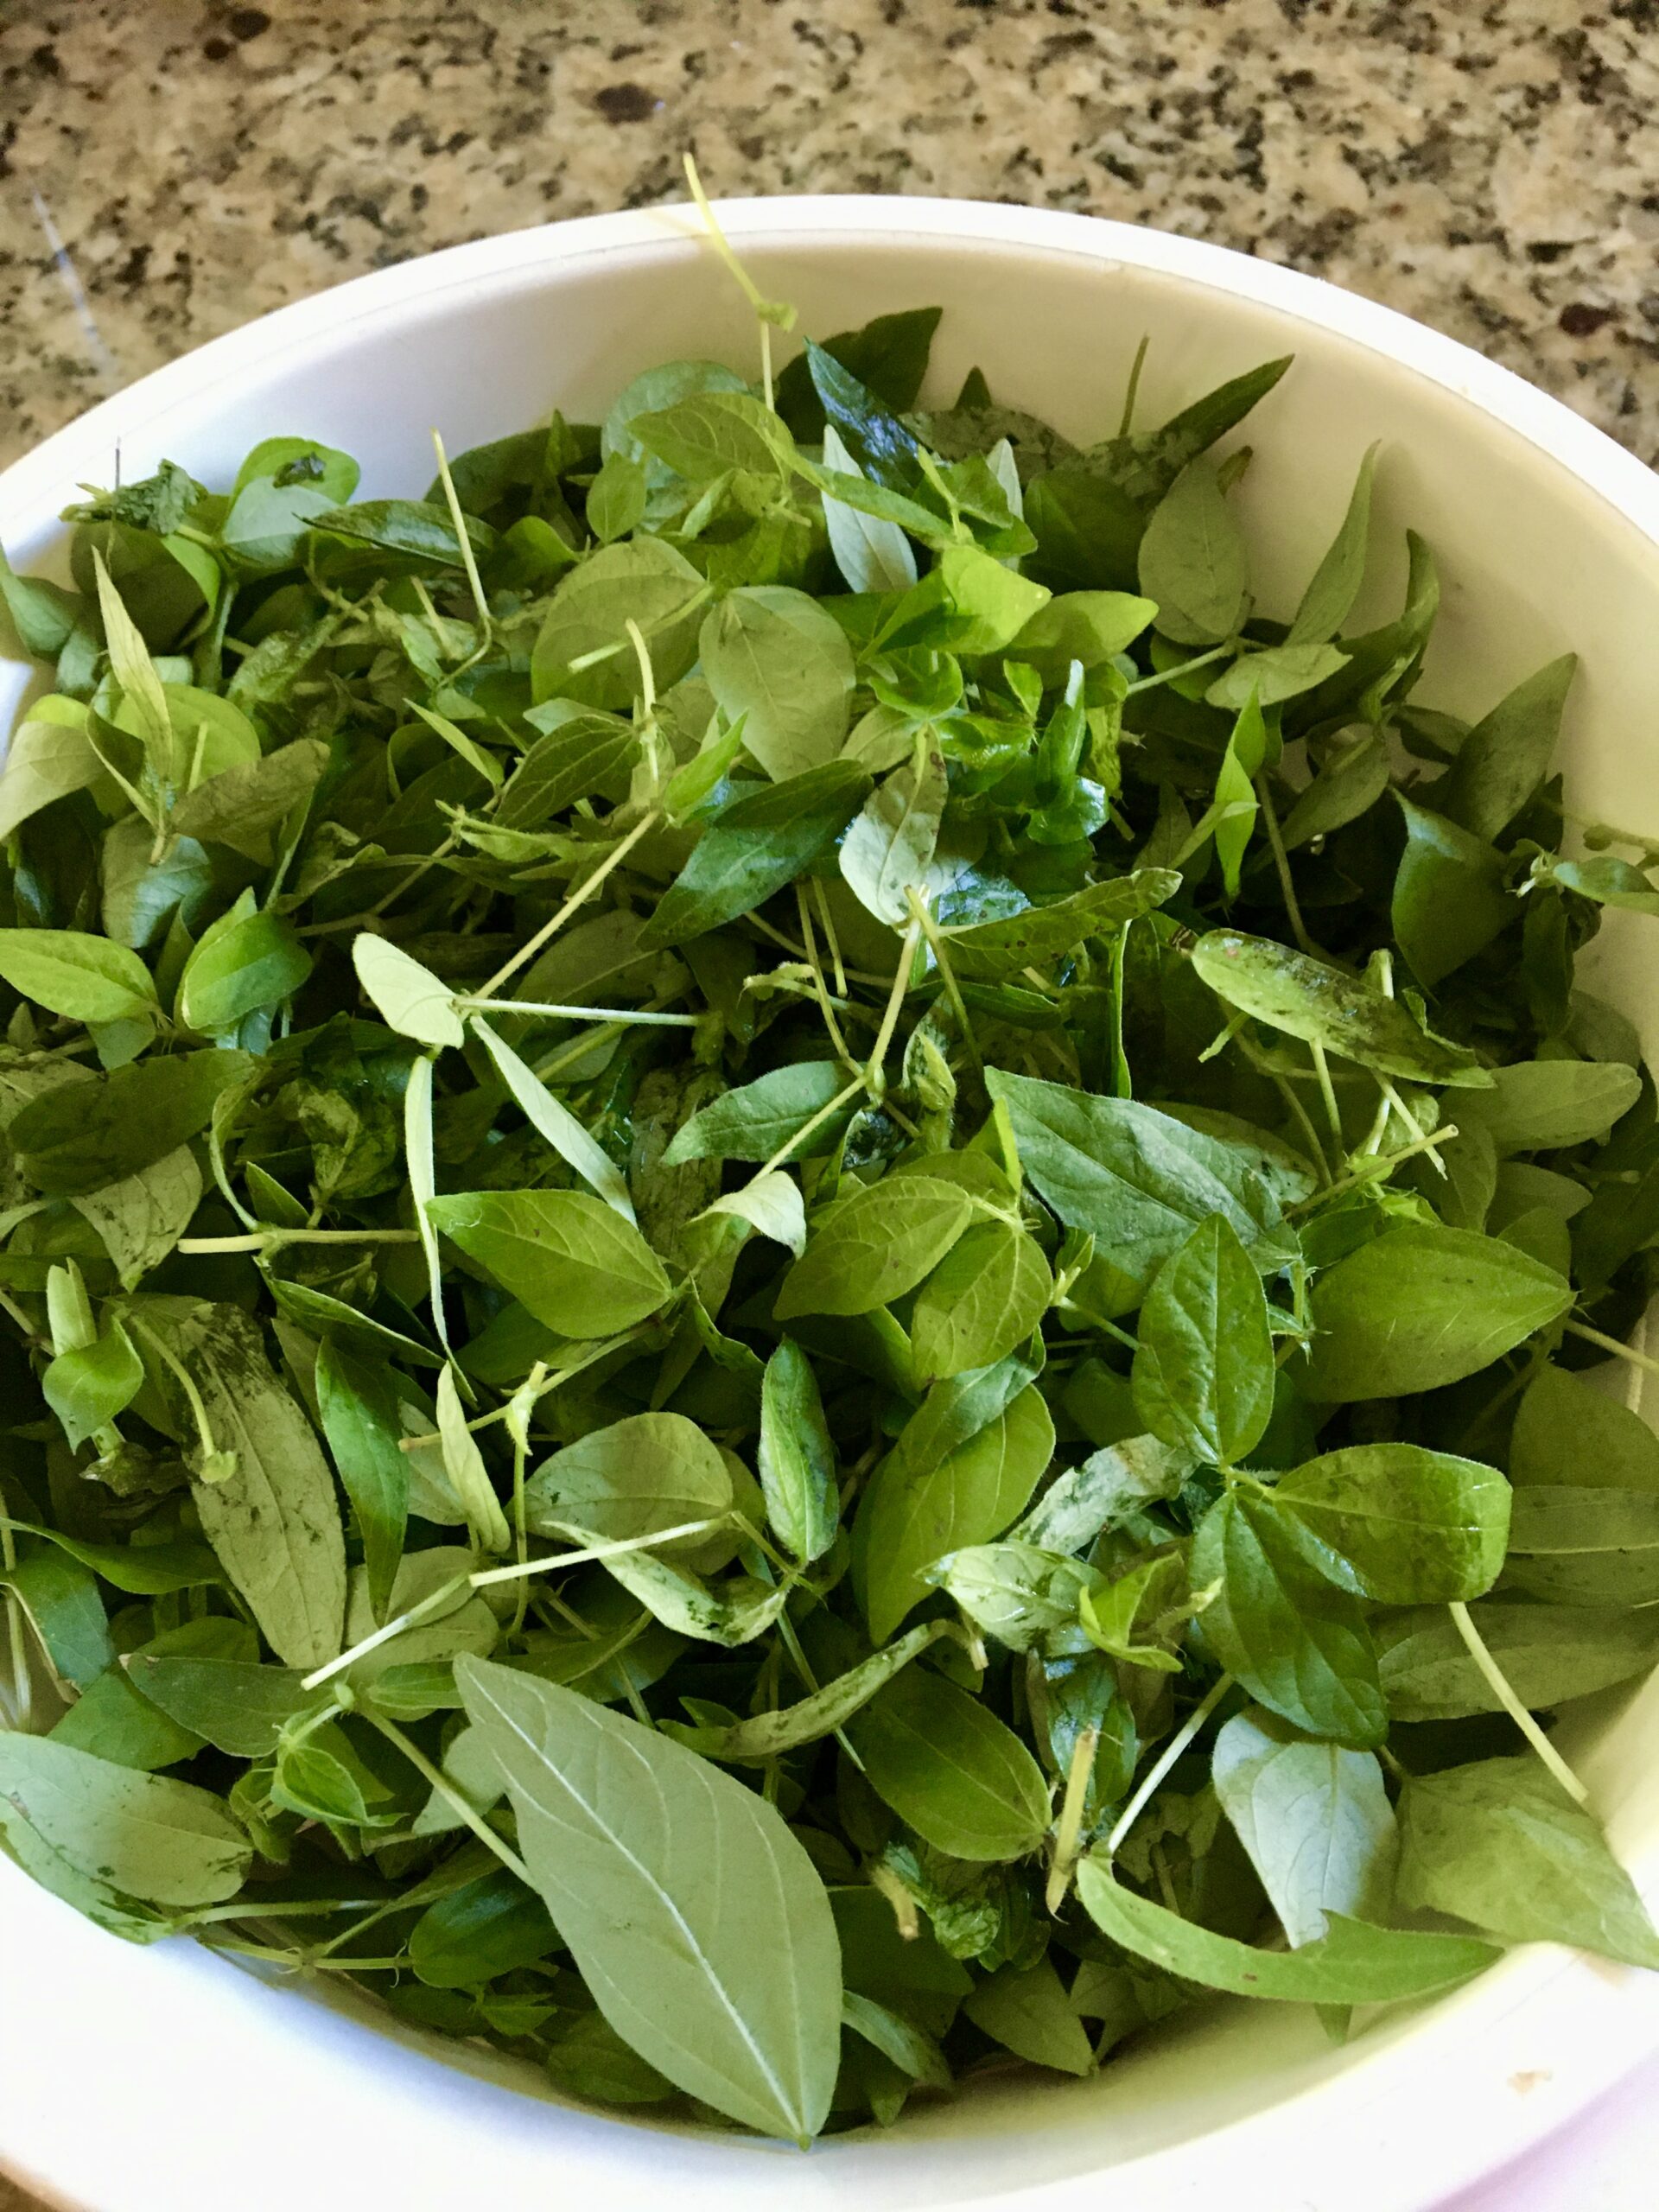
")
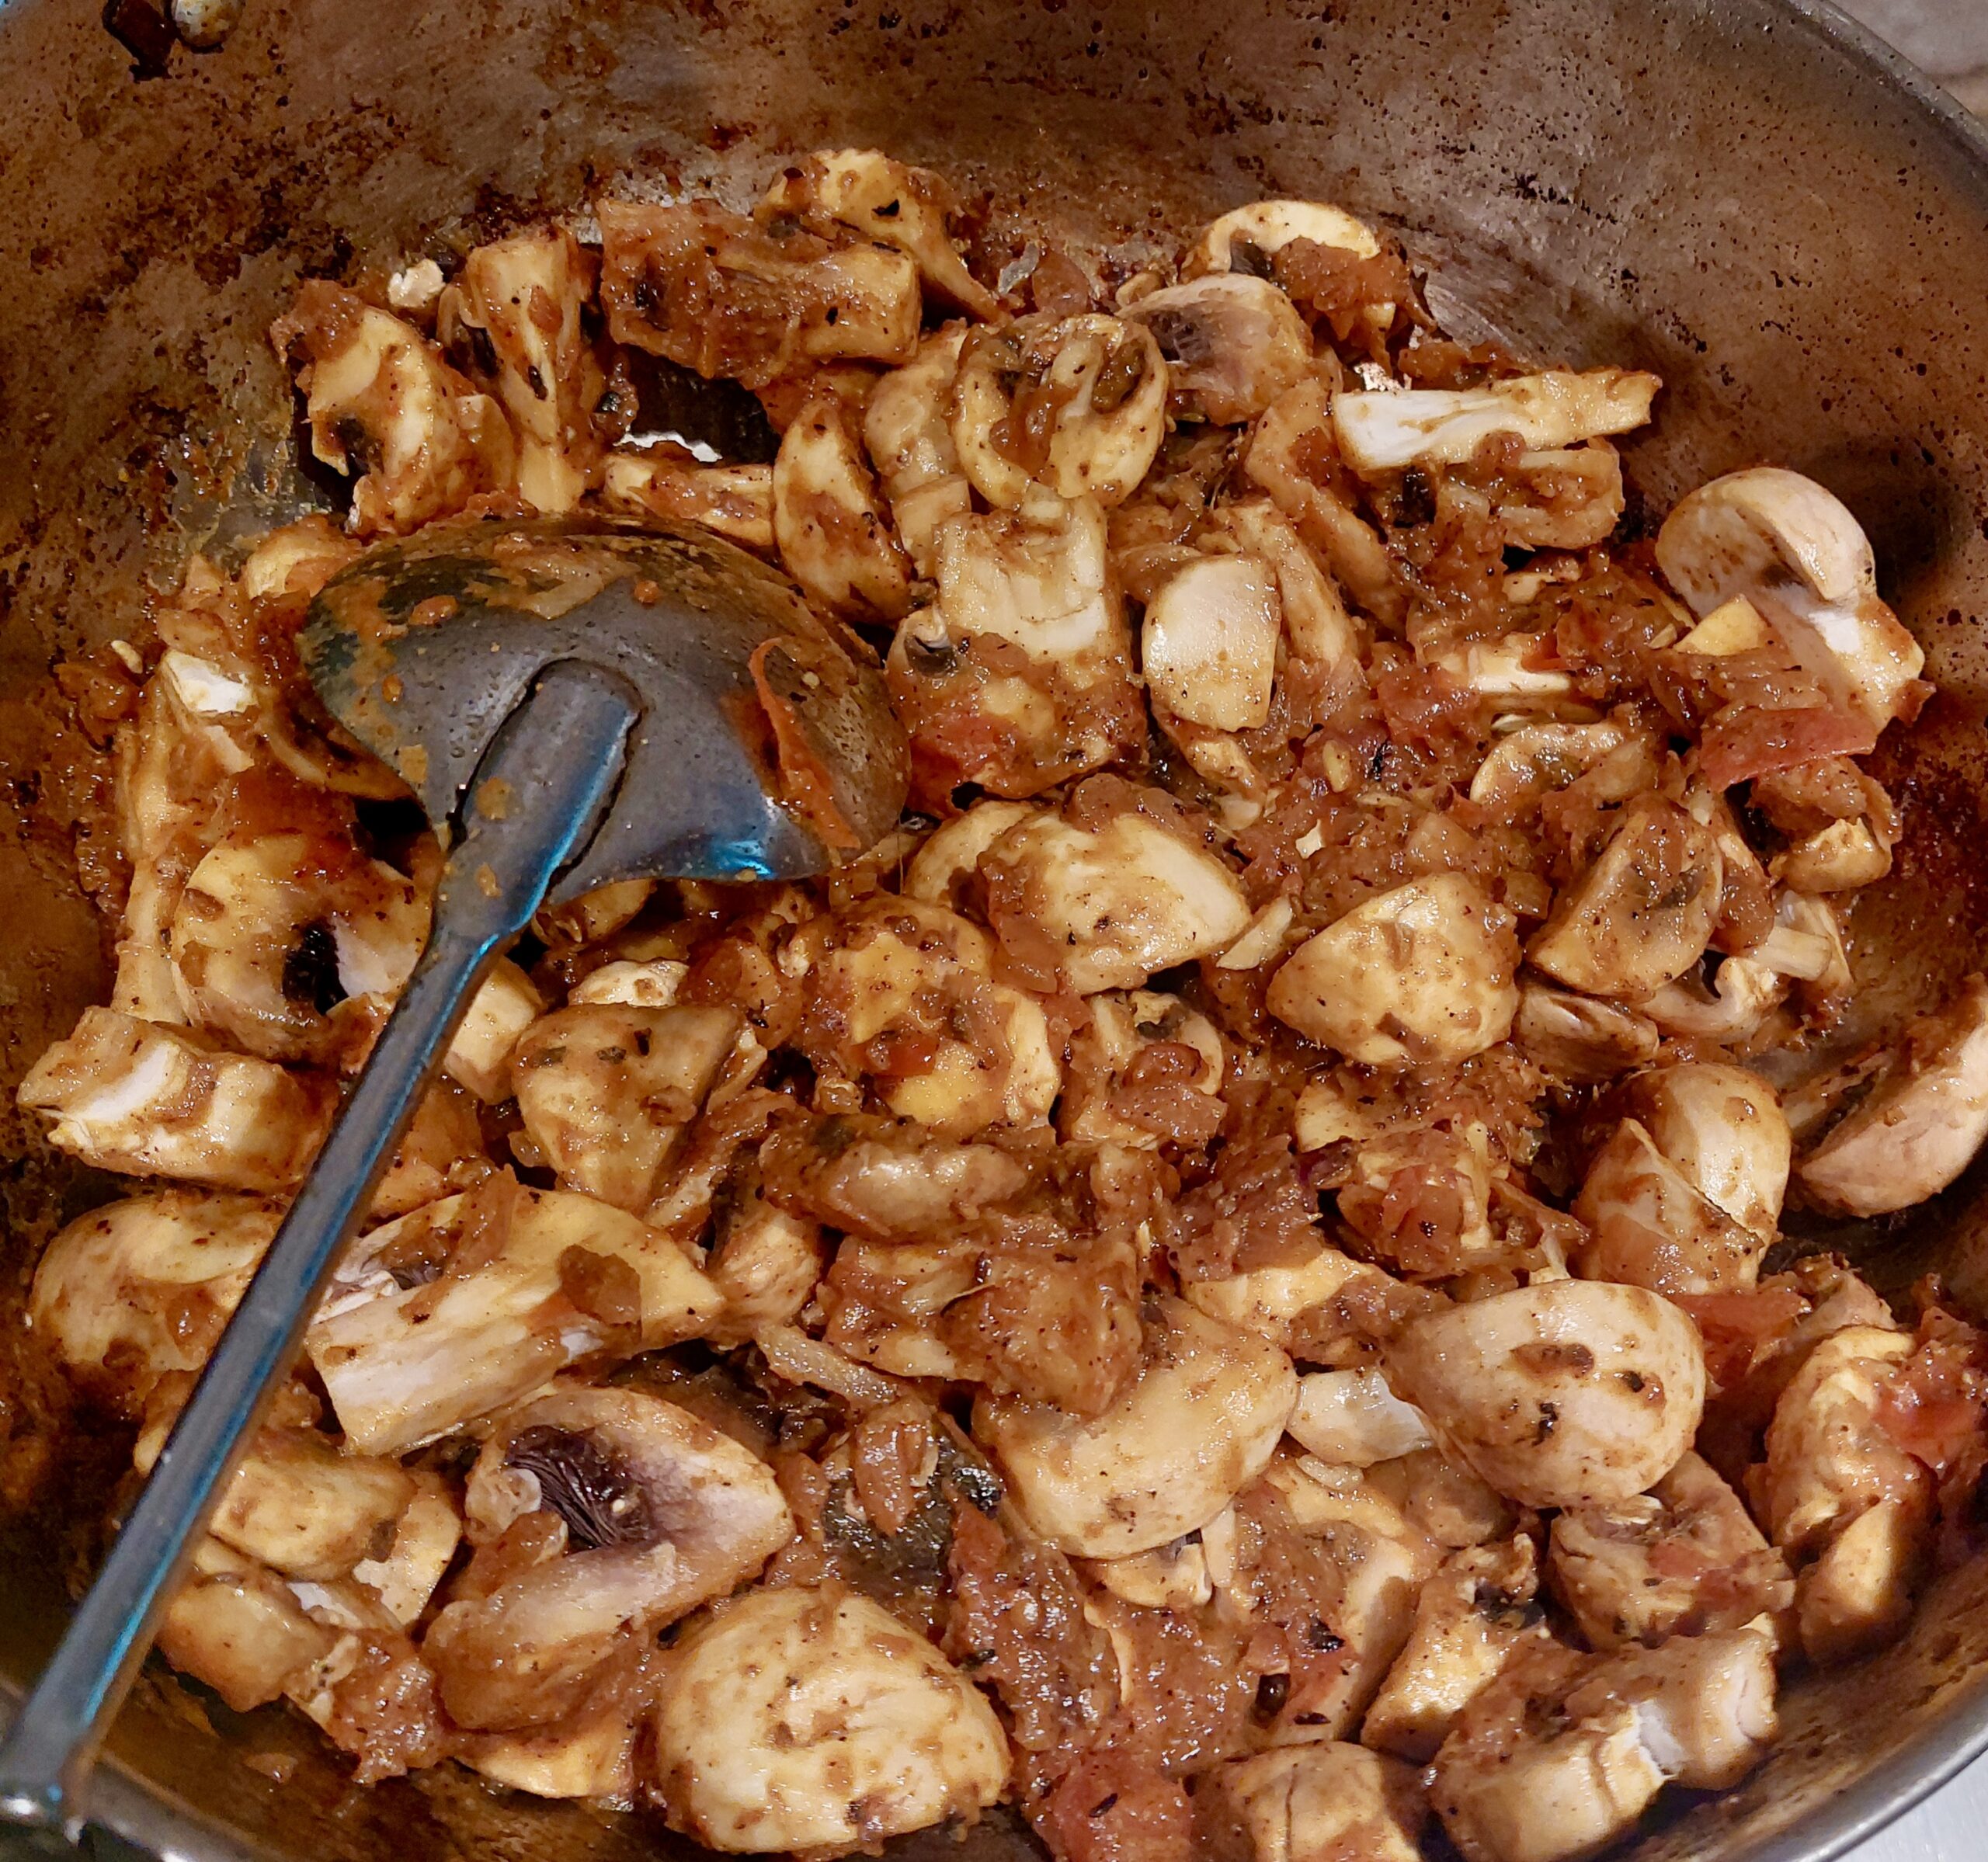
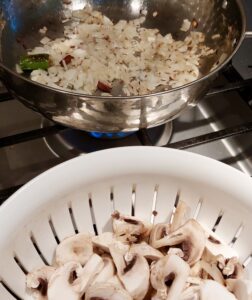 1. If you prefer to wash the mushrooms, you can, but let it drain and dry out a bit before you slice it.
")
 Indians, especially those from the northern plains of Punjab, love their white butter and ghee. It is generally fixed at home. The process involves churning fresh cream gathered over several days. The churning separates the water content, and pure butter is extracted. Some of this is melted down to obtain ghee.
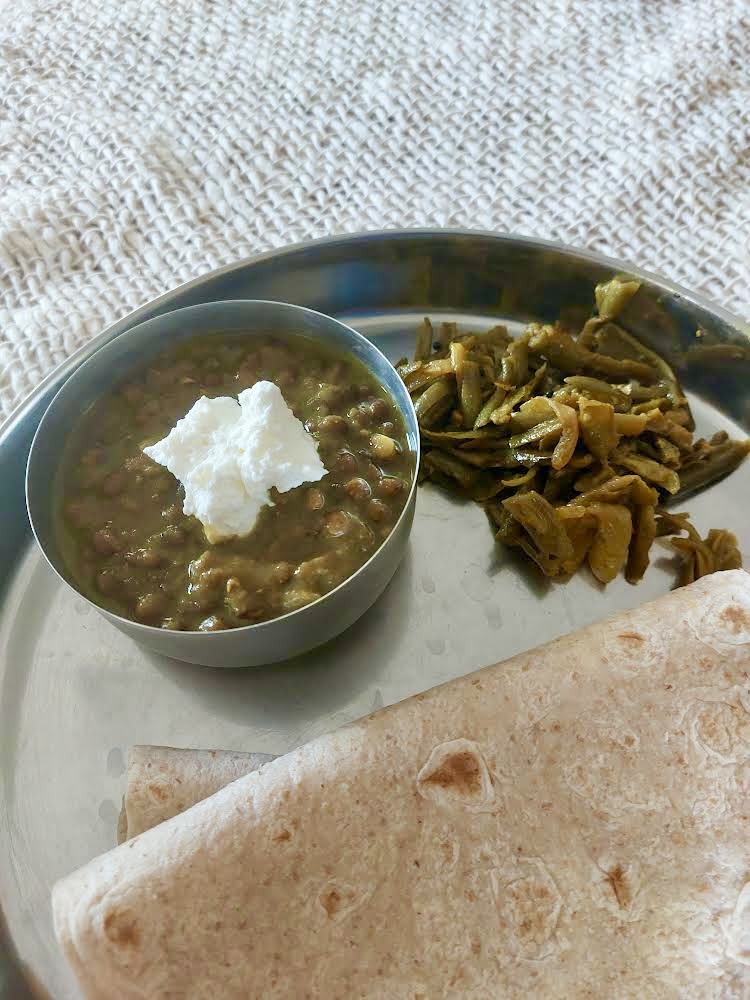
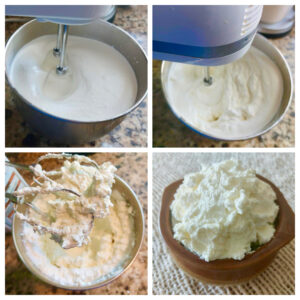 The butter should last about ten days in the refrigerator if pasteurized. Do a smell test to make sure it has not turned rancid! When I fix the butter from a heavy whipping cream, I melt it into ghee after 4-5 days to keep it safe.
")