Author

The Indian Foodie

Browsing

In Indian cooking, vegetables can be cooked in a wide variety of ways depending on your taste. My mother-in-law would fix them without onions and tomatoes. They tasted just as good with or without. This recipe was morphed from Ratna Chachi. In India, each relationship is defined. Your father’s younger brother is your Chacha, and his wife is your Chachi. Nandi Chacha was my husband’s uncle. He owned a catering business which the best in New Delhi. Their food and service were outstanding. His sons are carrying on his legacy under Harisons Nandi Caterers, and they are definitely the best!

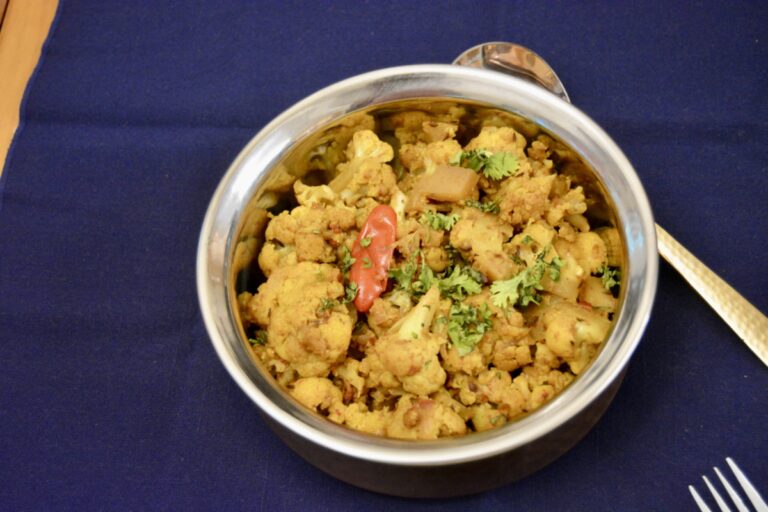
Phool Gobi Sabzi (Spicy Masala Cauliflower)

Prep Time 20 minutes
Cook Time 20 minutes
Total Time 40 minutes
Servings 6
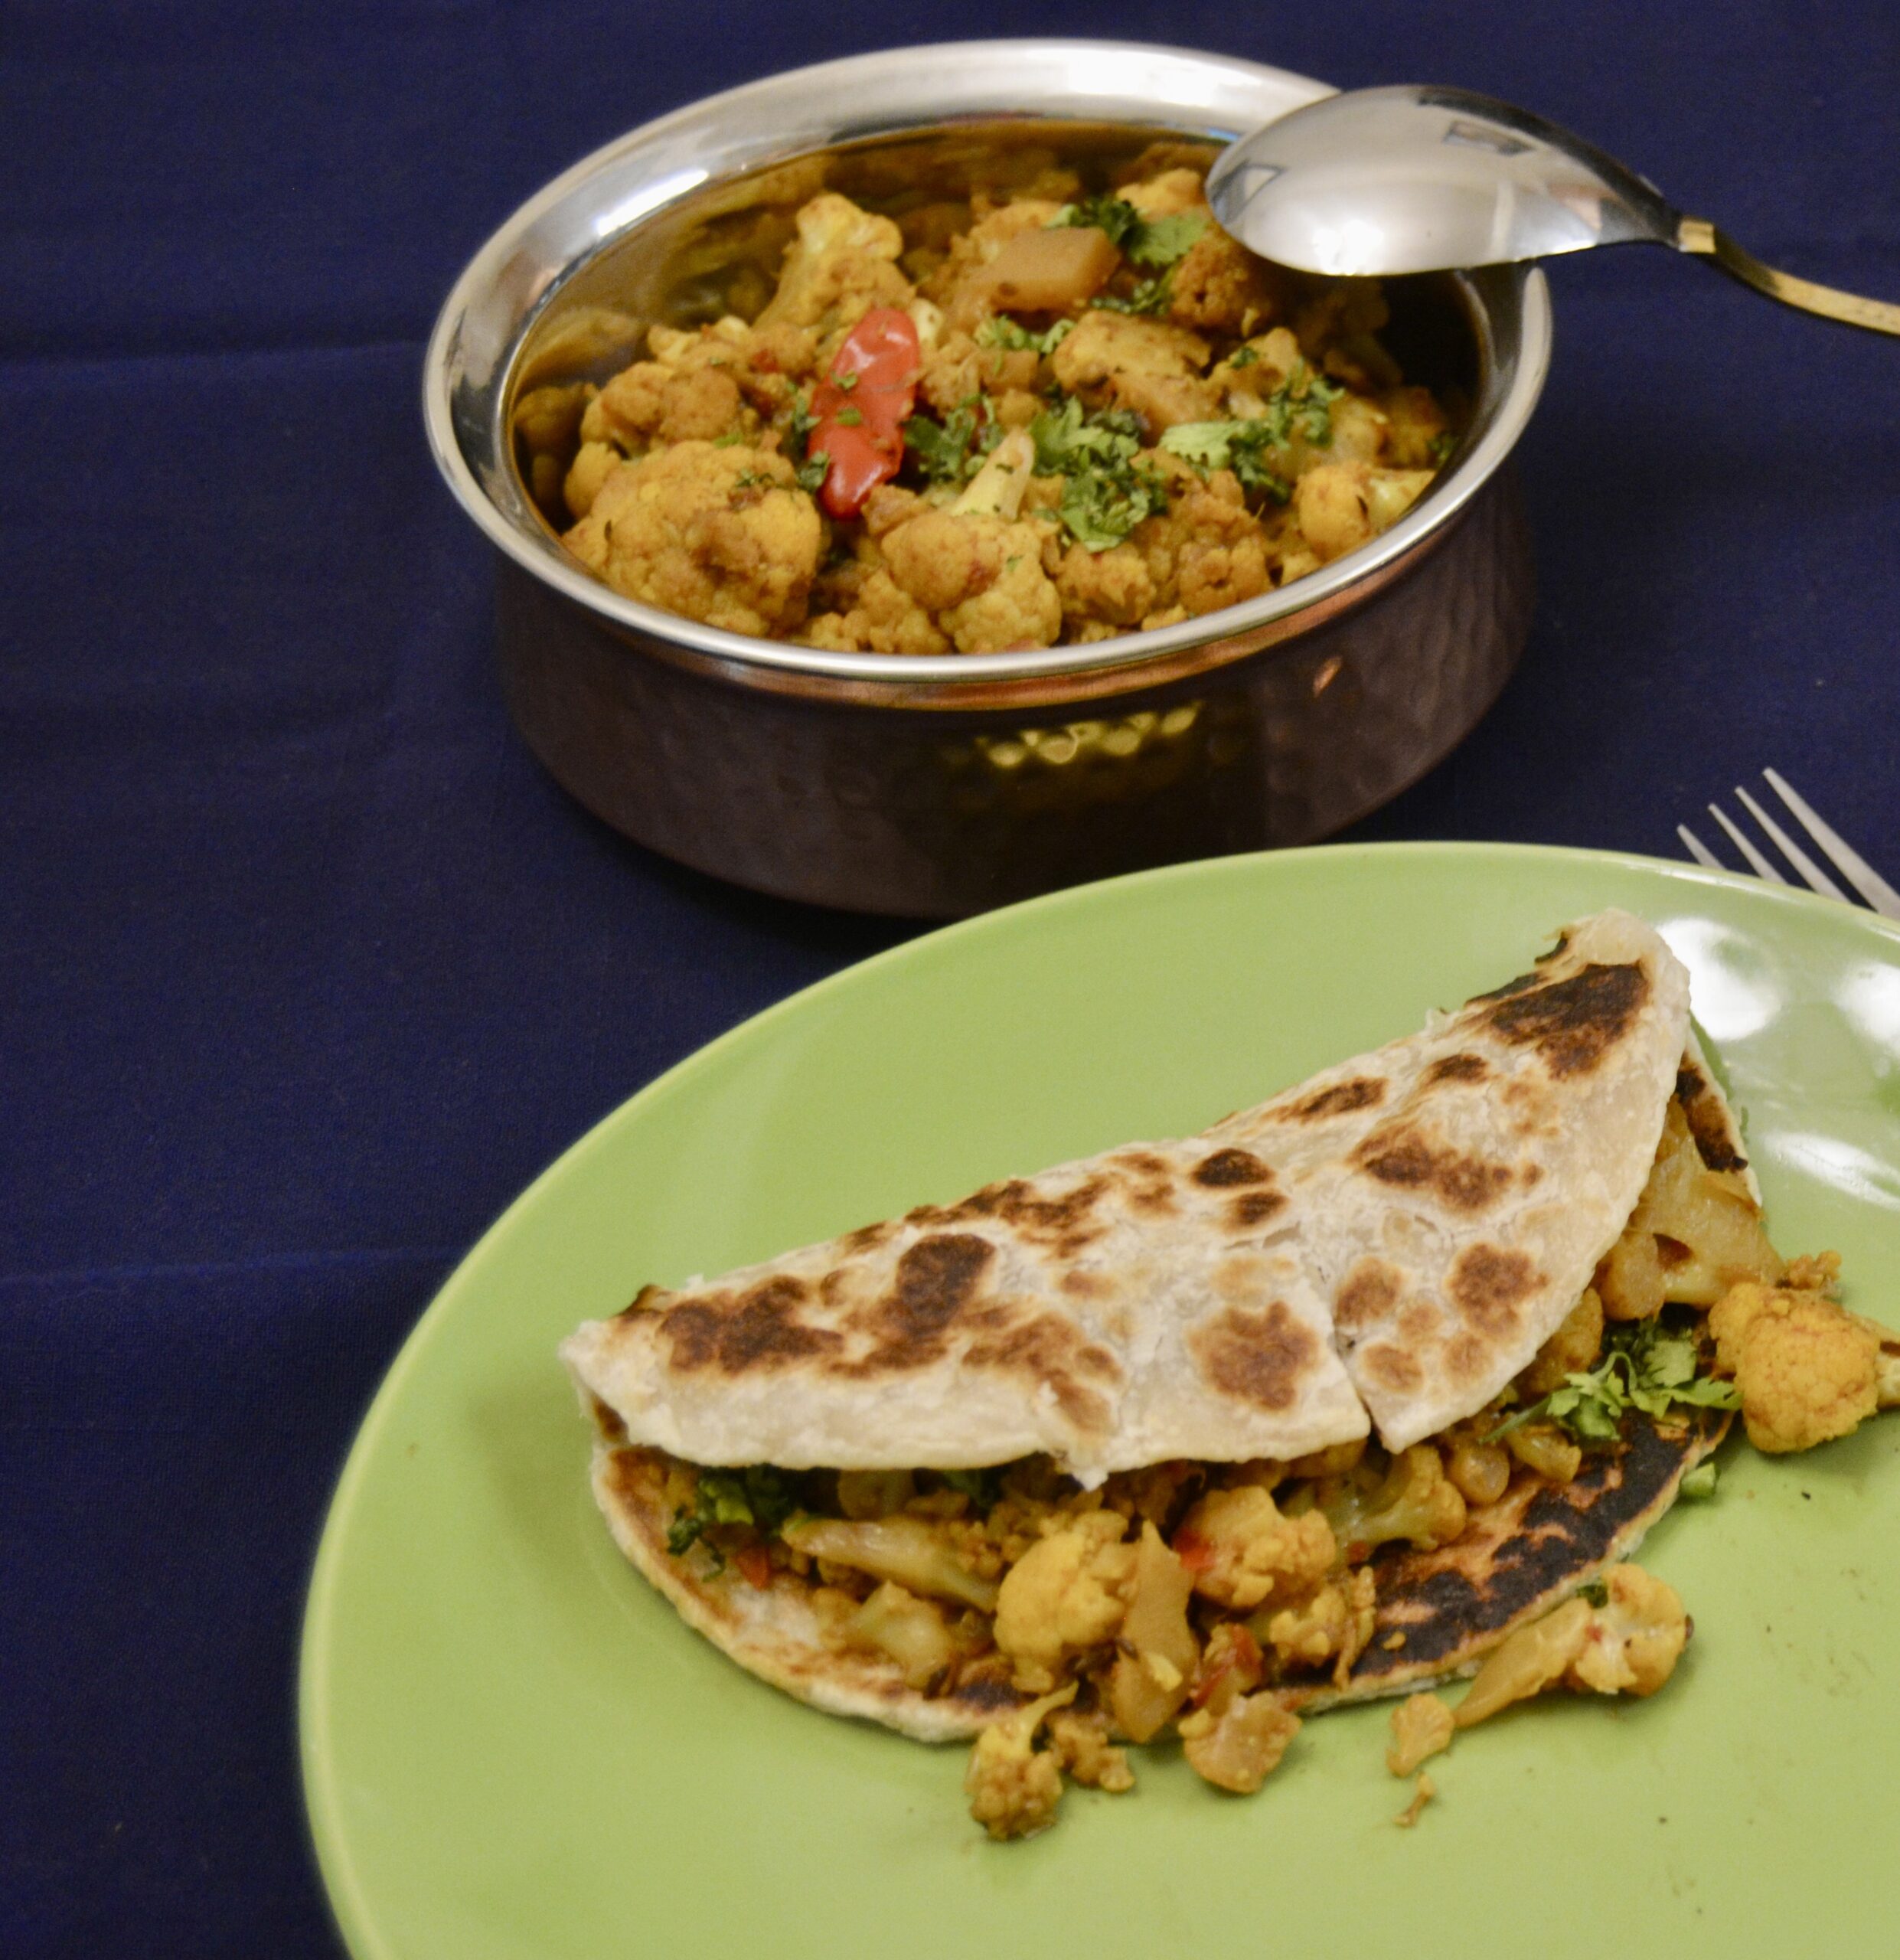
For the most discerning palate, a one-pan dish that is delicious and nutritious. Works great as a vegetarian wrap!

Ingredients

  • 1 head cauliflower (cut into bite-sized pieces, washed and drained )
  • 1 whole red or green chili (optional)
  • 1 medium onion (chopped fine)
  • 1 large tomato (chopped fine)
  • 1 tbsp grated fresh ginger
  • 3 tbsp cooking oil
  • 2 tbsp fresh green cilantro (chopped fine)
  • ¾ tsp cumin seeds or ajwain seeds (optional)
  • ½ tsp tumeric powder
  • ½ tsp red chili powder (optional)
  • ½ tsp garam masala

Instructions 

  • Heat oil in medium heat in a wok (preferred)or large skillet. Add the whole chili.
  • When it starts to sizzle, add the cumin seeds. Let the seeds splutter for 30 seconds, then add the ginger.
  • Sauté for 30 seconds and add the onions. Sauté the onions until they are half brown, about 5 mins.
  • Add the turmeric, cumin, and chili powders. Give them a quick stir and add the tomatoes.
  • Sauté until tomatoes start to curl. About 3-4 minutes. Add the cauliflower and stir until all the flowerets are coated with the masala mixture.
  • Sprinkle a tablespoon of water over the vegetables. Cover and cook on low flame for about 3 minutes.
  • Remove the lid, stir, then cook uncovered until all the moisture evaporates and the oil starts to come up on the sides.
  • Stir occasionally until the cauliflower is done. Turn off the heat.
  • Sprinkle the garam masala on top and toss a few times so that the masala is well incorporated into the cauliflower.
  • Transfer to serving dish and garnish with fresh cilantro.
  • Serve as a wrap with paratha, roti, or any flat bread like pita or naans.
  • This sabzi is also served as a side with a complete Indian meal of main dish or/and dal, roti, rice, raita, etc.

Notes

Cauliflower gives out an excess of moisture when cooking so do not add any water other than the sprinkle at the start. Too much water will make it mush. If the moisture seems in excess then push the cauliflower to the edges of the wok so that the excess moisture evaporates quickly and the cauliflower is not over cooked . This is a dry sabzi (vegetable) and not meant to have gravy. That is another dish altogether!   
 
Course: Main Course, Side Dish
Cuisine: Indian
Keyword: cauliflower, gobi, vegetarian, wraps

In the southern part of India, where coconut grows in abundance, it finds its way into many dishes. Fresh or dried, grated or ground, it adds flavor to the dish.

I remember the old-fashioned scraper in the kitchen used when I was a kid.  It was a metal blade shaped like a scythe, at the end of which was a circular metal disk with sharp teeth. The metal blade was mounted on a square block of wood. To scrape the coconut, you had first to remove the husk, then split the brown kernel in half. Next, you set up the scraper on the floor with a bowl or tray to catch the grated coconut. You sat on your haunches on the floor and steadied the board with the weight of one foot. Holding the coconut half against the scraping metal, you would move it back and forth across the grate, and the white meat would fall into the receiving bowl or plate. The metal teeth were sharp, and you had to be careful. The best part was the sharp blade was used to cut meat and poultry. It was always fascinating to watch the cook doing it. We were not allowed near the gadget, of course!
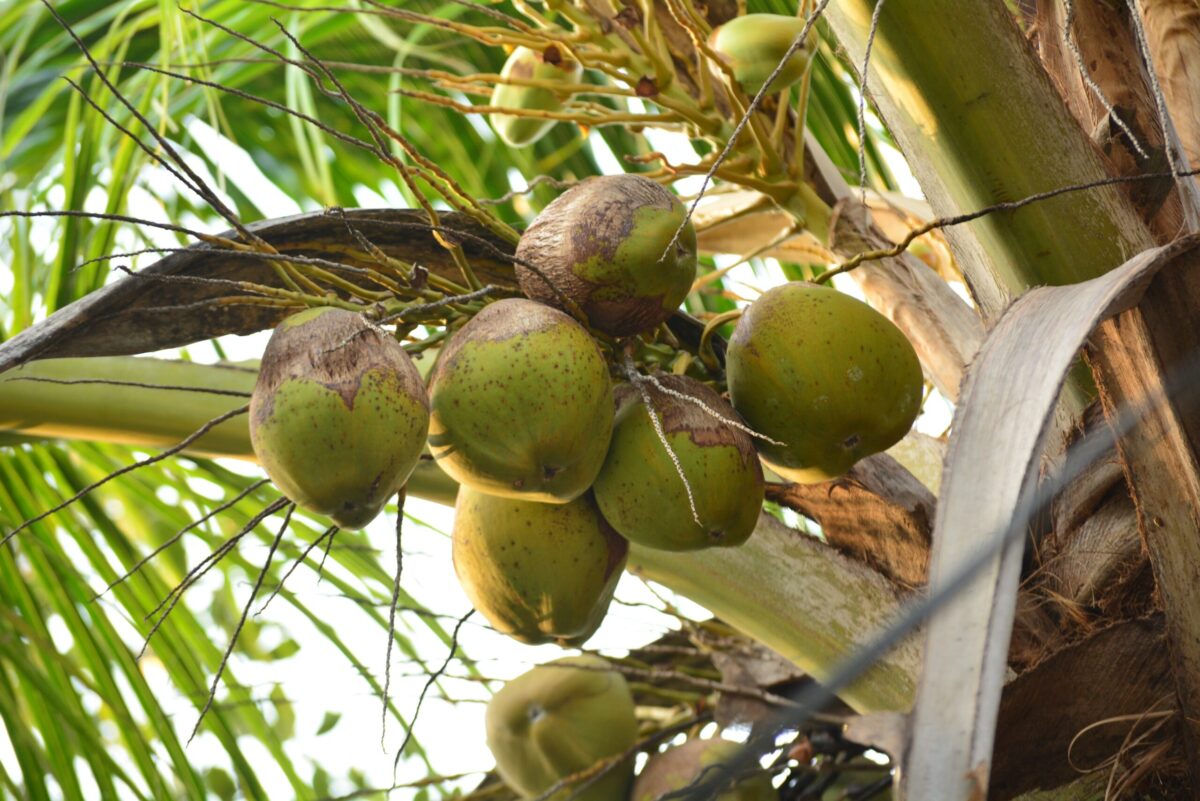
These days they have coconut graters that you can mount on the kitchen counter. It has a handle to swivel the grater head and scrape the meat off the coconut.  It does a pretty effective job. If you cannot get a fresh frozen pack of coconut meat and do not own a scraping gadget, buy a whole brown coconut from the grocery store with the husk removed. Shake it to see if you can hear the water swish inside. That means it is still fresh. Knock it against a hard surface to split it in half. You might have to break it into two pieces to do that.  Cut away the outer brown part and use a standing grater. Grate the white coconut meat only.

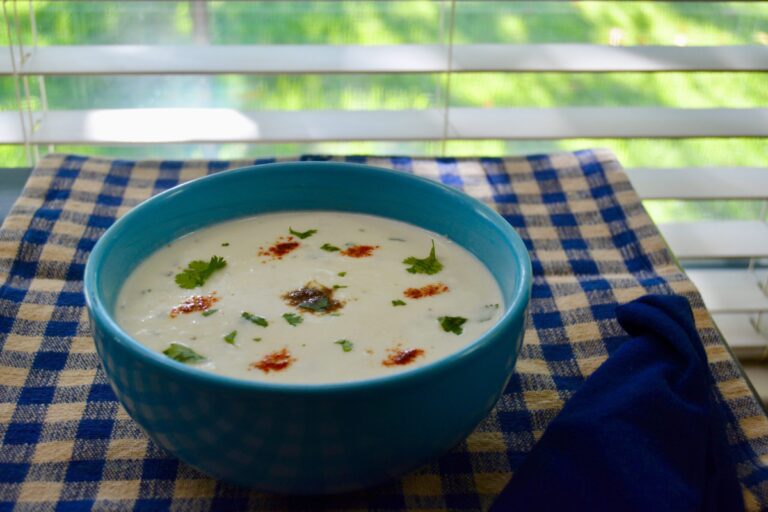
Here is a raita made with coconut, which we enjoy with any pilaf.

Coconut Raita

Prep Time 15 minutes
Cook Time 4 minutes
Total Time 19 minutes
Servings 4
A sweeter version of raita that goes well with pilafs, plain boiled rice, dal, sabzi, or curry. 

Ingredients

  • ¾ cup freshly grated coconut (Roasted ground cumin and red chili powder (paprika orCayenne) for Garnish)
  • cup plain yogurt (whole, lowfat, or fat free)
  • ½ small onion (chopped fine)
  • 1 medium Serrano chili (to your taste, chopped fine)
  • 2 tbsp fresh green cilantro (chopped fine)
  • ½ cup water
  • salt (to taste)
  • Dash roasted ground cumin and chili powder (paprika or cayenne) (for garnish)

Instructions 

  • In a medium bowl, beat the yogurt with water and salt until smooth. 
  • Add the rest of the ingredients and mix well.
  • Pour into a serving dish and garnish with the roasted ground cumin, pepper, and chili powder.
  • Serve with an Indian meal of Pilaf or plain boiled rice, dal, sabzi, or curry. 
  • As with the cucumber raita, it can also eat it as a snack.

Notes

Shout out to Dileesh Kumar on Unsplash for the great photo!
Course: Side Dish
Cuisine: Indian
Keyword: coconut, raita, yogurt


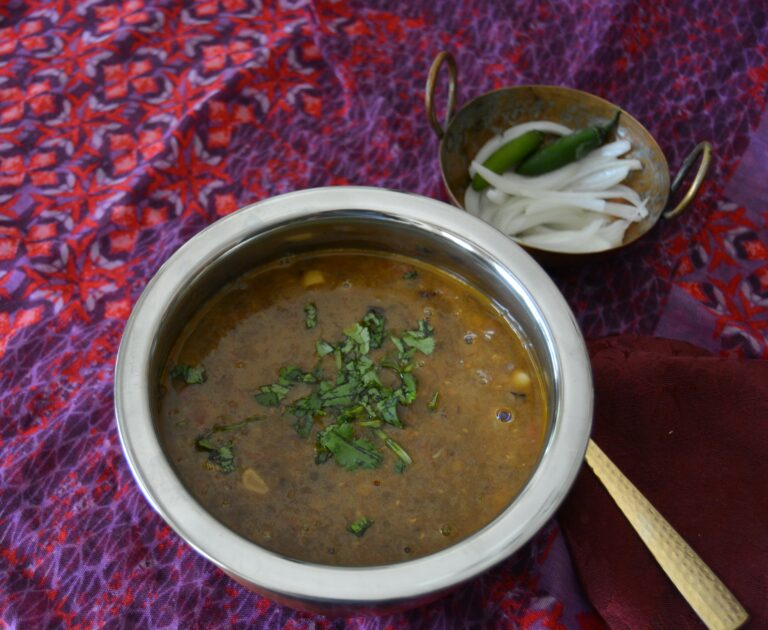
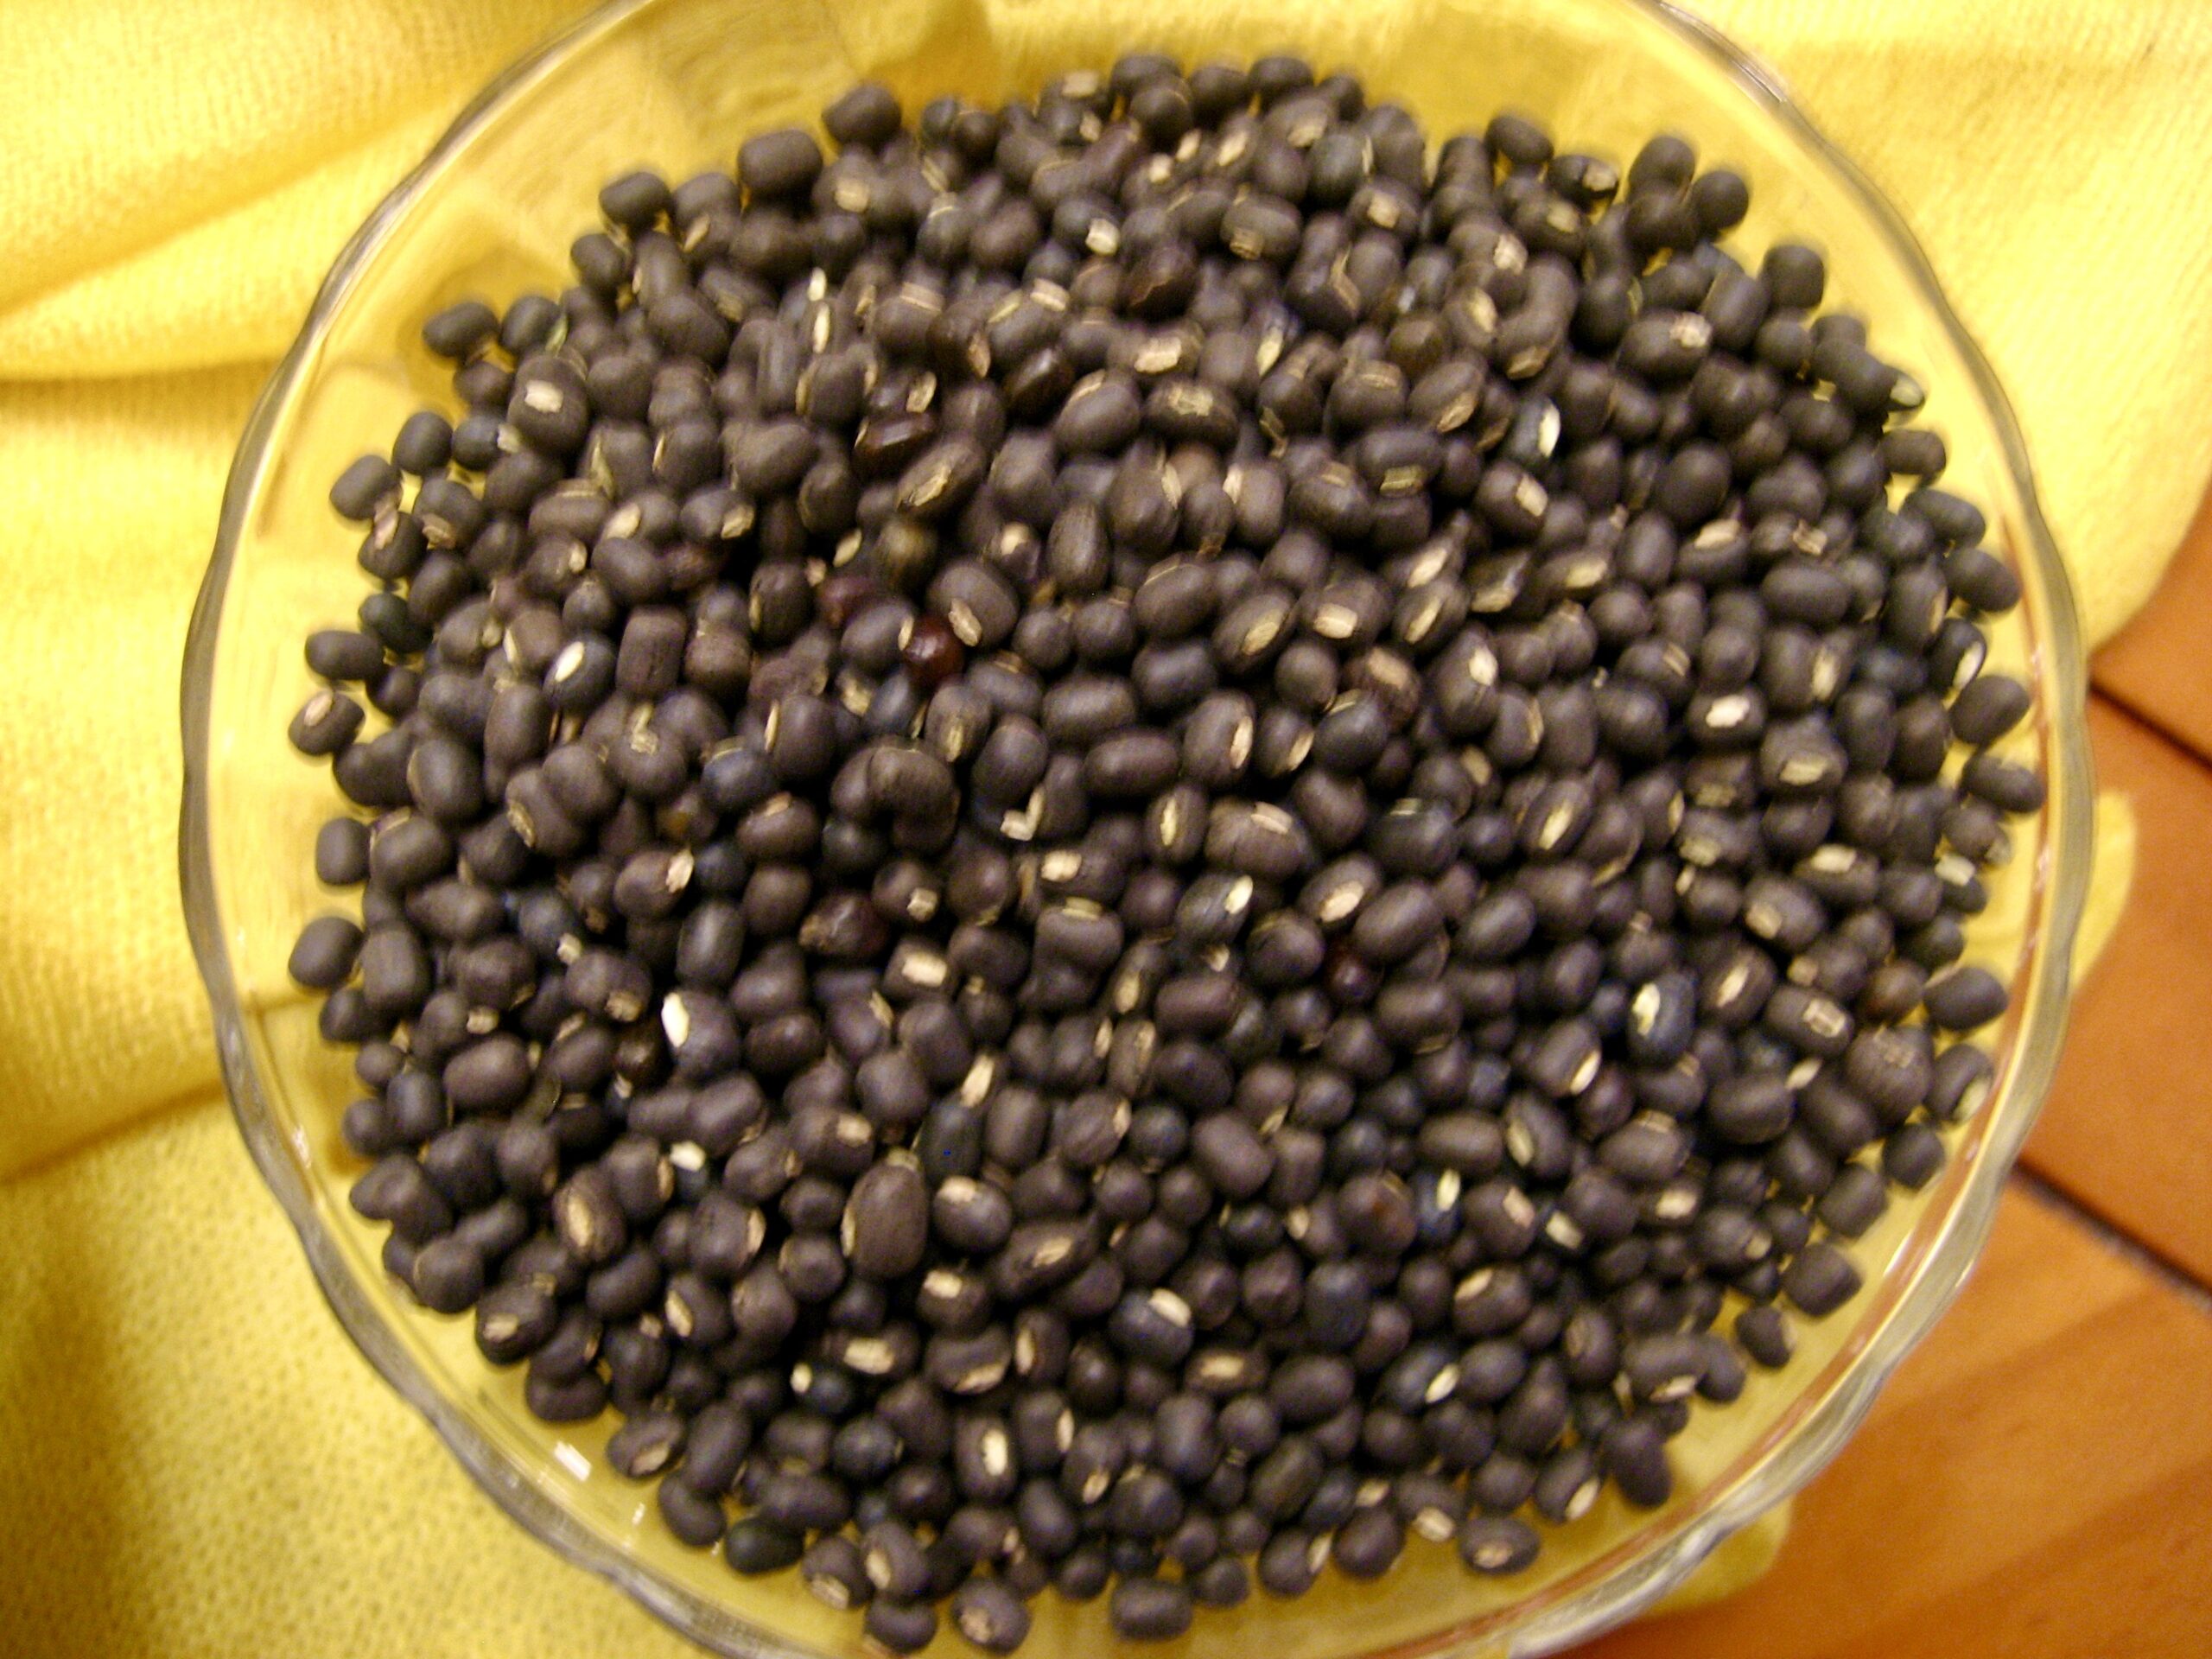
I had never tasted large black beans (aka Turtle beans, Frijoles negros, or caviar Criolla) until I came to the USA. These beans are a staple in Central and South America. When I first saw them on the supermarket shelves, I was intrigued. Then I got to taste them in salads and Mexican food. I decided to give it a try cooking it with an Indian twist!

Although you can use the canned variety, I prefer to buy the raw beans and soak them overnight.

Black Bean Dal (Turtle Beans, Frijoles Negros, or Caviar Criolla)

Prep Time 20 minutes
Cook Time 1 hour
Overnight 12 hours
Total Time 13 hours 20 minutes
Servings 6
Giving traditional black beans an Indian twist! Packed with flavor and nutrients—an Indi-Mex creation.

Ingredients

  • 2 cups black beans

Tadka (Tempering)

  • ½ large onion (chopped relatively fine (approximately 3/4cup) )
  • 1 tbsp ginger-garlic paste
  • 1 large tomato, chopped (or 2 tbsp of tomato paste mixed with 2 tbsp of water)
  • 2 tbsp coriander powder
  • 1 tsp garam masala
  • 1 tsp cumin powder
  • ½ tsp red chili powder (or to your taste)
  • 3 tbsp cooking oil

Garnish

  • 2 tbsp freshly chopped cilantro (Garnish2 tablespoons fresh chopped cilantro1-2 tablespoons ghee or butter)
  • 2 tbsp desi ghee or butter

Instructions 

  • Pick, sort, clean, and rinse the beans.
  • Place in a 6 quart pot and cover with water.
  • Soak the beans overnight.
  • The next day, drain and rinse again.
  • Place the beans into a medium pot with 5 cups of water and a teaspoon of salt.
  • Cover and bring the beans to boil on high heat.
  • Reduce the heat to medium and cook until the beans are tender. About 40-45 minutes. (Or 10-15 minutes in a pressure cooker or Instapot).
  • If the water evaporates while cooking the beans on the stove, you can add some hot water.
  • Ensure the beans are covered with at least two inches of water while cooking.
  • As soon as the beans are cooked, turn off the heat and prepare the tadka (tempering).

Tadka (Tempering)

  • In a frying pan, heat the oil and sauté the onions over medium heat until 3/4 brown, approximately 7 minutes.
  • Add the ginger-garlic paste and the coriander, cumin, and chili powders. Stir for a minute and then add the tomatoes. Stirring occasionally until the tomato starts to curl and the moisture starts to evaporate. Approximately 3-4 minutes.
  • Turn off the heat and stir in the garam masala.
  • Pour the tadka into the boiled black beans and stir a few times. Add a little water to the tempering pan to scrape all the brown goodness sticking to the pan. Pour that back into the pot. 
  • Set the pot back on the stove and cook for another 5 minutes so that the masala is nicely absorbed.
  • Pour into a serving dish and garnish with chopped cilantro.
  • Add a tablespoon of desi ghee or butter to enhance the flavors. 
  • Serve with plain boiled rice or a pilaf. It also goes well with flatbreads or parathas. I enjoy it with a plain cumin pilaf or cumin-carrot pilaf.                       

Notes

As with most Indian meals, you can add a vegetable or meat dish to make a complete Indian meal, but it is filling by itself.
Course: Main Course
Cuisine: Indian, Mexican
Keyword: black bean, channa dal, Indi-Mex

Boondi is deep-fried chickpea flour balls, spiced with chili powder and salt. The batter is dropped through a holed slotted spoon into hot oil that creates small chickpea flour balls. These are fried until light brown. They are crunchy and can be used as a salty snack (namkeen) or used in raita.

Boondi can also be sweetened and used to make delicious laddus.

Boondi is readily available at Indian grocery stores, so it saves you the headache of fixing it yourself. Some have more spice than others. The choice is yours.

Boondi Raita (Deep Fried Chickpea Flour Balls in Yogurt Sauce)

Prep Time 15 minutes
Cook Time 5 minutes
Total Time 20 minutes
Servings 4
Boondi is deep-fried chickpea flour balls, spiced with chili powder and salt. Added to yogurt, they make a delicious, savory side dish that complements any meal.

Ingredients

  • cups plain yogurt (whole, fat-free, or lowfat )
  • 1 cup boondi (namkeen, salted)
  • 2 cups boiling water
  • ½ tsp roasted cumin powder (plus a pinch for garnish)
  • ¼ tsp red chili powder (plus a pinch for garnish)
  • ¼ tsp black pepper powder
  • ¼ tsp chaat masala (optional)

Instructions 

  • In a bowl add the yogurt with the spice powders. Blend well and set aside.
  • Put the boondi in a bowl and pour boiling water over it.
  • Let sit for a minute then pour into a strainer to drain the water.
  • Carefully press down on the soaked boondi with the back of a spoon to remove the excess water. This gets rid of the excess oil and softens the boondi. Set aside to cool for 10 minutes.
  • After 10 minutes, add the boondi to the yogurt. Mix well. Pour into a serving bowl and sprinkle some of the spiced powder on top and a few dry boondi.

Notes

You can also add two chopped tablespoons of fresh cilantro (corriander) to the yogurt or use a bit for garnish.
If you like a crunchy raita you do not have to soak the boondi. Just add it to the raita.   
 
Shout out to engin akyurt on Unsplash for the great photo of the chickpeas!
Course: Side Dish
Cuisine: Indian
Keyword: boondi, raita, sauce, yogurt

This is a family recipe from Mama’s side of the family. Since most of them lived in Bangalore (now Bengaluru), I call it the Bangalore Green Masala Stew. It has a generous amount of cilantro (fresh coriander) and is a lighter curry than the Korma, and quicker to prepare as well. For a vegan version with the same delicious flavor, omit the meat and use vegetable broth to intensify the flavor.

Bangalore Green Masala Stew

Prep Time 15 minutes
Cook Time 40 minutes
Total Time 55 minutes
Servings 6
A creamy coconut stew, delicately flavored with spices. It can be adjusted to vegetarian, vegan, and non-vegetarian palates.

Ingredients

  • 1 lb chicken or meat (cut into bite-size bits )
  • 1 large onion (diced or 2 medium shallots diced)
  • 2 medium green chilies slit in half (or to your taste)
  • 1 tbsp ginger paste
  • 1 tsp tumeric powder
  • ½ tsp cinnamon powder
  • ¼ tsp clove powder
  • ¼ tsp black pepper powder
  • 1 bunch fresh green coriander (approximately ½ cup of paste)
  • 1 tsp salt (or to your taste)
  • 3 cups hot water (2 cup beef or chicken or vegetable broth with 1 cup of water)
  • 1 cup coconut milk
  • 2 medium tomatoes (pureed (or 1½ tbsp tomato paste))
  • ½ cup peas
  • ½ cup carrots
  • 2 medium potatoes (quartered)
  • 4 tbsp cooking oil

Instructions 

  • Add oil to a 6-quart pot and heat on medium-high.
  • Add onions and slit green chilies. Fry until the onions are half brown, about 7-8 minutes.
  • Add the meat and braise until it is no longer pink, and the oil starts to surface on the sides of the pot, about 15-20 minutes.
  • Now add the ginger, cilantro paste, and spice powders. Fry until fragrant, about 1-2 minutes.
  • Add the tomatoes or tomato puree and sauté for about 3-4 minutes to get the raw tomato taste out.
  • Add 3 cups of hot water/stock, stir, cover, and cook until the chicken or meat is almost done.
  • The cooking time varies, but it should take approximately 40 minutes for the meat and 15 minutes for the chicken.
  • Add the vegetables and coconut milk and cook until the vegetables are tender—approximately 15 minutes. Remember, the cooking time varies, ensure the meat or chicken is nice and tender. Add more hot water or stock to adjust the gravy to your desired consistency.
  • Serve with plain boiled rice, cooked noodles, or cooked rice noodles. You can also serve it like soup with toasted bread or rolls.      

Notes

You can substitute the potatoes with cauliflower if you want to avoid potatoes or, if you are vegan, you can add cauliflower when you are omitting the meat.
Always add hot water when cooking to continue the cooking process unless, of course, the recipe says otherwise.
Course: Main Course, Non-Vegetarian, Vegetarian
Cuisine: American, Indian
Keyword: chicken, coconut, stew,

Dal Tadka is one of the favorite dals to be found at dhabas (roadside restaurants) along with ma sabat dal. The spicy tadka along with the ghee or butter or both makes it special. Whenever Cook was sick or on vacation and I was working late at the airport, my husband would pick up one of the dals along with tandoori rotis.  It was always a treat as anyone who has tasted dhaba food will tell you. In spite of the visibly unhygienic look of the dhaba, we would sometimes pick up dals or rotis hoping the heat of the fire would kill all germs! Dal Tadka is traditionally a North Indian recipe and is enjoyed with roti or any kind of flatbread. I like it with rice. Once you serve any of the traditional relish, pickles, yogurt, and papads with the dals, it becomes a complete meal.

Though normally made with toor dal  (ar-har/pigeon peas, today  I am fixing it with a combination of toor dal and masoor dal (red lentils).

Dal Tadka (Spicy Tempered Lentils)

Prep Time 45 minutes
Cook Time 50 minutes
Total Time 1 hour 35 minutes
Servings 6
A spicy, healthy lentil soup packed with nutrients and proteins.

Ingredients

  • 1 cup toor dal
  • 1 cup masoor dal
  • 1 tsp tumeric
  • 1 tsp salt (or to your taste)
  • 6 cups water

Tadka (Tempering) - Step 1

  • 2 tbsp cooking oil
  • 1 medium onion (chopped fine)
  • 3 medium tomatoes (chopped)
  • tbsp garlic and ginger paste
  • 1 tsp coriander powder
  • 1 tsp cumin powder
  • tsp garam masala (more or less to your taste)
  • ½ tsp chili powder (more or less to your taste)
  • 2 tsp Kasturi methi (optional)

Tadka (Tempering) for Garnish - Step 2

  • 2 tbsp desi ghee
  • ¼ tsp asafetida (heeng)
  • ¾ tsp cumin seeds
  • 2 small whole dry red chilies (If you split them in half, the seeds are going to fire up the tadka so be careful if you do not want the lentils too spicy, chili hot! If you prefer, you can use a little red chili powder instead of the whole dry red chilies—all to your taste!)

Instructions 

To Prepare

  • Pick and clean the dals of any debris.
  • Rinse in fresh water several times to get rid of any grit.
  • Soak the Toor dal for at least 45 minutes and the masoor dal for 30 minutes. This will cut the cooking time, but you can skip this if you do not mind it simmering on the stove longer.   

To Cook

  • Add the dals and the rest of the ingredients above into a 6-quart pot and bring to boil on medium heat. Lower the heat a bit, partially cover, and simmer for 35-40 minutes till nearly done. Remember not to cover the pot full as dals tend to expand while cooking and over boil.  Any froth that forms on top can be removed.
  • If the water seems to dry during cooking, feel free to add more hot water. I say hot water as it does not interrupt the cooking process. You should be left with about 4 cups of dal, not too runny and not too thick unless it is your preference. Set aside.

Tadka (Tempering) - Step 1

  • Heat oil in a sauté or saucepan on medium heat.  
  • Add the onions and saute for  4-5 minutes until it starts to brown.
  • Now add the spice powders, stir for a minute, and then add the chopped tomatoes. Let it cook, occasionally stirring until the oil starts to surface.
  • Pour into the cooked dal. Add a little hot water to the pan and be sure to scrape off the brown bits and add to the pan.
  • Set the dal pot back on the stove and let simmer for 5-10 minutes to absorb all the tadka flavors.
  • Pour into a serving dish.

Tadka (Tempering) for Garnish - Step 2

  • Heat the ghee on medium heat in a small saucepan.
  • Add the red chilies and give them about a minute to darken in color.
  • Add the asafetida (heeng) and immediately after that the cumin seeds. Give it 30 seconds and then add the chilies (or and powder). Stir for 15 seconds and pour it over the center of the dal in the dish.  
  • Serve with rotis or any flat bread or rice accompanied with any of the usual arrays of Indian pickles, relish, raitas, plain yogurt, or papads.  
Course: Main Course, Vegetarian
Cuisine: Indian
Keyword: dals, lentils, toor dal

Photo by Priyadharshan Saba on Unsplash