
")
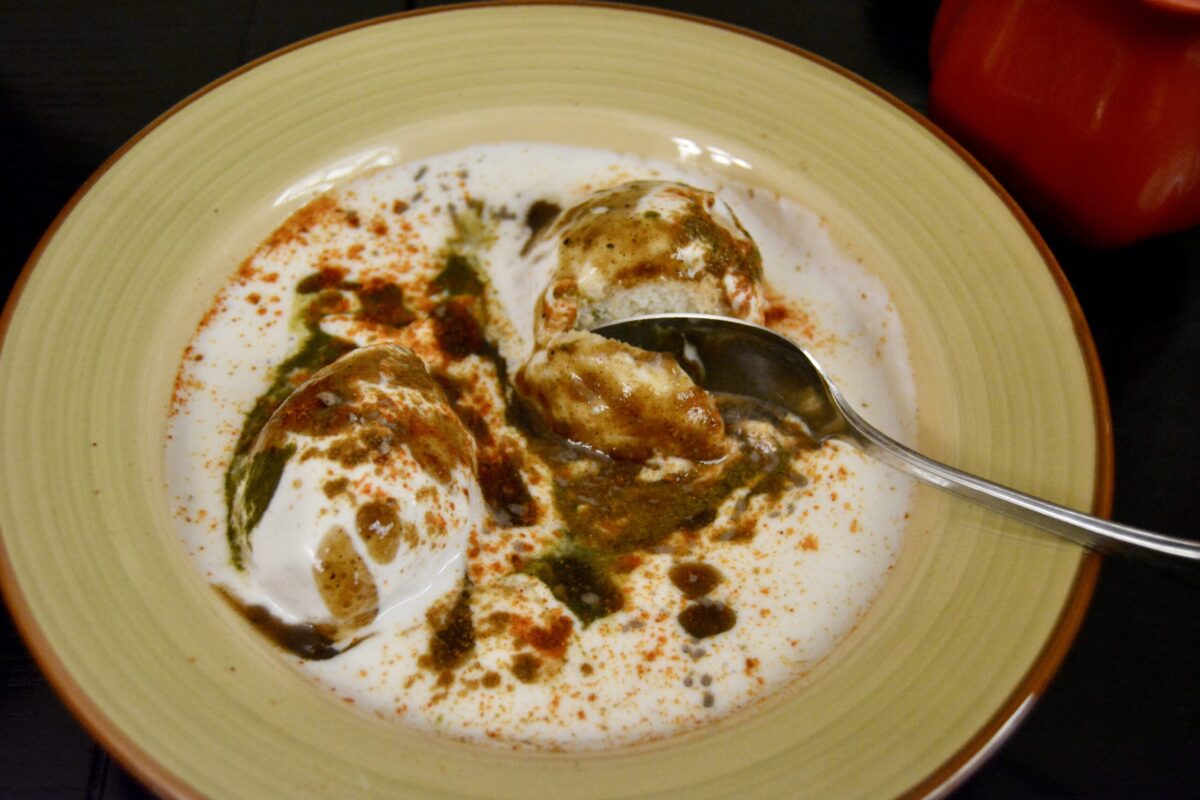
This dal curry is made out of the split chickpea (Bengal gram) with the husk removed. I sometimes use this lentil to make a simple soup by seasoning it with sauteed onions, bay leaf, turmeric, and cumin powder.
This dal was a must every time Biryani was fixed at home. To make the dal tastier, Mom would have Cook add the bones left over from the large cut of meat that was chopped up for the Biryani. Since I use boneless meat for the Byriani, I add beef broth to give it a meatier taste, but it also tastes perfectly good just by adding water.

Channa Dal Curry (Split Chick Pea Curry)
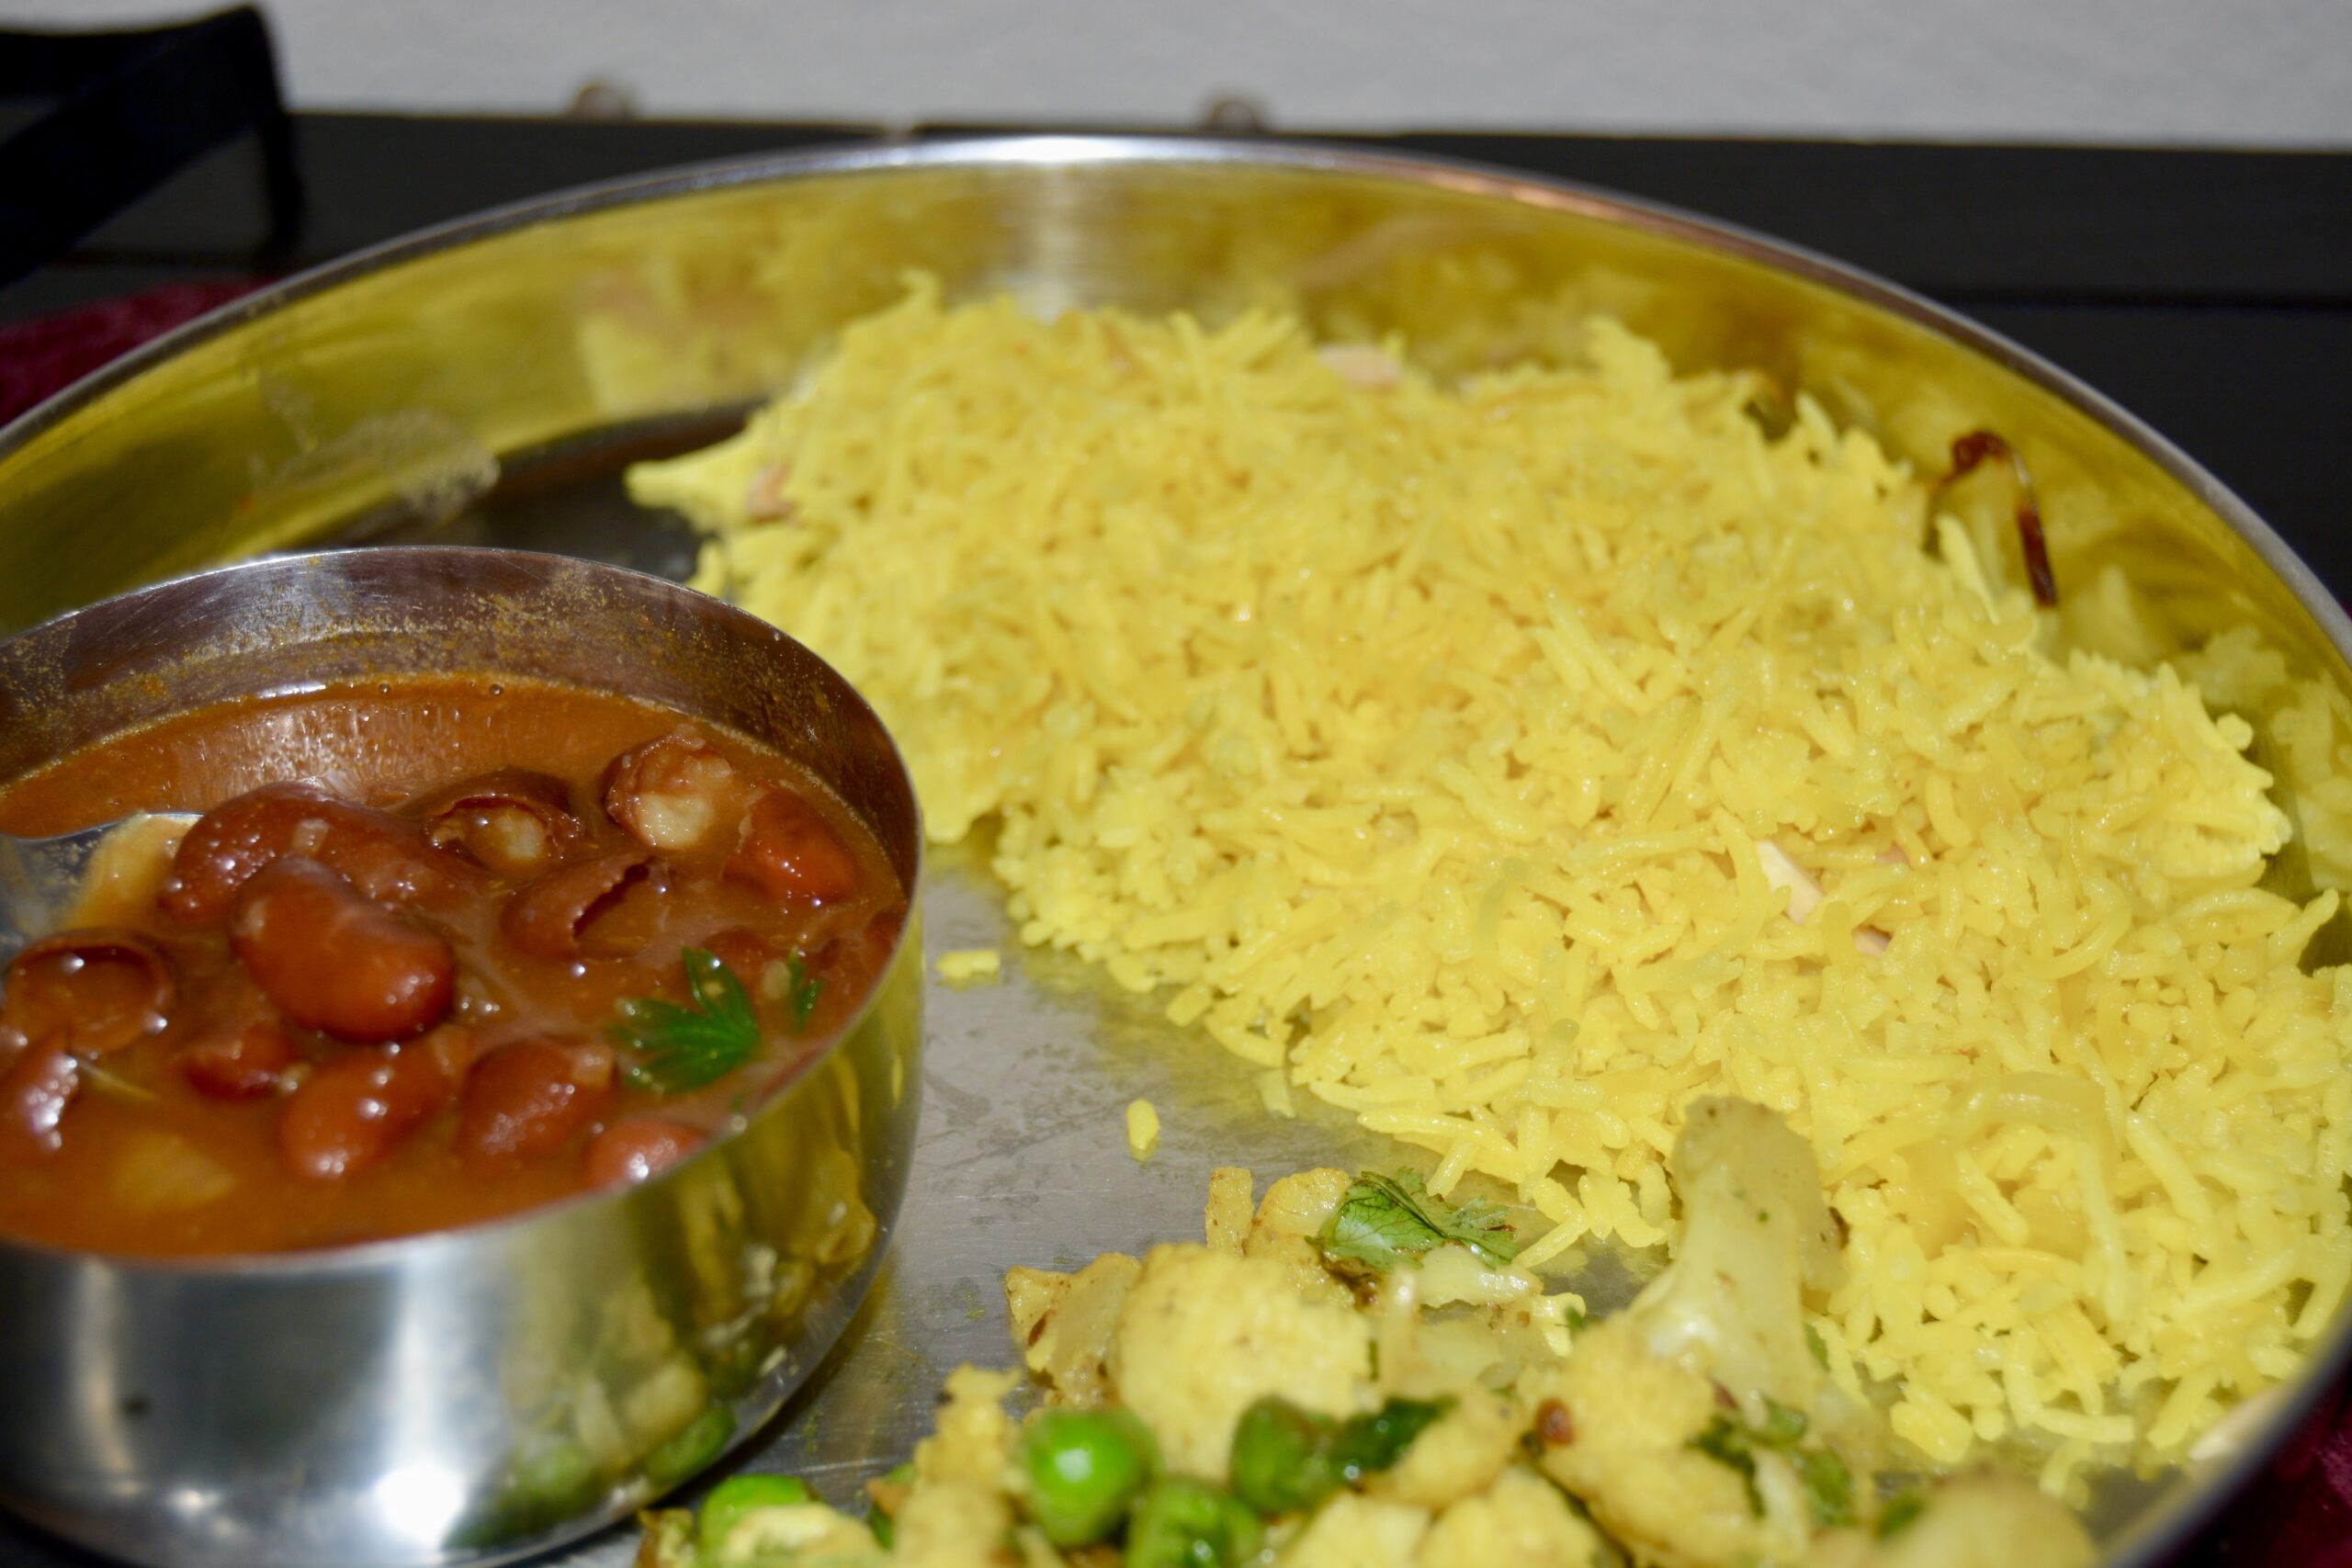
A delicious healthy, nutritious lentil dish that you can serve as a main dish or side dish. It goes perfectly with Biriyani, any kind of pilaf, plain boiled rice, or flat bread.
Ingredients
- 2 cups dried split chickpea dal (Sort for stones and grit, clean, and rinse. Soak the chickpeas for half an hour)
- 4 tbsp cooking oil
- 2 medium onions (chopped fine)
- 1 medium green Serrano chili (chopped very fine)
- 2 tbsp tomato paste (or 1 8 oz can tomato sauce)
- 1 tbsp ginger paste (preferably fresh)
- 1 tbsp garlic paste (preferably fresh)
- salt (to taste)
- 4 cups water (or more, depending on the amount of gravy you want)
- 1 tbsp fresh green coriander (finely chopped for garnish)
Whole Spices
- 1 large black cardamom
- 2 medium Bay leaves
- 3 cloves
- 5 peppercorns
Masalas
- 2 tsp coriander powder
- 1 ½ tsp cumin powder
- ½ tsp tumeric powder
- ¼ tsp red chili powder (more or less, according to your taste)
Instructions
Preparation
- Sort for stones and grit, and clean, and rinse the chickpeas.
- Soak for half an hour.
To Cook
- Heat oil in a 4-6 quart pot over medium heat.
- Add the whole spices and then add the onions. Sauté until the onions are ¾ brown. Approximately 8-10 minutes.
- Add the ginger and garlic paste, then add all the masalas and stir a few minutes until fragrant. About 1-2 minutes.
- Add the chickpeas, water, and tomato paste. Partially cover and cook until nice and tender. Approximately 45 minutes.
- When nearly done, mash some of the lentils against the side of the pot to make a thicker gravy.
- Cook for another 10 minutes.
- Pour into a serving dish and garnish with about a tablespoon full of fresh chopped cilantro.
Notes
1. You can substitute some of the water with vegetable, beef or chicken broth. Add additional water if necessary to get a thick soupy consistency.
2. You can also serve this dal with Biryani, any kind of pilaf, plain boiled rice, or flat bread.
3. You can boil the dal separately and then add it to the curry masala and let it simmer for 15 minutes to absorb all the flavors.
4. I like to use a pressure cooker to hasten the process.
")
")


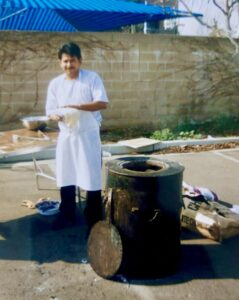 I am attending a wedding and watch fascinated as the cook slaps the naans against the hot clay on the inside walls of the tandoor (a clay oven). He does about 6 naans in quick succession, then removes them with tongs when done. It is done in minutes because of the intense heat. Most restaurants have more modernized versions. Ingenious cooks have found a way to fix them at home without the tandoor.
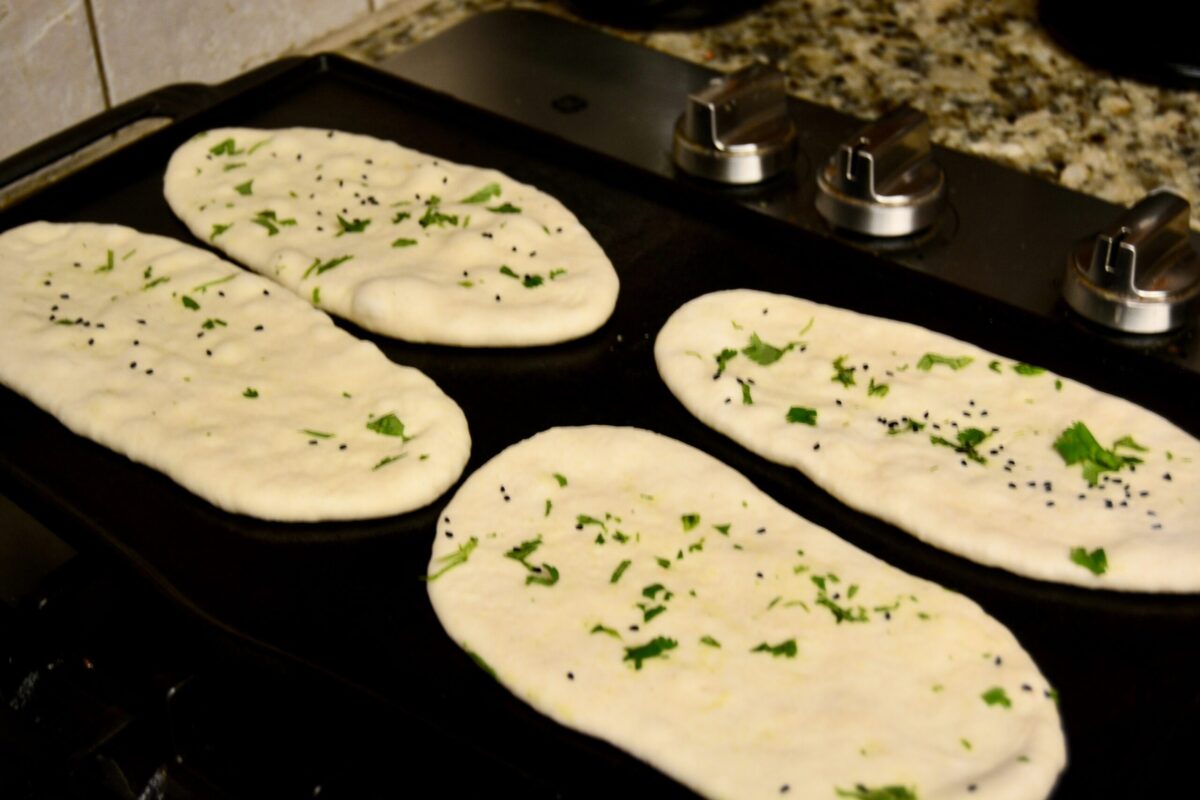
")
