

Some salads are a meal in themselves. Here is a salad Mama used to fix during Christmas instead of boiled vegetables and béchamel sauce. It is a blend of diced boiled vegetables, boiled eggs, and raw apples served chilled.
The salad was created in the 18th century by Lucien Olivier, a Russian chef of Belgian-French descent who owned a restaurant in the early 1860s in Moscow. It was called Olivier Salad or Russian salad. Variations of the salad spread all over Eastern Europe and eventually worldwide.
This recipe is one version of it. Please read the notes before you start.

Olivier Salad / Russian Salad
Some salads are a meal in themselves. Here is a versatile one—a delicious blend of diced boiled vegetables, boiled eggs, and raw apples served chilled.
Ingredients
- 6 hard-boiled eggs (peeled and cut into medium cubes - ½ inch more or less)
- 1½ cups boiled peas and carrots (cooked al dente - I use a 12 oz mixed frozen package)
- 2 large boiled potatoes (peeled and cut into cubes - about 3 cups)
- 2 medium Granny Smith apples (peeled and cut into cubes)
- 1¼ cup mayonnaise (homemade or store-bought, your choice)
- ⅛ tsp salt
- ⅛ tsp black or white ground pepper
- 1 tsp lemon juice
- 1 can sliced beetroot (for garnish - you can also boil a fresh beetroot, al dente, peel, and use)
Instructions
- When all the boiled ingredients are cooled, transfer them to a large bowl, except for the sliced beetroot.
- Add the mayonnaise, sprinkle with pepper and salt, then gently mix all the ingredients until well coated.
- Pour into a serving dish.
- Garnish the salad with the sliced beetroot any way you like. I like to circle them in the corners of the salad so that the beetroot does not stain the salad before it is set on the table.
Notes
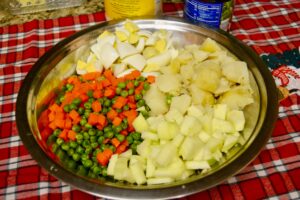 The eggs and potatoes should be boiled separately.
If you are using separate packets of frozen peas or carrots or fresh peeled and diced carrots and peas, boil them separately (or zap them in the microwave).
The potatoes, apples, and eggs should be about the same-sized cubes.
The vegetables should be at room temperature or chilled before tossing the salad. This step can also be done a day ahead and refrigerated.
Transfer all the boiled vegetables, except the beetroot, into a large bowl, and refrigerate until ready to serve. Then garnish with the sliced beetroot.
The eggs and potatoes should be boiled separately.
If you are using separate packets of frozen peas or carrots or fresh peeled and diced carrots and peas, boil them separately (or zap them in the microwave).
The potatoes, apples, and eggs should be about the same-sized cubes.
The vegetables should be at room temperature or chilled before tossing the salad. This step can also be done a day ahead and refrigerated.
Transfer all the boiled vegetables, except the beetroot, into a large bowl, and refrigerate until ready to serve. Then garnish with the sliced beetroot.
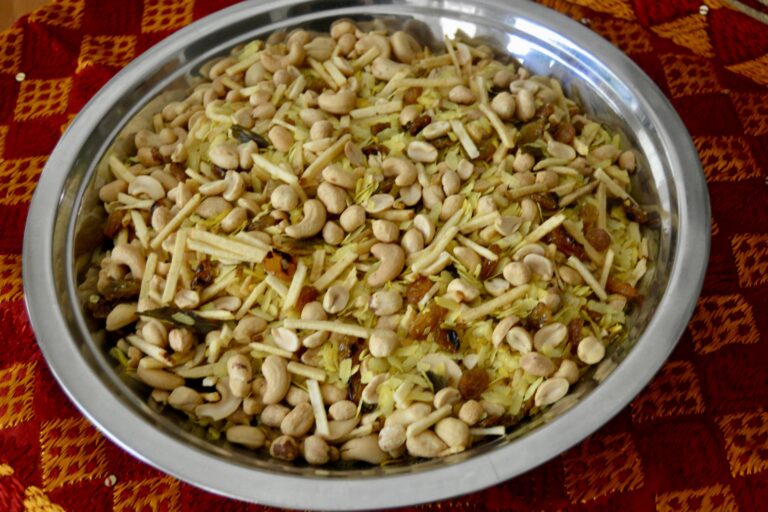
Christmas was always a great time for us. Mama and Dad always made it a very special and memorable celebration for us. Two weeks before Christmas, Mama would start preparing the “pakwan” (translated loosely means goodies, sweet and savory), that was prepared for festivals.
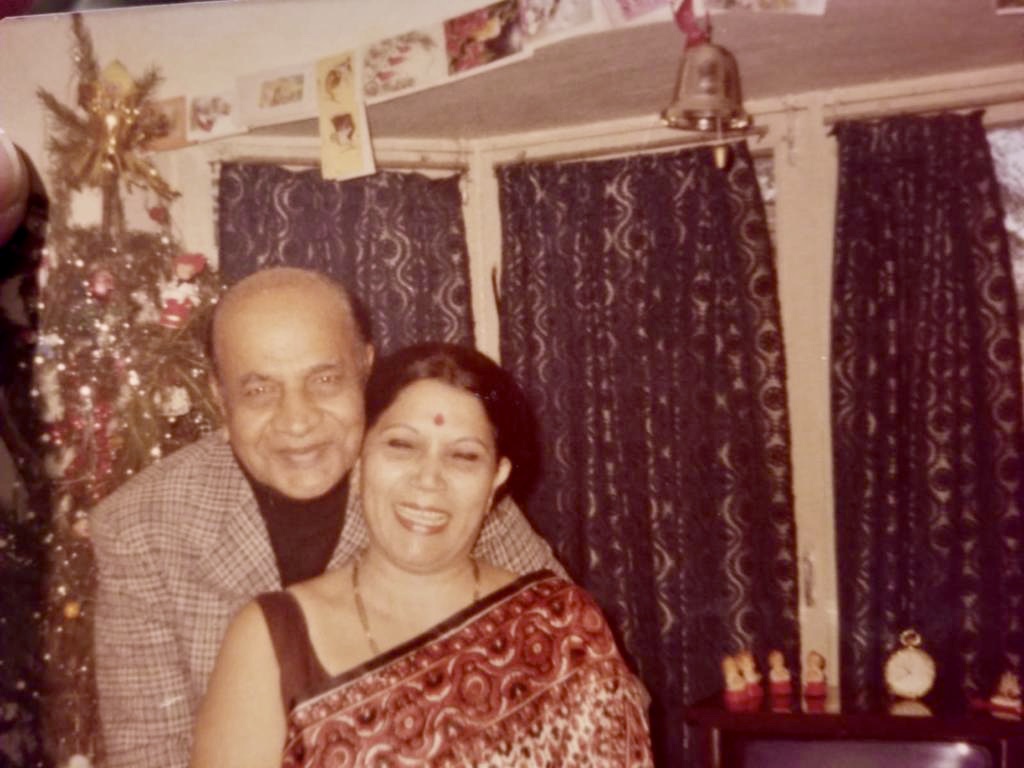
Christmas Day was an open house for family, friends, and acquaintances. Members of Dad’s regiment would come in a steady stream to wish us a “Happy Christmas.” Hot tea and coffee (with milk and sugar, please), cold drinks, and pakwan would be served nonstop from 10:00 a.m. to 6:00 p.m.
When we were old enough to handle a heavy-laden tray, several of us older siblings would be called on to help in the serving. In India it does not matter what religion you are, you celebrate with your friends in their festivals. Needless to say, with all the many religious festivals, we were celebrating every month!!
Chivda was a favorite with us. When you look at the ingredients below you can understand why. Mama always fixed it at home, as she did not like to get it from the store.
Today, you can buy store-bought packets but I still enjoy the homemade version as I can temper the chili heat to my palate!
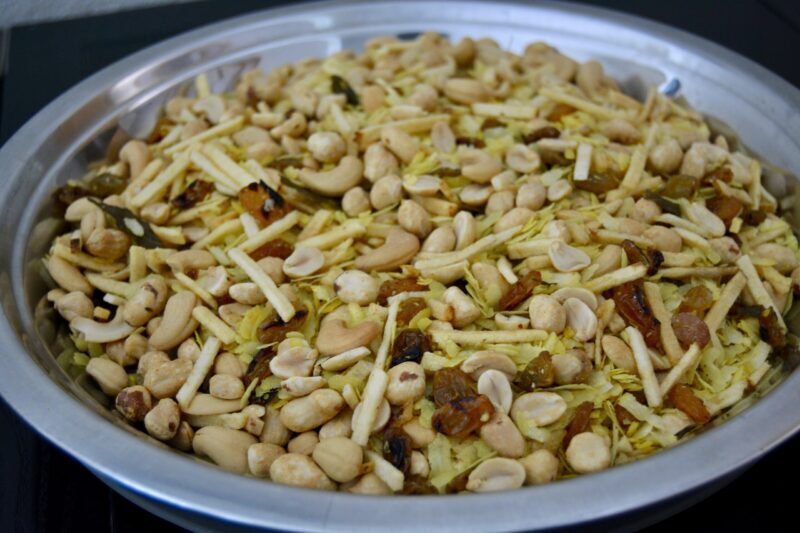
Chivda (All in One Savory Snack)
This savory snack is prepared with rice flakes, raisins, cashew nuts, and peanuts, all tossed in spices to make one sensational snack!
Ingredients
- 16 oz salted cocktail peanuts
- 18 oz salted cashew nuts (or add more to your taste)
- 16 oz salted shoestring potatoes (available in most grocery stores)
- 1 cup golden raisins
- 3 cups thick poha (flat beaten rice, available at most Indian grocery stores)
- 2 green chilies (chopped into small bits)
- 15-20 curry patta (Indian curry leaves, available at most Indian grocery stores)
- ¼ tsp turmeric powder
- ½ tsp chili powder (optional, more or less to your taste)
- 3 tbsp cooking oil (if deep frying, you'll about 2-3 cups of oil)
Instructions
- On medium heat, heat a tablespoon of the oil in a deep skillet or wok (at least 12-14" in size).
- Add the chopped green chilies and curry patta. Stir for about 30-40 seconds until the curry patta and green chilies darken. Turn off the heat. Remove and place on a paper towel to drain.
- Add another tablespoon of oil to the skillet. Heat on medium-high and add the raisins. Stir for about 1 minute until the raisins plump out. Do not burn. Turn off the heat, remove the raisins, and drain them on a paper towel.
- In the same skillet, on medium heat, put another tablespoon of oil and add the turmeric. Stir 15 seconds, then add the beaten rice. Let sauté, stirring occasionally, for approximately 10 minutes. The flakes will get a little crunchy, but they do not have to be browned.
- Once the poha is lightly browned, turn off the heat. Now add all the other ingredients. Salt is not needed since there is enough in the other salted ingredients.
- If you want it spicy, you can add some chili powder or chili flakes to suit your taste. Stir carefully so as not to break up the poha. Mix all ingredients well.
- Let cool and store in airtight containers.Great as a tea time snack or if you were getting an attack of the munchies! These do not last long enough in my house to give you shelf time. If I had to guess, I would say at least a month.
Notes
The Old-fashioned Deep-fried Method
The pace is fast and furious, so have all the ingredients ready and the paper towels all ready for draining.
All the above ingredients should be raw.
You will need about 2-3 cups of oil (peanut or canola are best) to half fill the pan or wok you are using, and you will probably have to fry the ingredients in batches.
Be careful not to dump all ingredients at once, as the oil can bubble over. Add a little in at first and then add the rest carefully.
For the shoestring potatoes, scrub and peel the potatoes, then slice them with a julienne blade in a Mandoline slicer. If you don't have one, you will have to do it the old-fashioned way and cut the potato into julienne strips. Place the sticks in a large bowl of iced water for 15 minutes, drain, add fresh water and soak another 15 minutes. (This helps remove any excess starch and give you the crispy fries you need). Drain and dry them thoroughly with a kitchen or paper towels. Deep-fry in batches until golden and leave to drain while you fry the rest of the ingredients.
Wait for the oil to reheat, when hot, add chopped green chilies and curry patta. Brown a little, strain and drain on paper towel to absorb excess oil, about 15-20 seconds.
In the same oil add the raisin, when they get plump, about 10-15 seconds, strain and drain on another paper towel.
Once again, in the same oil, add the peanuts and fry till golden, then the cashew nuts and fry till golden. Place to drain on paper towels.
Now add the turmeric and beaten rice to the hot oil. Fry until the rice flakes are slightly brown at the edges, approximately 1-2 minutes. You may have to do it in two batches, as the flakes should be deep-fried. Add more oil if necessary. Drain all fried ingredients on paper towels, then mix all the ingredients together with 1/4 teaspoon of salt.
You can add some red chili powder if you like it more spicy, or also increase the amount of green chilies.
You can, of course, go the baking route ,but I find that more time-consuming.
Keep in airtight containers.
I am at the grocery store trying to pick out a cut of beef for a roast. I have fixed various kinds of roast, but I spot a cut called an eye of round roast beef that I have never cooked. I decided to try it using Mama’s recipe for a leg of meat she would fix for Christmas when we were in India. Most feast days were elaborate Indian meals, but for Christmas and Easter, Mama went Western in our house. She would hand-pick the leg of goat or lamb meat and then supervise the cook in preparing it.
The meat was slow-cooked on the stovetop until done. I recall one Christmas, our cook had just finished fixing the roast and brought it to the dining table to rest. A few minutes later, our pet, an Alsatian named Sally, was drawn by the smell of the roast. With her front paws up on the table, she was big and nimble enough to grab the leg of meat and bring it to the floor. Cook heard the crash and came running but was too late. Sally had decided what she would like for dinner! Fortunately, there was enough time to fix a couple of chicken roasts, so dinner was not a disaster.
For a chicken roast, try our Tandoori Chicken Roast.
Christmas Roast
Take the hassle out of holiday cooking and dazzle the palates of your family and guests with this easy, delicious roast!
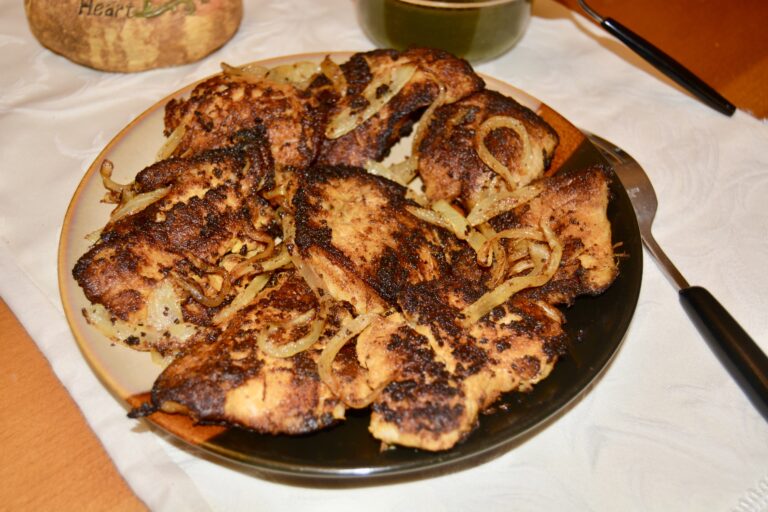
Mom would never cook fish in the months with no R in it. So the months of May, June, July, and August were fishless months for us. She maintained that those were the monsoon months, and all the impurities from the land surface were washed by the torrential rain into the rivers, ponds, and lakes. This did not apply to deep sea fish, but since we did not get much of those in the areas we lived, she refused to buy any other fish.
I don’t know if that was true, but I never cooked fish during those months while in India. Now here in the USA, I buy frozen packs of fish from Costco so don’t hesitate to cook fish whenever I want.
Fish can be fixed in several different ways. One of the quick and easy ways to fix fish is Tandoori style. This can be grilled, pan fried, baked, or done in the air fryer. I prefer mine pan fried.
This is a tangy spicy fish dish coated with flavorful tandoori masala.
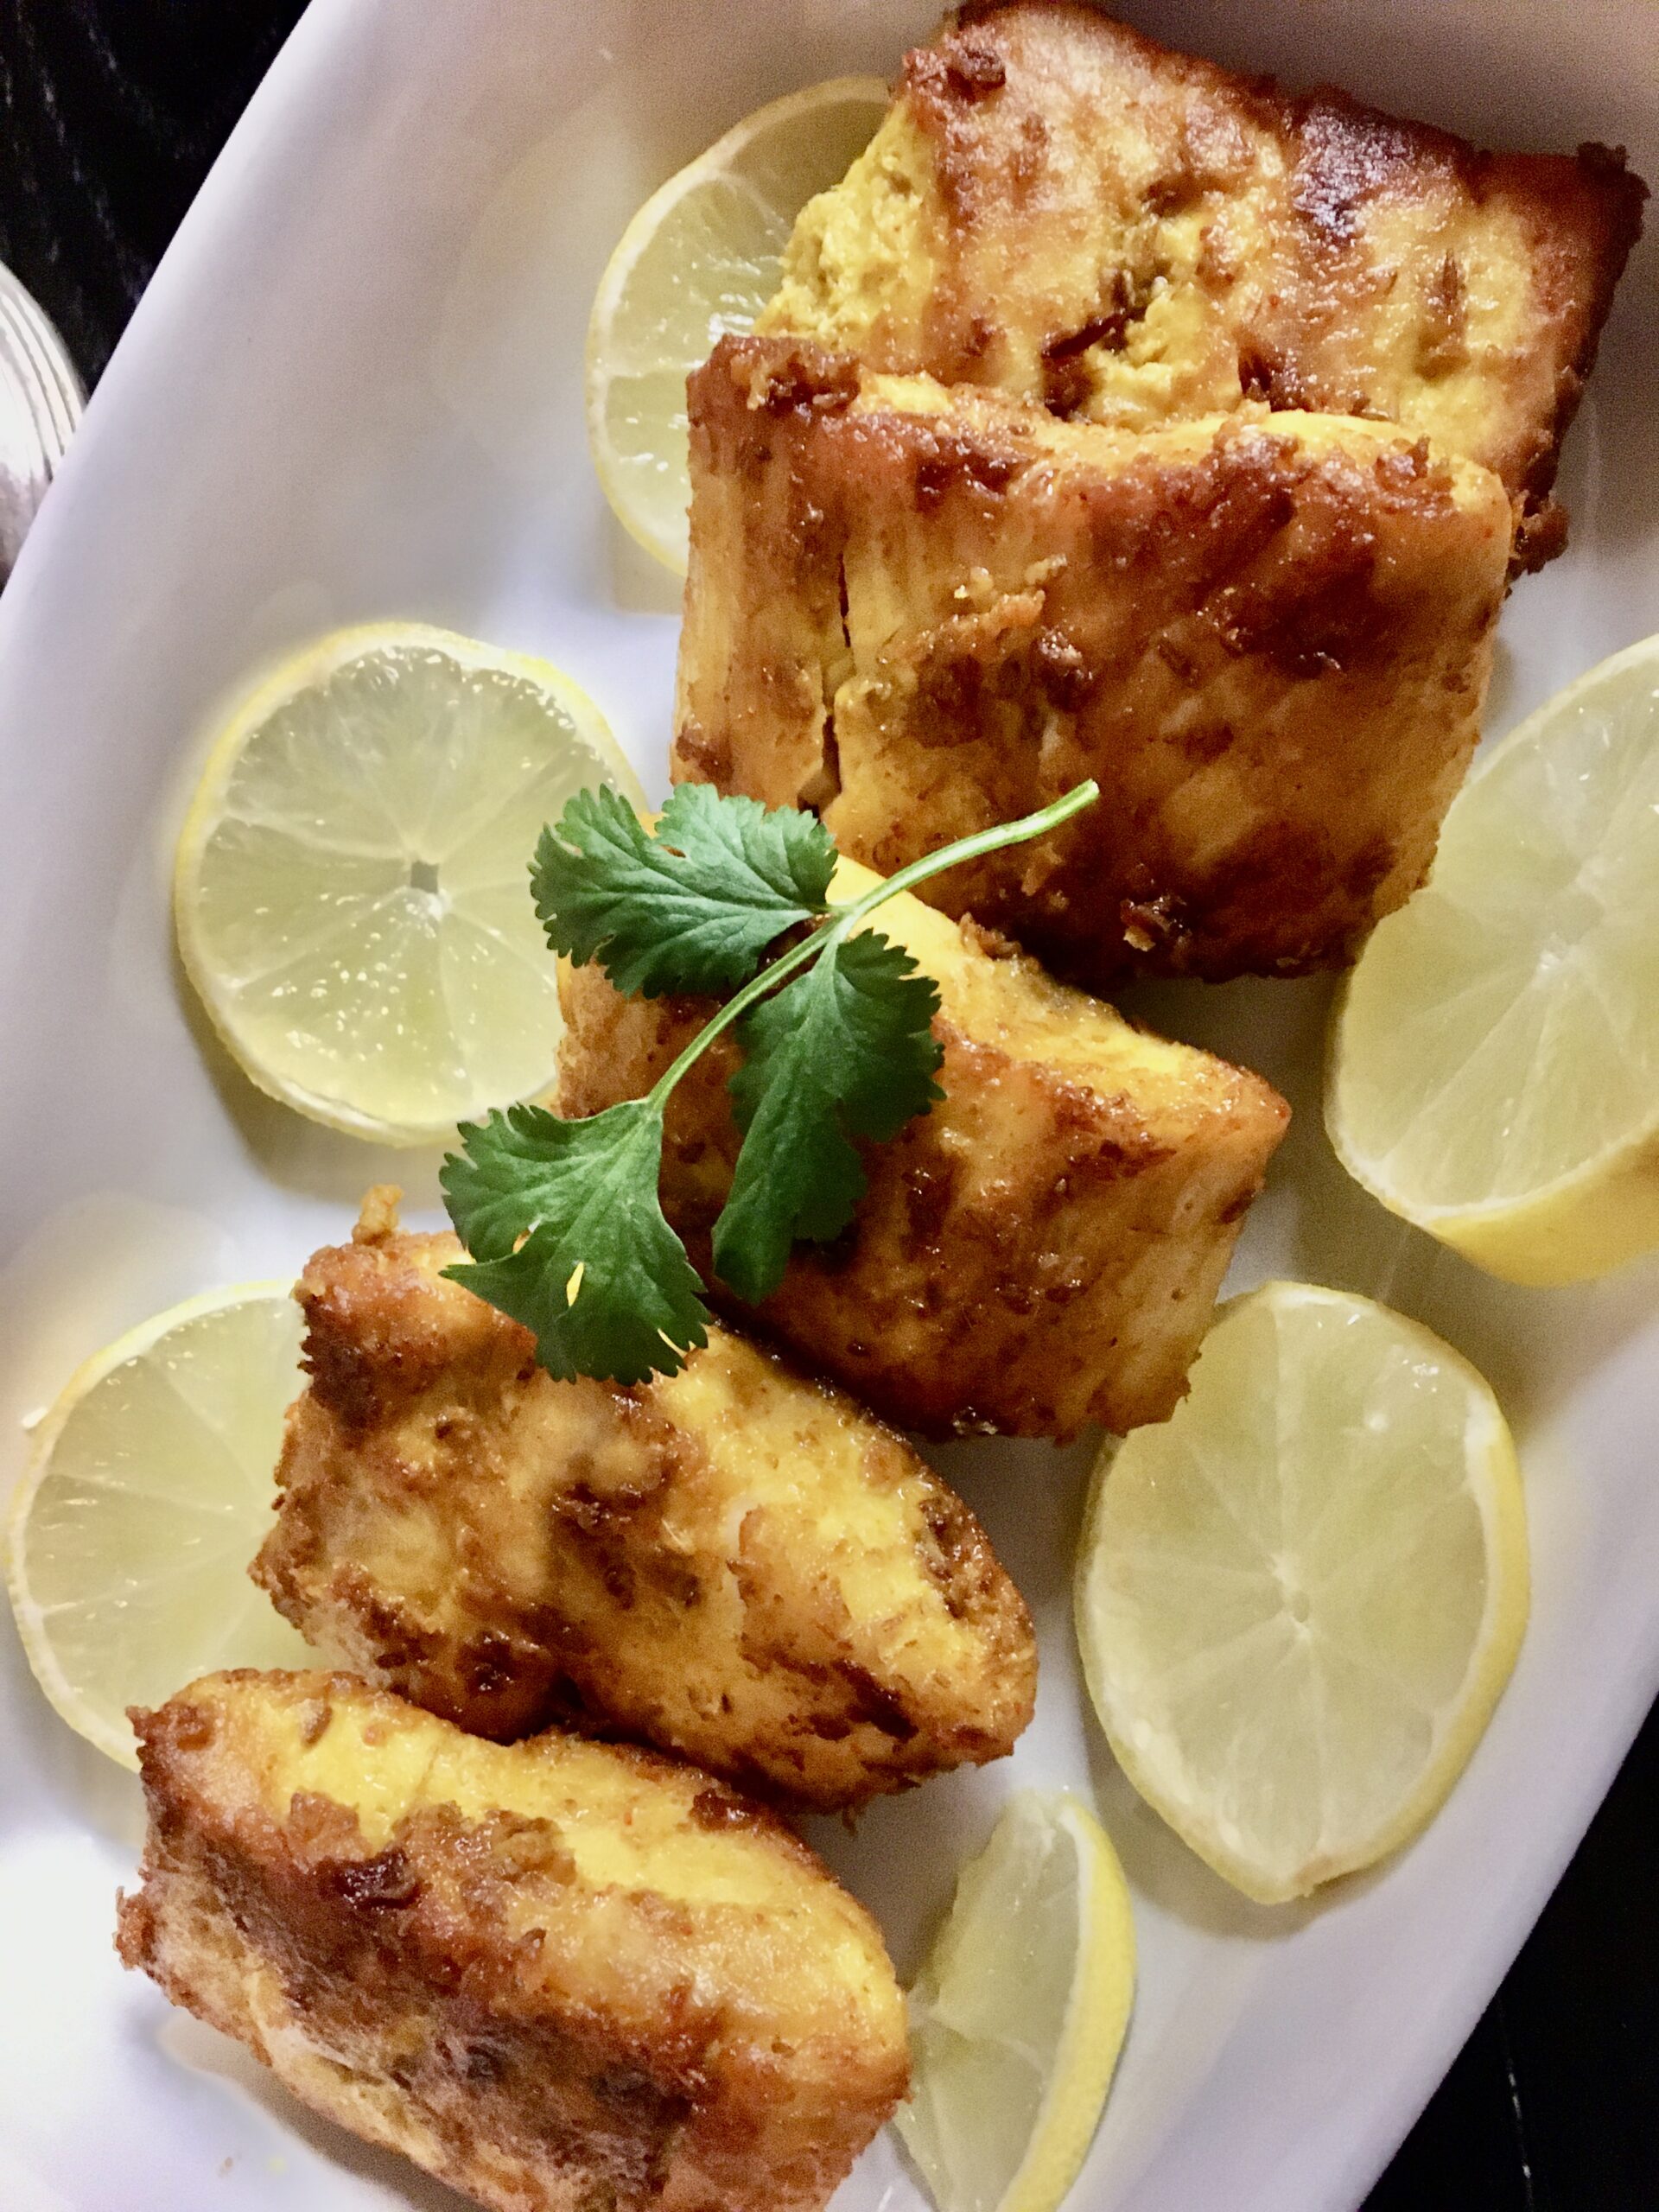
Tandoori Machi (Tandoori Fish Fry)
A tangy, spicy fish dish coated with flavorful tandoori masala.
Ingredients
- 2-3 lbs boneless firm or semi-firm white fish (mahi mahi, cod, haddock, flounder, tilapia)
- 2 Tbsp thick plain "hung" yogurt (see note)
- 1 Tbsp garlic-ginger paste
- ½ tsp chili powder or Kashmiri red chili powder (see note)
- 1 tsp coriander powder
- 1 tsp cumin powder
- 1 tsp turmeric powder
- ¼ tsp black pepper powder
- ½ tsp garam masala
- 1 tsp salt
- 1 tsp lemon juice
- 3 Tbsp cooking oil (for frying)
Garnish
- 1 medium yellow or red onion (sliced fine)
- 1 Tbsp fresh cilantro/green coriander leaves (chopped)
- ½ tsp chaat masala (from an Indian grocery store—optional)
- 1 lime/lemon (cut into wedges or slices)
Instructions
To Prepare
- If you are using frozen fish, be sure to defrost them overnight. Rinse the fish fillets and pat them dry. Slice them into thick two-inch slices. If they are thin fillets, leave them whole or cut them in half.
To Marinade
- In a bowl, mix the yogurt, ginger-garlic paste, salt, lemon juice, and spice powders, including a tablespoon of cooking oil. Blend well.
- Place your sliced fish into the bowl and gently rub the paste all over the fish pieces until nicely coated. (I use food-handling plastic gloves to keep the fish smell off my hands!).
- Cover the bowl with plastic wrap and keep in the refrigerator for at least 20-30 minutes.
To Cook
- Remove the fish from the refrigerator.
- Heat the remaining 2 tablespoons of oil in a high-rimmed skillet or frying pan over medium-high heat.
- Remove each piece of fish from the bowl, ensuring it is nicely coated with the marinade.
- Place in the hot oil one at a time. Do not overcrowd. You can fix it in batches.
- Save any remaining leftover marinade and add the onions to them. There should be very little marinade but enough for a light coating. You can even use them without the marinade.
- Fry the fish on each side for 3-4 minutes until golden.
- Place the fried fish on a paper towel to drain.
- Add the sliced marinated onions to the hot pan. There should be enough oil to lightly sauté the onions until they are translucent. Drain on a paper towel.
- Serve fish on a platter.
- Sprinkle some chaat masala over the fish (optional).
- Garnish with the sautéed onions. You can also use raw onions or garnish with lemon slices and cilantro. Any chutney will pair well with it.
- Serve with naan or any kind of flat bread. It goes well with a rice pilaf.
Notes
1. Kashmiri red chili powder is milder than red chili powder and imparts a deeper red color. A bit more heat than paprika but milder than cayenne.
2. You can use plain Greek yogurt or regular plain full fat yogurt that is strained to get rid of any whey. This is called hung yogurt and prevents the rest of the masala from becoming too runny.
3. Depending on the type and thickness of the fish you are using, the internal temperature of the fish should vary between 135 to 145 degrees F. Just make sure the center doesn't remain raw.
4. You can bake the fish in the oven at 350 degrees for 10-12 minutes or place it in the Air Fryer for 8-10 minutes.
5. You can also fix fish tacos with them.

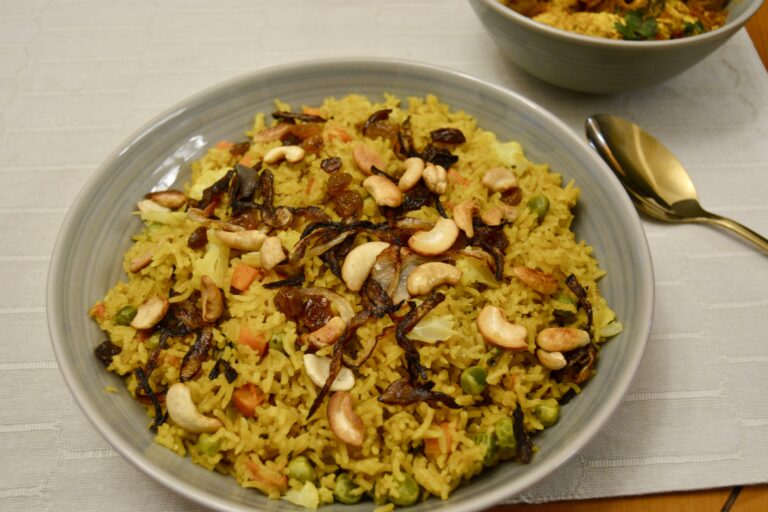
I vaguely remember the first time I had Biryani. It was for a special celebration in Bangalore, South India at my grandparents’ home. I remember a houseful of mother’s relatives! For us kids, a large square Dari (cotton carpet) was spread on the floor. Fresh banana leaves, washed and cut into oblongs, were placed before us. Then the women in the family came around, serving us heaped spoons of Biryani. No utensils were provided, and we ate with our fingers (hands duly washed and using the tips of our fingers to scoop up the rice)! It was delicious! Mama always fixed it for New Year’s lunch with Channa Dal Curry and Raita. I continue the tradition when able!

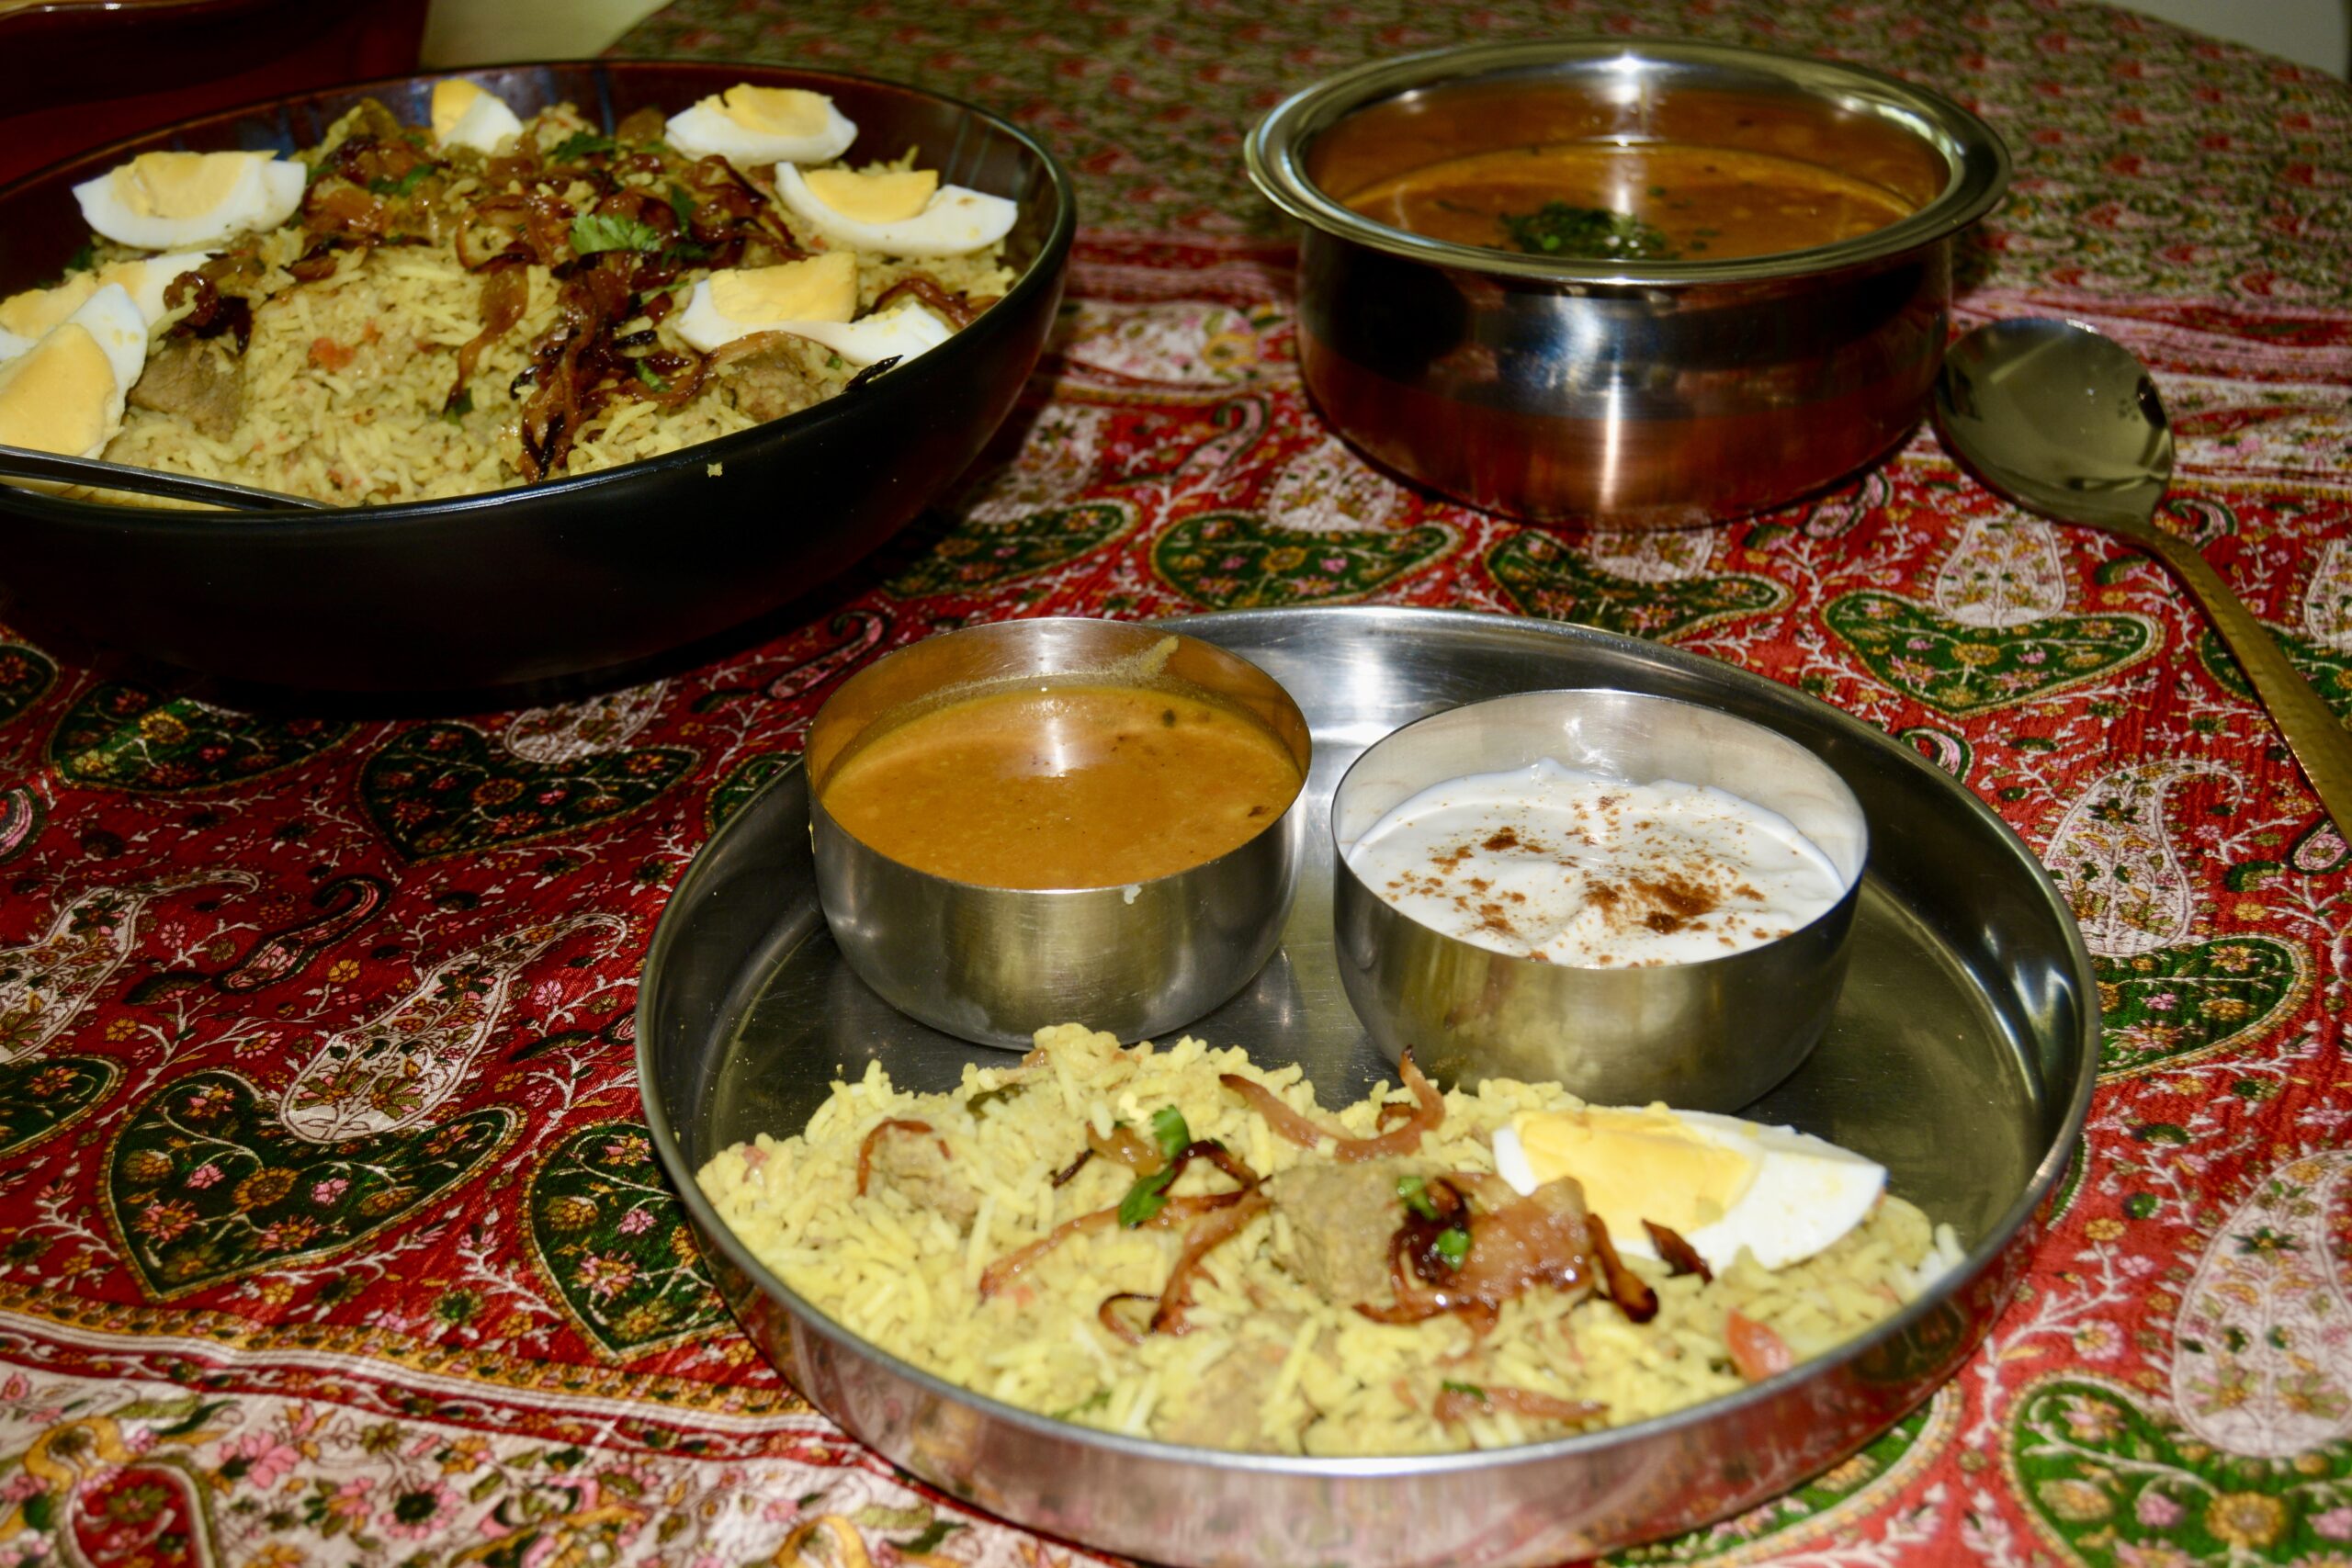
Mama's Biriyani
A mouth-watering, savory main dish brought to India by the Mughals.
Ingredients
- 2 lbs rice (wash and let soak in water for 15 minutes before you drain it)
- 3 lbs beef or mutton (ite-sized bits—wash, drain, and set aside)
- 3 tbsp ginger paste
- 2 tbsp garlic paste
- 2 tbsp green coriander (take 1 bunch, leaves only; remove stems, though a bit of stem is okay—wash and grind smooth)
- 3 tbsp coriander powder
- 1 tsp tumeric powder
Other Ingredients
- ¾ cup oil
- 4-5 large onions (large onions—peeled and chopped real fine.)
- 2 whole Serrano chilies (washed and almostslit in half—to taste)
- 4 sticks cinnamon
- 4 large black cardamom
- 4 small green cardamom
- 6 cloves
- 4 large tomatoes (chopped fine)
- 1 tbsp poppy seed (ground smooth—optional)
- 1 coconut (white part only, ground smooth with the poppy seed, or you can use a can of coconut milk)
- 1 cup yogurt (well-beaten )
- 2 tbsp mint leaves (chopped fine)
- salt (to taste)
- 2 fresh limes (juice only)
- 2 cups peas and carrots (optional)
- fried cashews and raisins (for garnish—see notes)
Instructions
To Prepare
- Gather all the ingredients before you start. Wash and soak the 5 cups of rice for 15 minutes before you drain it.
- Heat ¾ cup of oil. You need extra when you make biryani.
- Add the cinnamon, cardamom, and cloves. Add cut onions and slit green chilies. When half fried (about 10 mins) add meat and salt to taste. Cook in its own juice for about 10-15 minutes until the meat is no longer pink.
- Add the ground ginger, garlic, spice powders, and green coriander. Fry until the masala is done. That is, until the water has evaporated and the oil starts to surface at the bottom of the pan. It takes about 10-15 mins.
- Now add enough water to cover and cook the meat until three-quarters cooked. (You can use a pressure cooker if you like but make sure the meat is not overcooked). When the meat is three-quarters cooked, and the oil starts to surface on top, remove the pan from the stove. Drain out the excess oil into a measuring cup or bowl. Set aside.
- Put the meat back on the stove. Add the beaten yogurt, tomatoes, coconut, and cook until you have a nice thick gravy, about 10-15 minutes. Remove from stove.
- To the excess oil you set aside, add the finely cut mint and juice of the lime. Set aside.
For the Rice
- Boil 10 cups of water (two cups water to one cup rice). When the water comes to a boil, pour the rice into the boiling water, and add the salt.
- Add the peas and carrots, if desired.
- When the is almost cooked, drain off all the water. (To test if the rice is almost cooked, remove a few grains and press on them between your finger tips. Most of it will feel soft, but should still feel grainy).
To Cook the Biryani
- Turn the oven to 250°F.
- In a large roasting pan or oven-safe pot, place a layer of rice, then a layer of the korma curry. Continue in this fashion until the korma is used. The last layer should be the rice. Now drizzle the oil, lime, and mint mixture all over the rice. Cover the dish and cook at 250°F for 20 minutes.
- Pull the roaster out of the oven, uncover, and gently toss the rice with a fork so it blends well. Test if the rice is completely cooked. If it still feels grainy, then reduce the oven temperature to 200°F and cook the rice until it is done. Cooked, but not mushy.
- Garnish with fried cashew nuts, raisins, and Chandi kawarak (silver foil- available at an Indian grocery store). You can also slice and fry an onion and sprinkle it on top. I have even used boiled eggs, slit lengthwise.
Notes
To Fry the Cashews and Raisins:
Add 1-2 tbsps oil into a frying pan over medium-low heat. Add the cashews and let fry for about one minute until a pale golden color, then add the raisins, about 15-20 seconds, until puffed. Immediately remove the cashews and raisins from the pan and place in a dish until you need to use them. This prevents them from burning.
To Serve:
Biryani is served with Channa Dal (Split Chick Pea) Curry and any raita of your choice.
Raita is yogurt mixed with any of the following: grated cucumber, grated coconut, or a fresh chopped blend of onion, tomato, green chili, and cilantro.
Making It Easy:
Sometimes I make it easy on myself, and after making the korma, I just add the rice and the required amount of water. I learned this from a biryani recipe my eldest sibling makes. Just make sure you also take into consideration the amount of gravy when pouring in the water. If there is too much liquid, then the biryani becomes a curried rice porridge!
To Adjust the Serving Size to 4 Large or 6 Medium Portions:
Main Ingredients
1 lb rice (wash and let soak in water for 15 minutes before draining)
1.5 lbs beef or mutton (bite-sized bits—wash, drain, and set aside)
1.5 tbsp ginger paste
1 tbsp garlic paste
1 tbsp green coriander (ground smooth)
1.5 tbsp coriander powder
½ tsp turmeric powder
Cooking & Flavoring Ingredients
6 tbsp (or ⅜ cup / ~⅓ cup) oil
2 to 2.5 large onions (peeled and chopped real fine)
1 whole Serrano chili (washed and almost slit in half—to taste)
2 cinnamon sticks
2 large black cardamoms
2 small green cardamoms
3 cloves
2 large tomatoes (chopped fine)
½ tbsp poppy seeds (ground smooth—optional)
½ fresh coconut (white part only, ground smooth) OR ½ cup canned coconut milk
½ cup yogurt (well-beaten)
1 tbsp mint leaves (chopped fine)
Salt (to taste)
1 fresh lime (juice only)
1 cup peas and carrots (optional)
Fried cashews and raisins (for garnish)
Streets of Bangalore Photo by Andrea Leopardi on Unsplash
 Dals are an integral part of an Indian meal, and we have a variety of them. With the abundance of dals and the many ways to season them, we could have a different dal every day of the month and not repeat a recipe!
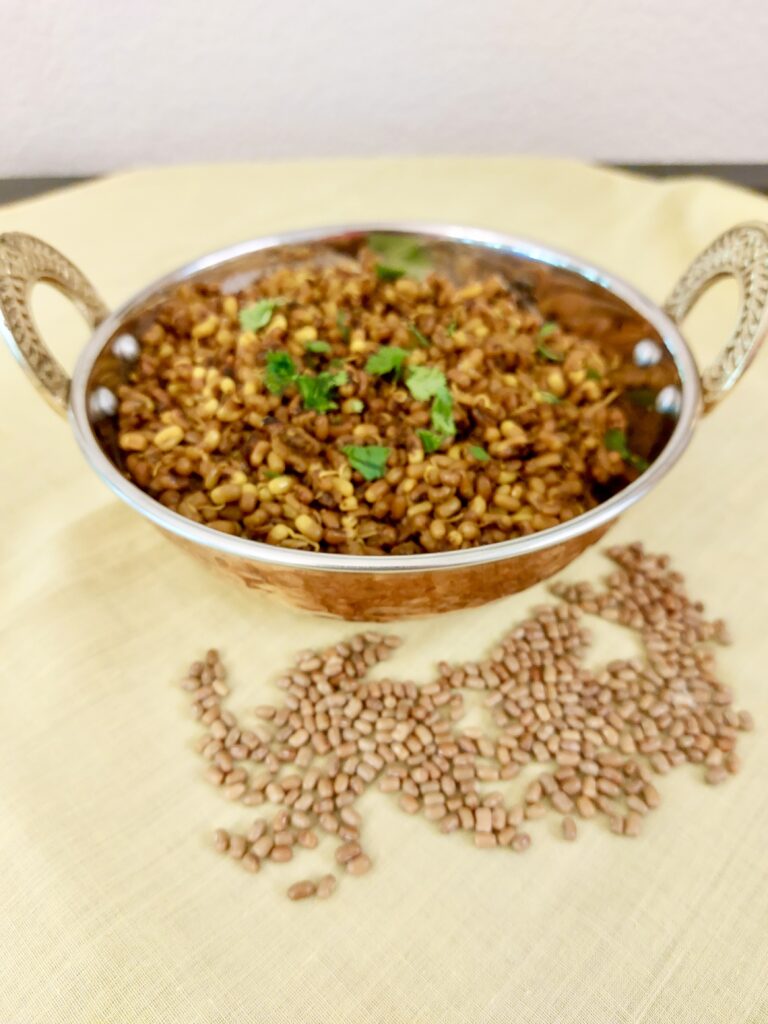
One of my favorites is a small brownish bean, rather like a whole green moong bean, called moth (pronounced moat) or matki. These lentils are highly nutritious and can be prepared in a variety of ways.
This particular recipe uses sprouted moth beans. It makes a great anytime snack or a side dish to a meal. Sprouted beans can also be used in salads.
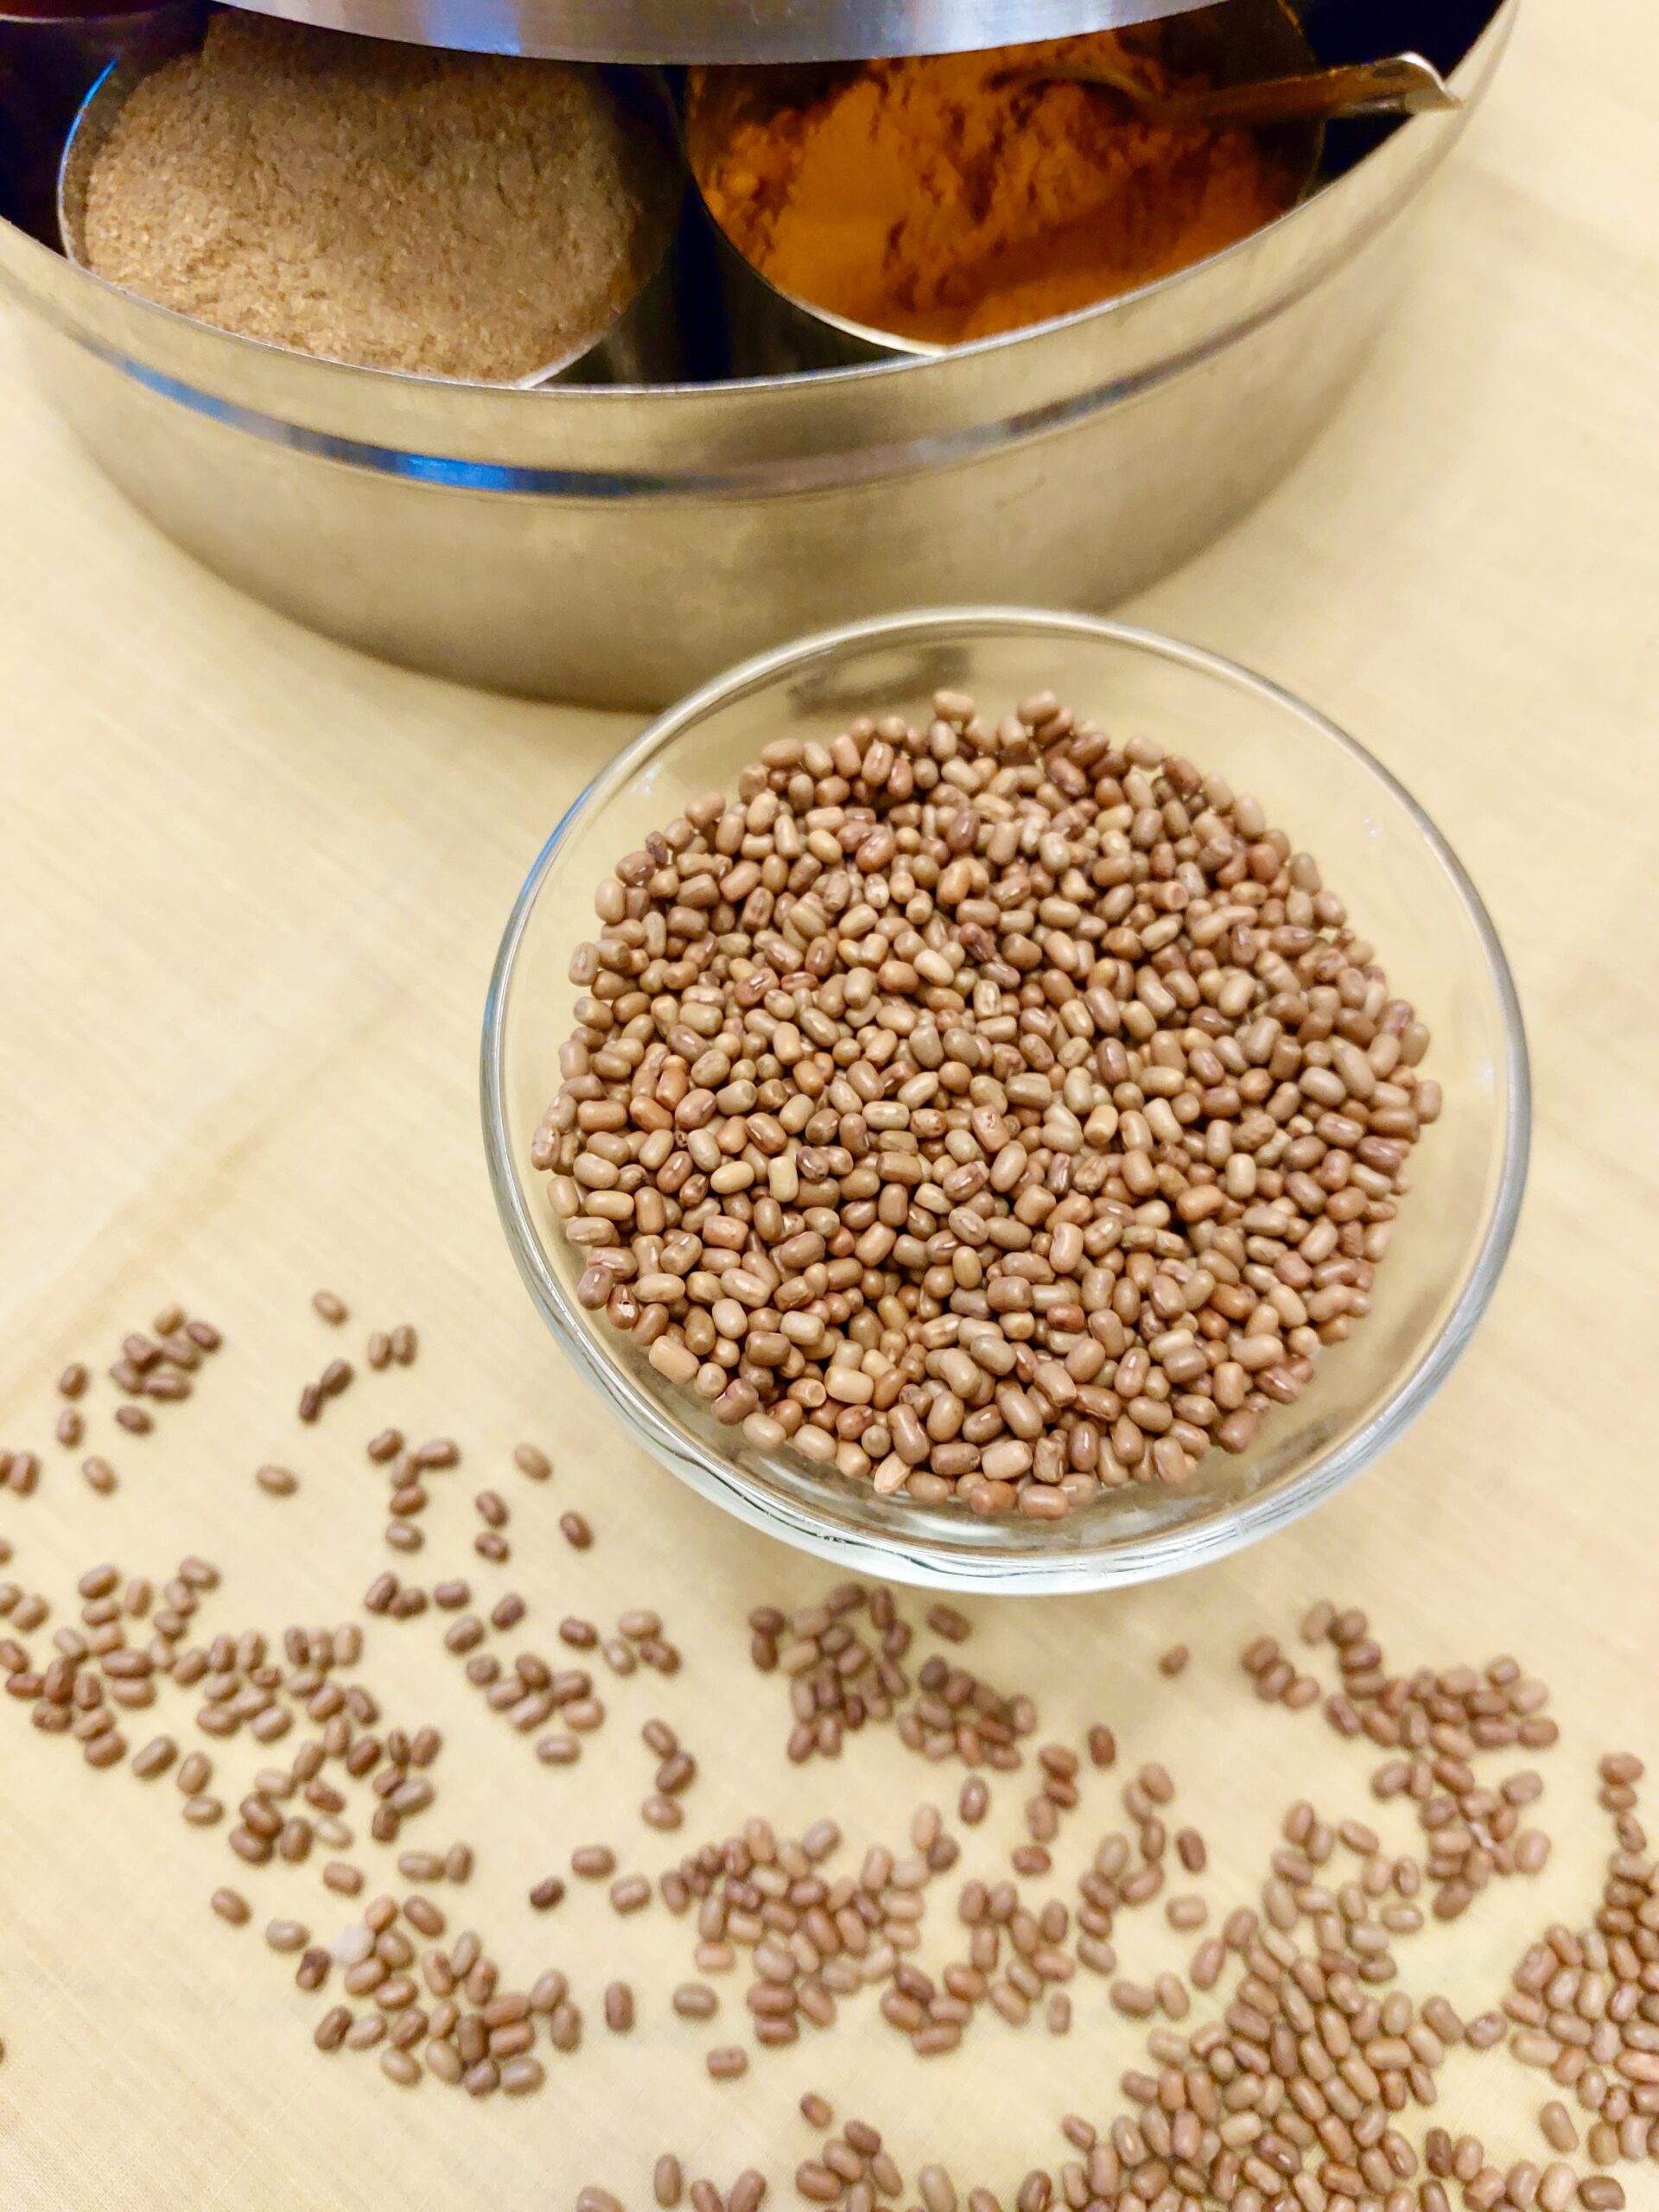
Moth/Matki Sukha Sabzi (Sauteed Moth Bean)
Moth/matki lentils make a great anytime snack or a side dish to a meal. Sprouted beans can also be used in salads.
Ingredients
- 1 cup moth beans
- 1 medium yellow or red onion (chopped)
- 1 tsp cumin powder
- 1 tsp turmeric powder
- ¼ tsp red chili powder (or to taste)
- ⅛ tsp garam masala
- ½ tsp amchur powder (or 1 Tbsp lemon juice)
- 1 tsp salt
- 2 Tbsp cooking oil
- 1 Tbsp fresh chopped cilantro (coriander leaves) (for garnish)
Instructions
To Prepare the Dal
- Sort the moth beans clean of any grit.
- Pour into a medium bowl or pot. Wash the moth about 4 times, rubbing the beans gently between your fingers.
- Add 4-5 cups of water. It should be enough to cover the beans by about 2 inches. Leave to soak overnight or for at least 4 hours. Strain the moat and wrap them in a moist muslin/cheesecloth. A clean kitchen cloth will also do.
- Now, put the wrapped beans into the bowl or pot. Sprinkle water over them, cover them, and let them sit for two days. Be sure the cloth is kept moist so that the moth can sprout.
- After two days, they should be sprouted. Not all of them will sprout sometimes, but that is fine. If half are still not sprouted, leave them for another day to continue sprouting.
To Cook
- Lightly rinse the beans and set aside.
- Peel and dice onions reasonably small. About ¾ cup is good.
- Place a medium pan or skillet on medium heat. Heat 2 tablespoons of oil in the pan.
- Add the chopped onion.
- Sauté for 4-5 minutes until translucent and the edges start to turn golden.
- Now add all the powdered spices and salt. Sauté for 30 seconds. Don't let the spices burn.
- Add the sprouted moth beans. Stir gently so the beans are coated with the spices.
- Add ¾ cup of warm or hot water.
- Cover the pan with a lid, lower the heat to medium-low, and let simmer for about 20 minutes, stirring occasionally, until the beans are soft but not mushy.
- Sprinkle with lemon juice or amchur powder and gently stir the dal.
- Pour into a serving bowl and garnish with the chipped cilantro.
Notes
This dish can be used as a stand alone snack, a roti side dish, or a wrap.
For salad, toss with some chopped onion, tomato, and cucumber.
To use as a chaat (street food): Toss with boiled potatoes and sprinkle some chaat masala over it with a drizzle of sont (sweet and tangy tamarind sauce).
If you have a bean sprouter, you can use that to sprout the moth.
If you have a bean sprouter, you can use that to sprout the moth.