 It is dusk in New Delhi. There is a crowd of people jostling around the kebab stall, trying to get the attention of the counter guys. No question of a queue for this hungry crowd, of course! You will get served if you are lucky enough to push your way to the front. The cooks are busy turning the kebabs on the spit. The aroma has my mouth watering. I stand back and watch my brother-in-law and husband push their way through. Amazingly they are back in a short while with the kebabs wrapped in foil with a side of thinly sliced vinegared onions and mint chutney. They also manage to get some rumali rotis (soft, thin, oversized stretchy rotis that go well with tandoori dishes). We head home to feast.
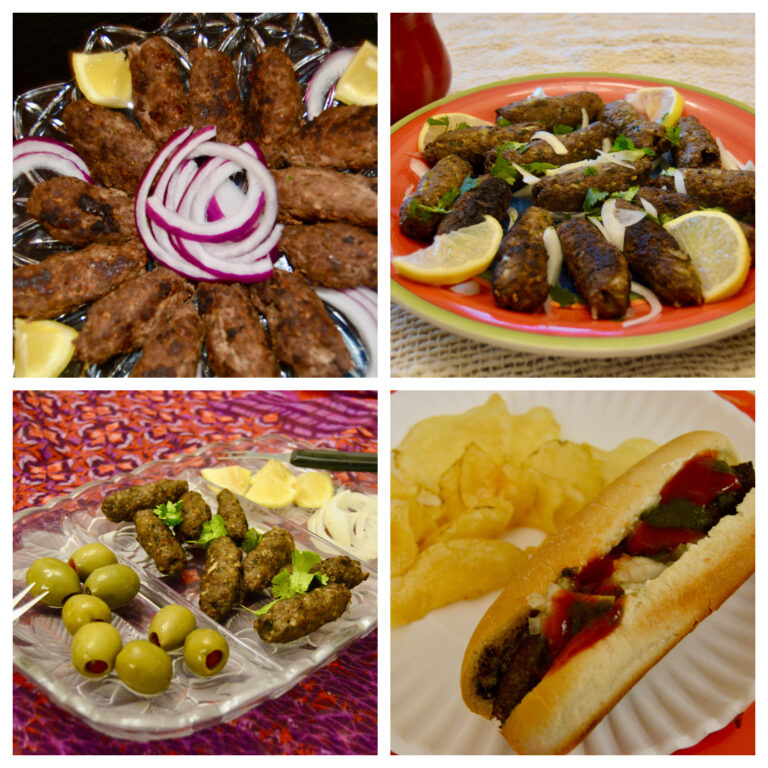
Seekh Kebabs are made out of ground meat, predominantly lamb, beef, or chicken, flavored with aromatic spices. This recipe is with beef. The meat is marinated with spices and shaped into sausage-like cylinders on skewers. Typically cooked in a tandoor in restaurants, it can be grilled or barbequed at home.
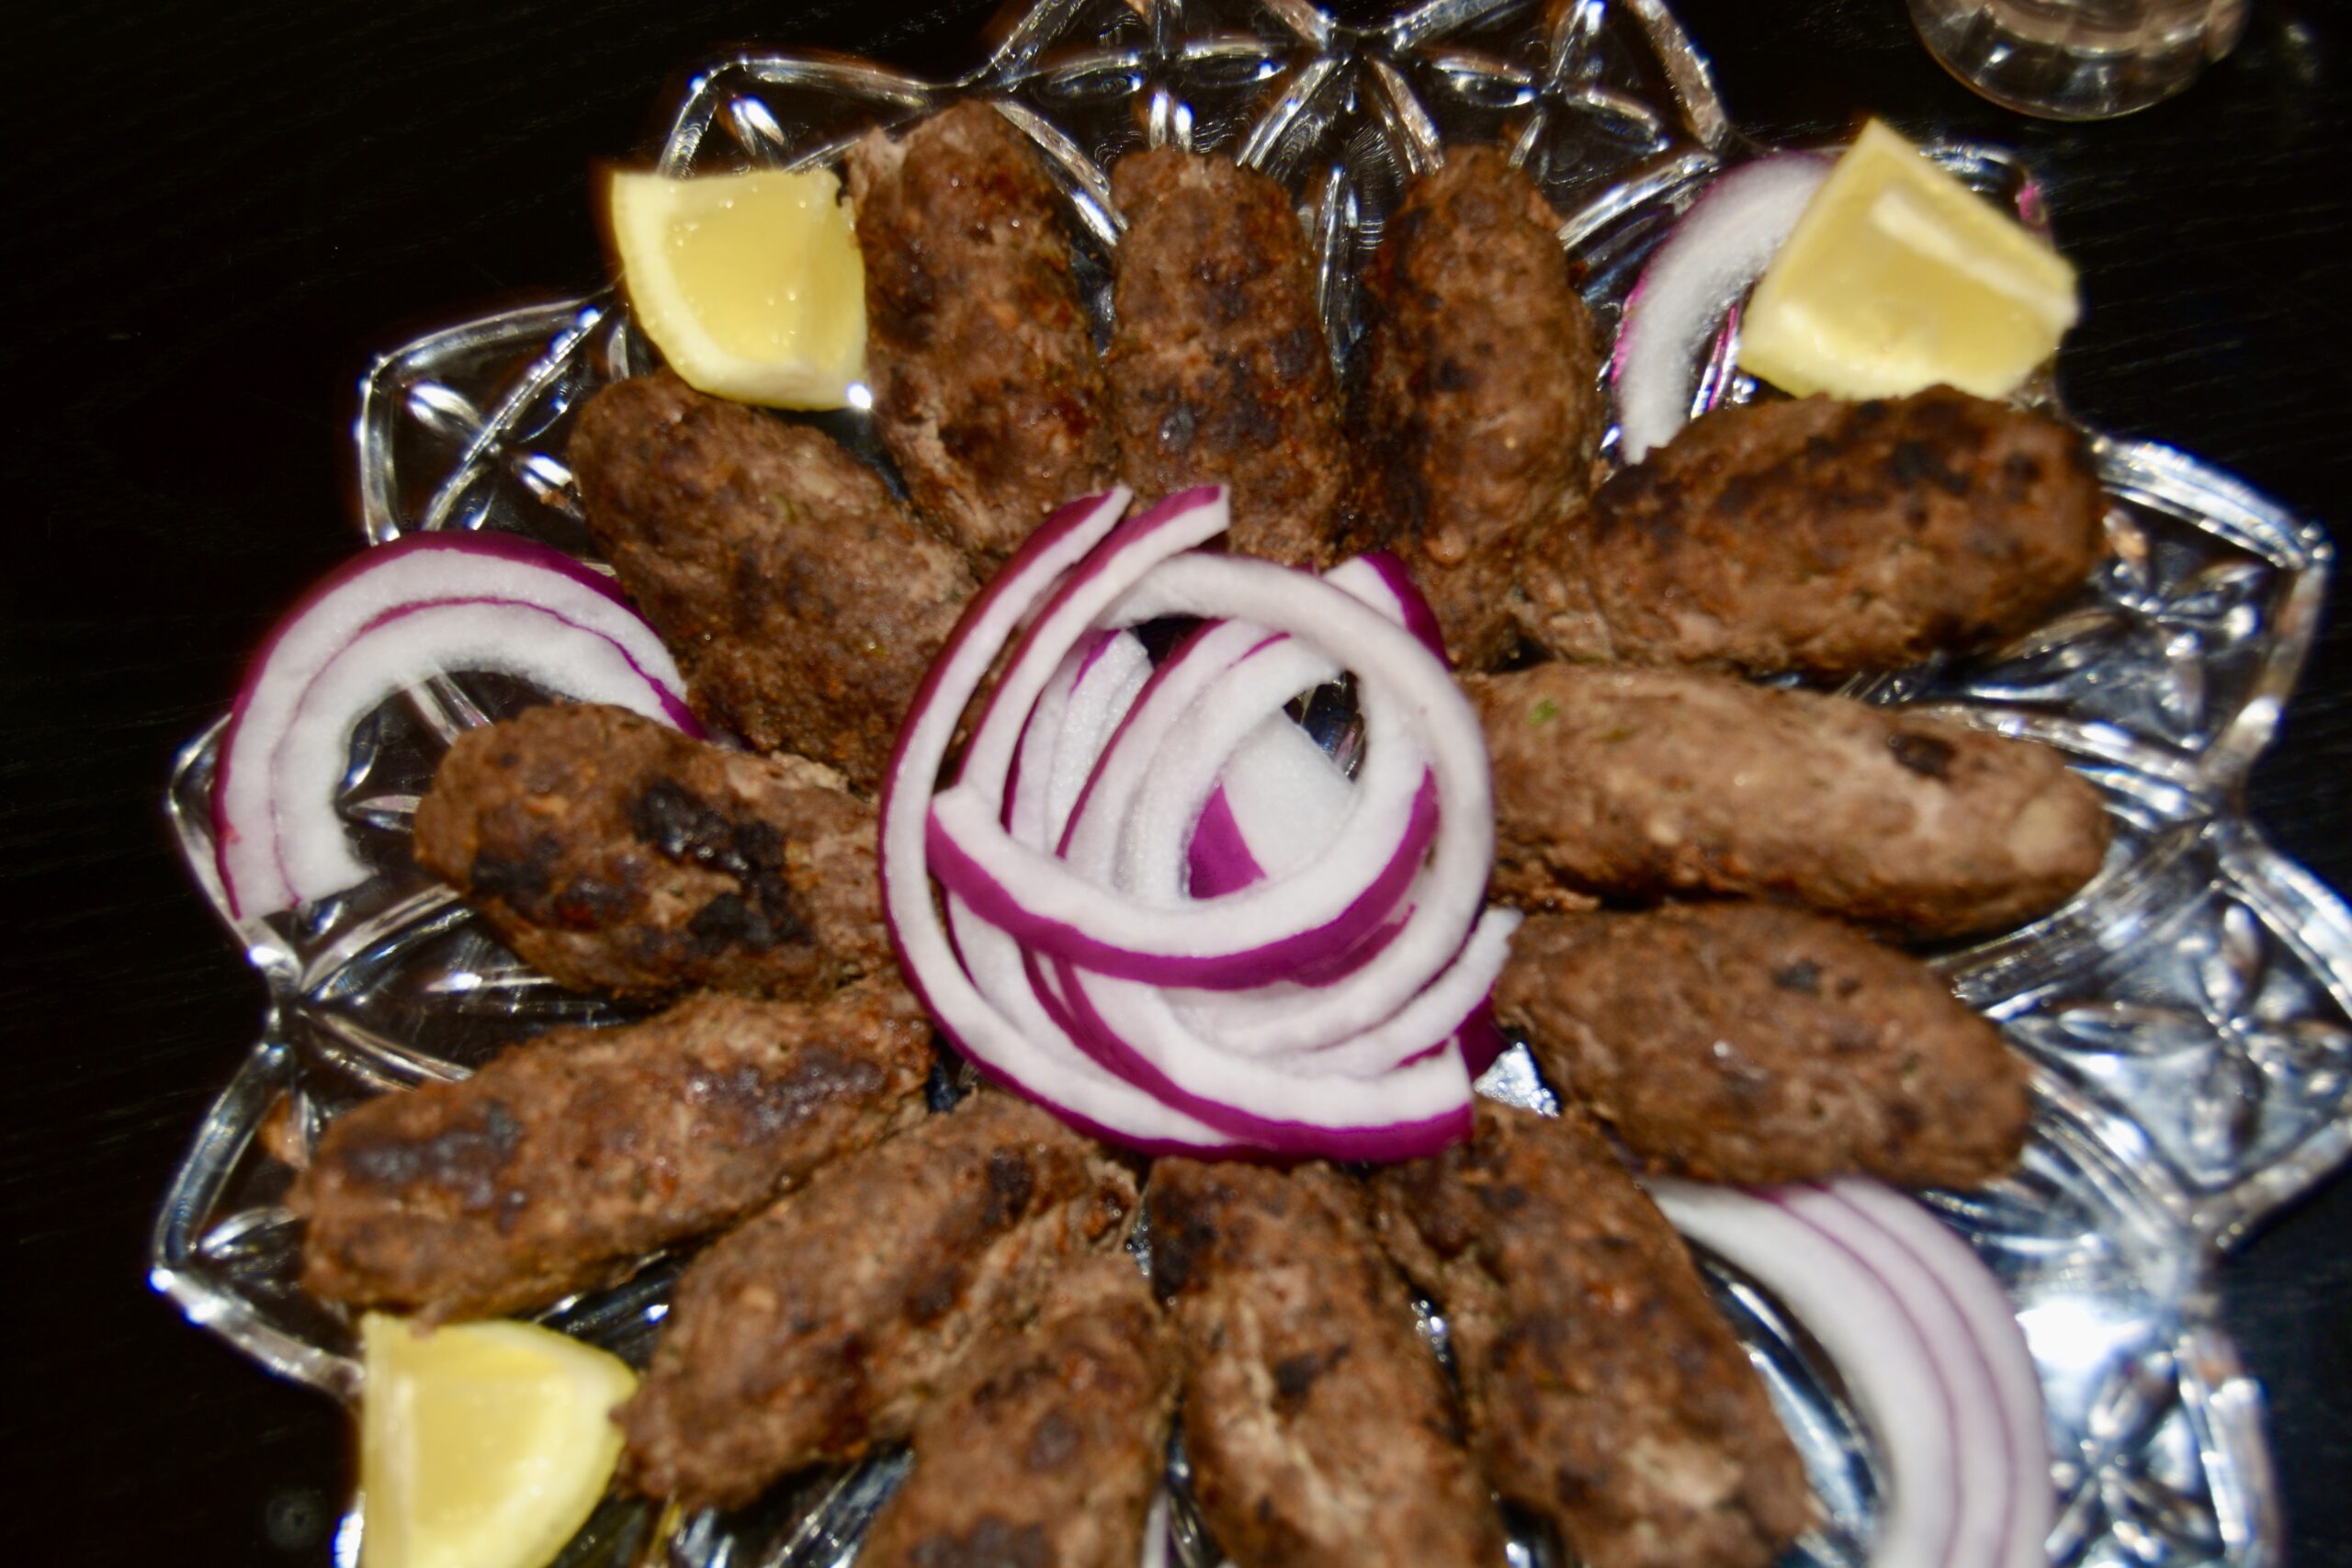
Seekh Kebabs (Ground Meat Skewers)
Ingredients
- 1 lb ground beef ((20% fat content))
- 1 tsp whole coriander seeds
- 1 tsp whole cumin seeds
- ½ medium onion
- 2 tsp ginger-garlic paste
- 1 medium Serrano green chili (optional)
- 1 cup fresh cilantro (loosely packed, save a little for garnish)
- ½ tsp black pepper powder
- ¼ tsp turmeric powder
- ½ tsp chili powder (optional, to taste)
- ¾ tsp dry mango powder (amchur) (found in Indian grocery stores)
- 1½ tsp salt ( or to taste)
- 1 tbsp oil
For Garnish
- 1 lemon (sliced or quartered )
- 1 tsp fresh cilantro (finely chopped)
Instructions
- Using a skillet or griddle, dry roast the whole coriander seeds and cumin seeds on medium heat until fragrant. Approximately 1 minute.
- Pour into a small bowl and set aside to cool.
- Grind to a fairly fine powder in a spice or coffee grinder.
- Process the onion, cilantro, ginger, garlic, and green chili into a fine paste in a processor or blender.
- Pour the mixture through a fine strainer and drain the excess liquid by pressing down on it with a spoon or paper towel.
- Add the beef, the ground paste, and the rest of the spices in a large bowl.
- Knead till all the ingredients are well mixed. Take at least 5 minutes to do this, as it helps keep the kebabs from breaking on the skewer.
- Rest the mixture in the refrigerator for 4 hours or overnight.
- Divide the ground beef mixture into 8-10 portions.
- Form into smooth meatballs.
- On a flat surface, using your fingers, roll the meatballs into sausage shapes about 4" long and 3/4" in diameter. Make sure they are of even thickness.
- Gently slide a skewer through the middle. You can also form and shape the kebabs directly on the skewer. Make sure the meat is evenly distributed on the skewer.
- Place on a rimmed baking sheet and refrigerate for 30 minutes or more until ready to use.
- Heat a well-oiled cast iron or nonstick stove top grill on medium-high.
- Grill the kebabs, rotating carefully, until evenly well-browned on the surface and cooked through. It takes about 10-15 minutes. (The kebabs can be cooked in several ways. See notes).
- Garnish with lemon slices or wedges and a sprinkle of chopped cilantro.
- Serve with rumali roti, naan, or flatbread with mint chutney and thinly sliced onions (red or yellow).
Notes
 Other ways to serve Seekh Kebabs:
1. I will sometimes serve the kebabs with a hot dog bun, mayonnaise, and mint chutney topped with sliced onions for an Indo-American fusion. You can pickle the onions (red or yellow) in vinegar a couple of days ahead to add a little zest.
2. Fix smaller-sized kebabs for cocktail parties.
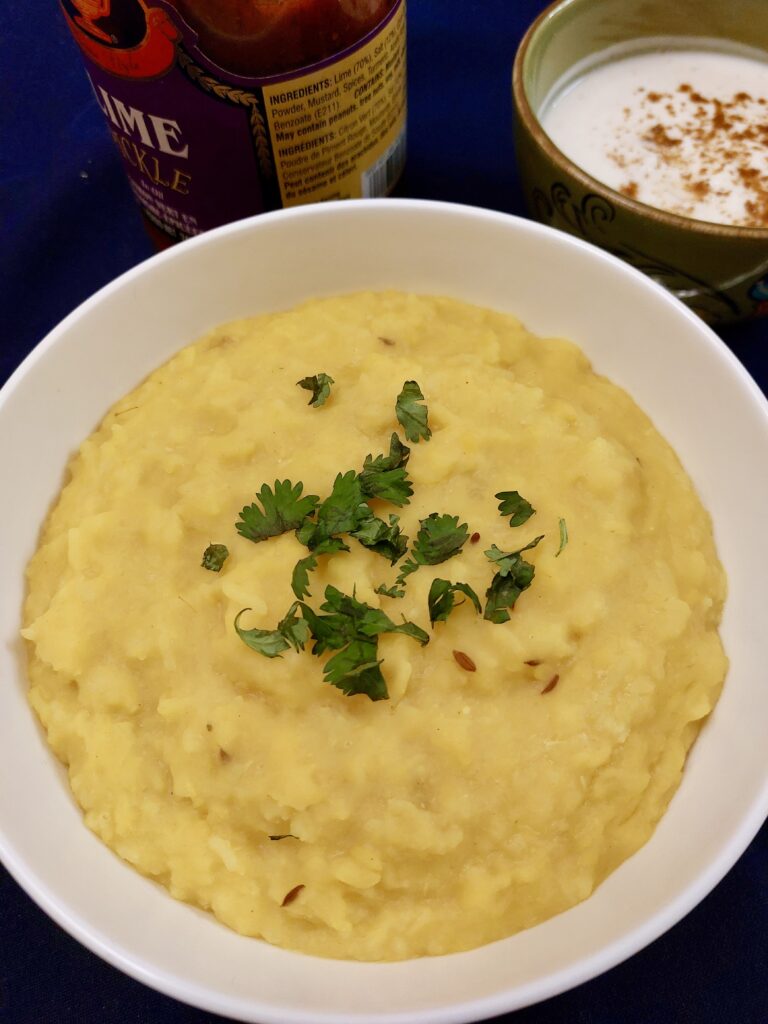
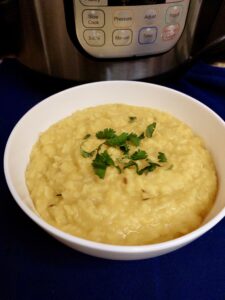
A tasty one-pot meal that is satisfying, khichdi is one of my comfort foods. It is a porridge or thick soup made of rice and lentils. This was Mama’s go-to meal for us as kids anytime we were sick and had lost our appetite due to the antibiotics. She also gave it to us if we had an upset tummy, as khichdi is easy to digest.
I fix it to take a break after overindulging in too many fatty or fried foods!
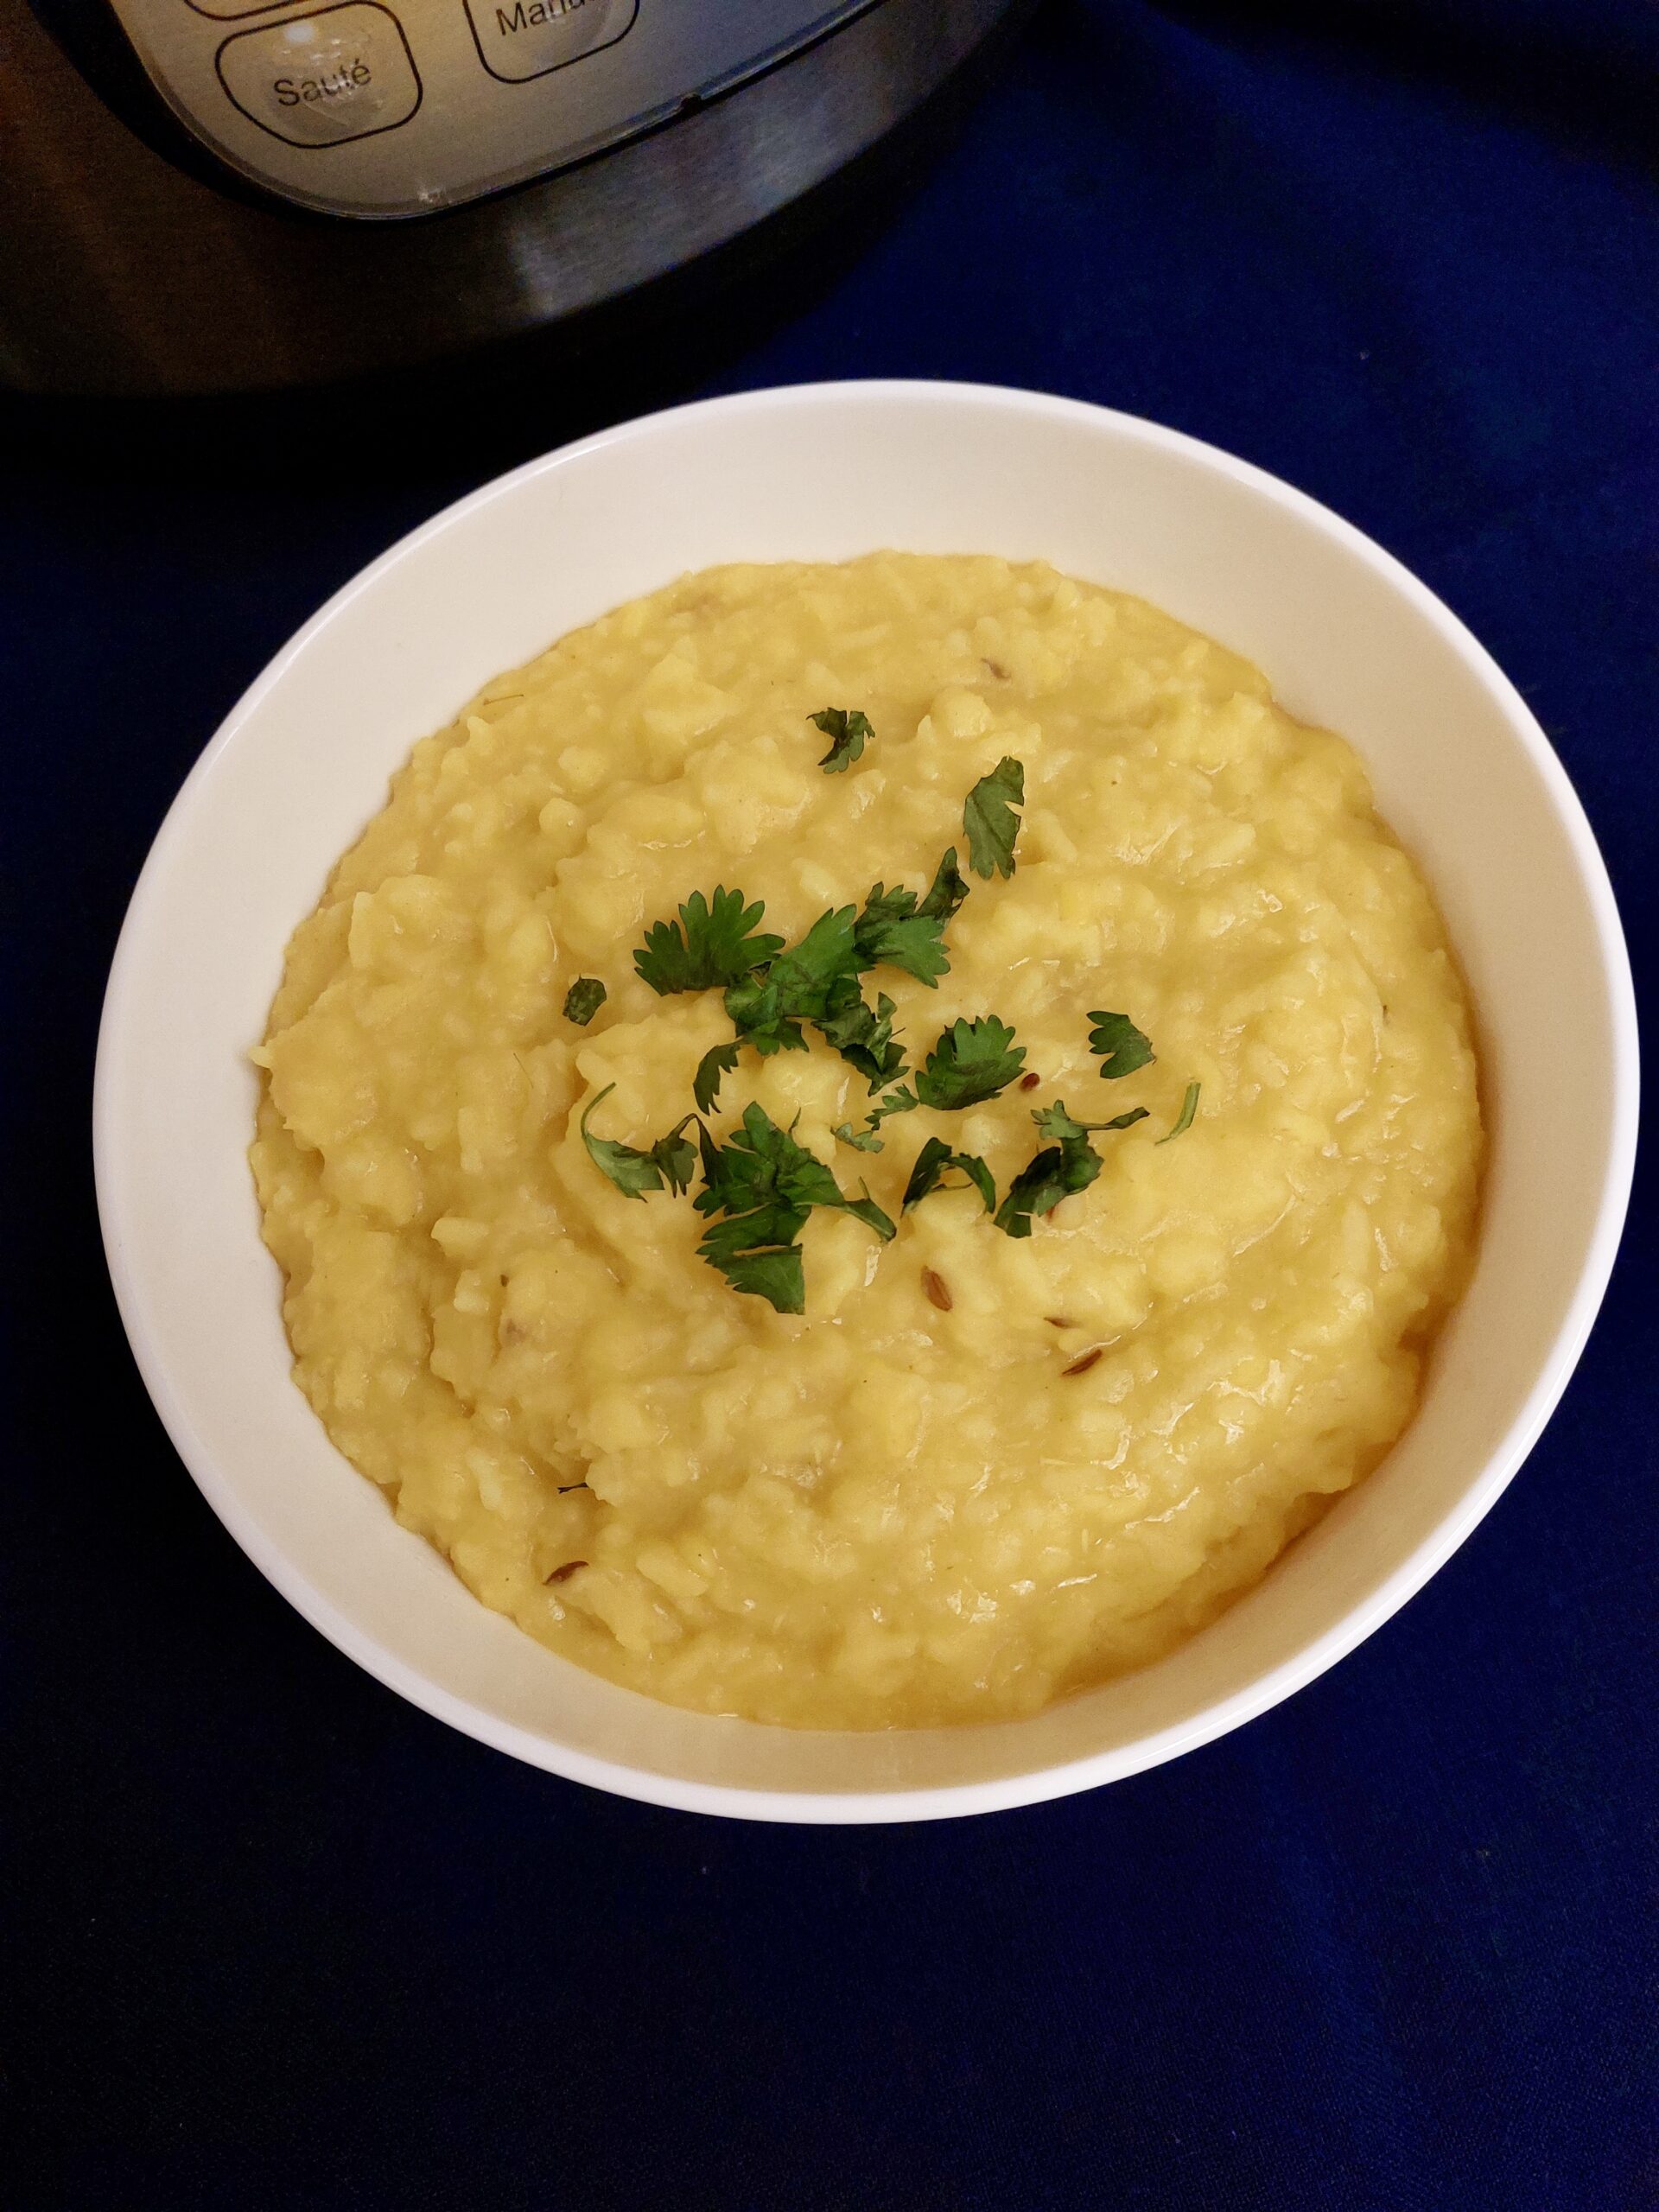
Khichdi (Rice and Lentil Porridge)
Ingredients
- ¾ cup rice
- 1 cup yellow lentils (dhuli moong dal)
- 5 cups water
- 1 inch ginger (peeled and finely chopped)
- 1 tsp Turmeric (haldi)
- 1½ tsp salt
Tadka (Tempering)
- 1 tbsp desi ghee, butter, or oil
- ½ tsp cumin (zeera) seeds
Garnish
- 2 tsp desi ghee or butter
- 1 tbsp chopped cilantro or parsley leaves (optional)
Instructions
To Cook
- Pick and clean the rice and dal of any grit.
- Wash the rice and dal thoroughly.
- Soak for 30 minutes to reduce stove-top cooking time.
- Strain and put the rice and dal into a deep heavy bottomed cooking pot.
- Add water, ginger, turmeric, and salt.
- Bring to a boil on medium-high heat.
- Reduce heat to medium-low, cover, and cook partially covered as rice and lentil expand when cooked, and the broth might overflow.
- Stir in between to avoid burning.
- Simmer covered until rice and dal are well blended and tender—approximately 25-30 minutes.
- The consistency should be like a porridge or thickish soup. (You can also add less water if you want it on the firmer side).
- Remove the pot from the heat. Taste and add more salt if needed.
To Tadka (Temper)
- Heat the desi ghee, butter, or oil in a small frying pan.
- Add the cumin seeds (be careful of oil splatters).
- As soon as the cumin starts to splutter (30 seconds), turn the heat off. Pour into the cooked broth.
- Stir and let it sit for 5 minutes to absorb the flavors of the tadka.
- Pour into a serving dish or individual bowls.
To Garnish
- Garnish with the desi ghee or butter and chopped cilantro leaves.
- Serve with plain yogurt, Indian pickles, or papads (lentil wafers) from your local Indian grocery store.
Notes
 u can start with the tempering, then add all the other ingredients and cook. This works well when using a manual or electrical pressure cooker. Just follow the cooking times on the manual and reduce the water to 3 cups.
2. If the khichdi gets too thick, you can adjust the broth by adding more hot water.
3. You can also substitute red lentils or split green moong bean lentils for the yellow lentils.
4. Different styles of khichdi involve vegetables and more spicy tempering—recipes I shall share later.
u can start with the tempering, then add all the other ingredients and cook. This works well when using a manual or electrical pressure cooker. Just follow the cooking times on the manual and reduce the water to 3 cups.
2. If the khichdi gets too thick, you can adjust the broth by adding more hot water.
3. You can also substitute red lentils or split green moong bean lentils for the yellow lentils.
4. Different styles of khichdi involve vegetables and more spicy tempering—recipes I shall share later.I am running late! The guests arrive in about an hour for cocktails, and I still have to shower and get ready. I have decided this morning to add meat tikkas to my long list of items for the cocktail party this evening. If you live in a military camp or cantonment area with your squadron or unit, you end up hosting, at the very least, one cocktail and one dinner party a month. Since it is on a reciprocal basis, you end up attending several in a month!
With everyone being so close-knit, you cannot leave anyone out for fear of hurting someone’s feelings. You invariably end up with at least 40 people at each party. If you are stationed in a big city, it is different because with distances, the pace slows down, and it is easier to meet at clubs or restaurants.
I instruct the cook as to how I want the meat tikkas finished and plated. She tells me to go get ready she will take care of it. I think she hates me hovering around!!
The table is already set with all the other snacks. The bar is stocked, the ice is ready in the bucket, and the glasses for the drinks and soft drinks are all laid out. The fresh flowers from the garden make a beautiful centerpiece. Everything looks in order. My husband is at the bar reorganizing his stock of liquor. I rush to get ready.
Tikkas in India can be chunks of marinated meat or ground meat or mashed vegetables seasoned with spices and shaped into cutlets.
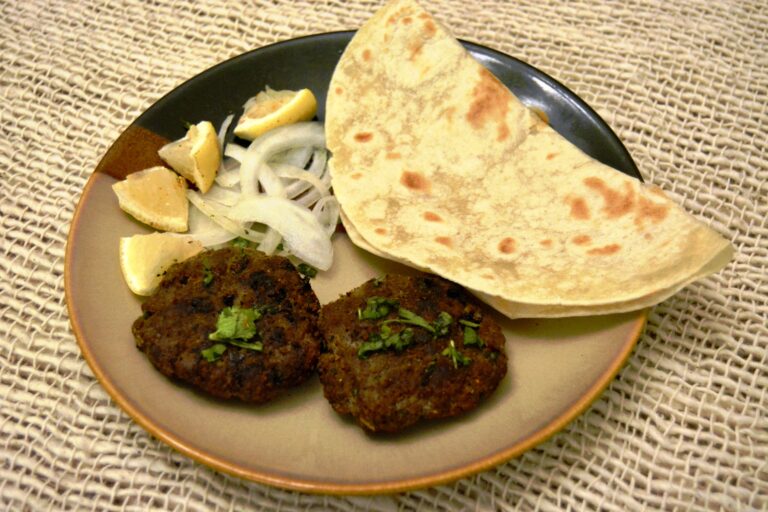
Masala Kheema Tikka is a savory blend of onions, ginger, garlic, and spices formed into patties and grilled.
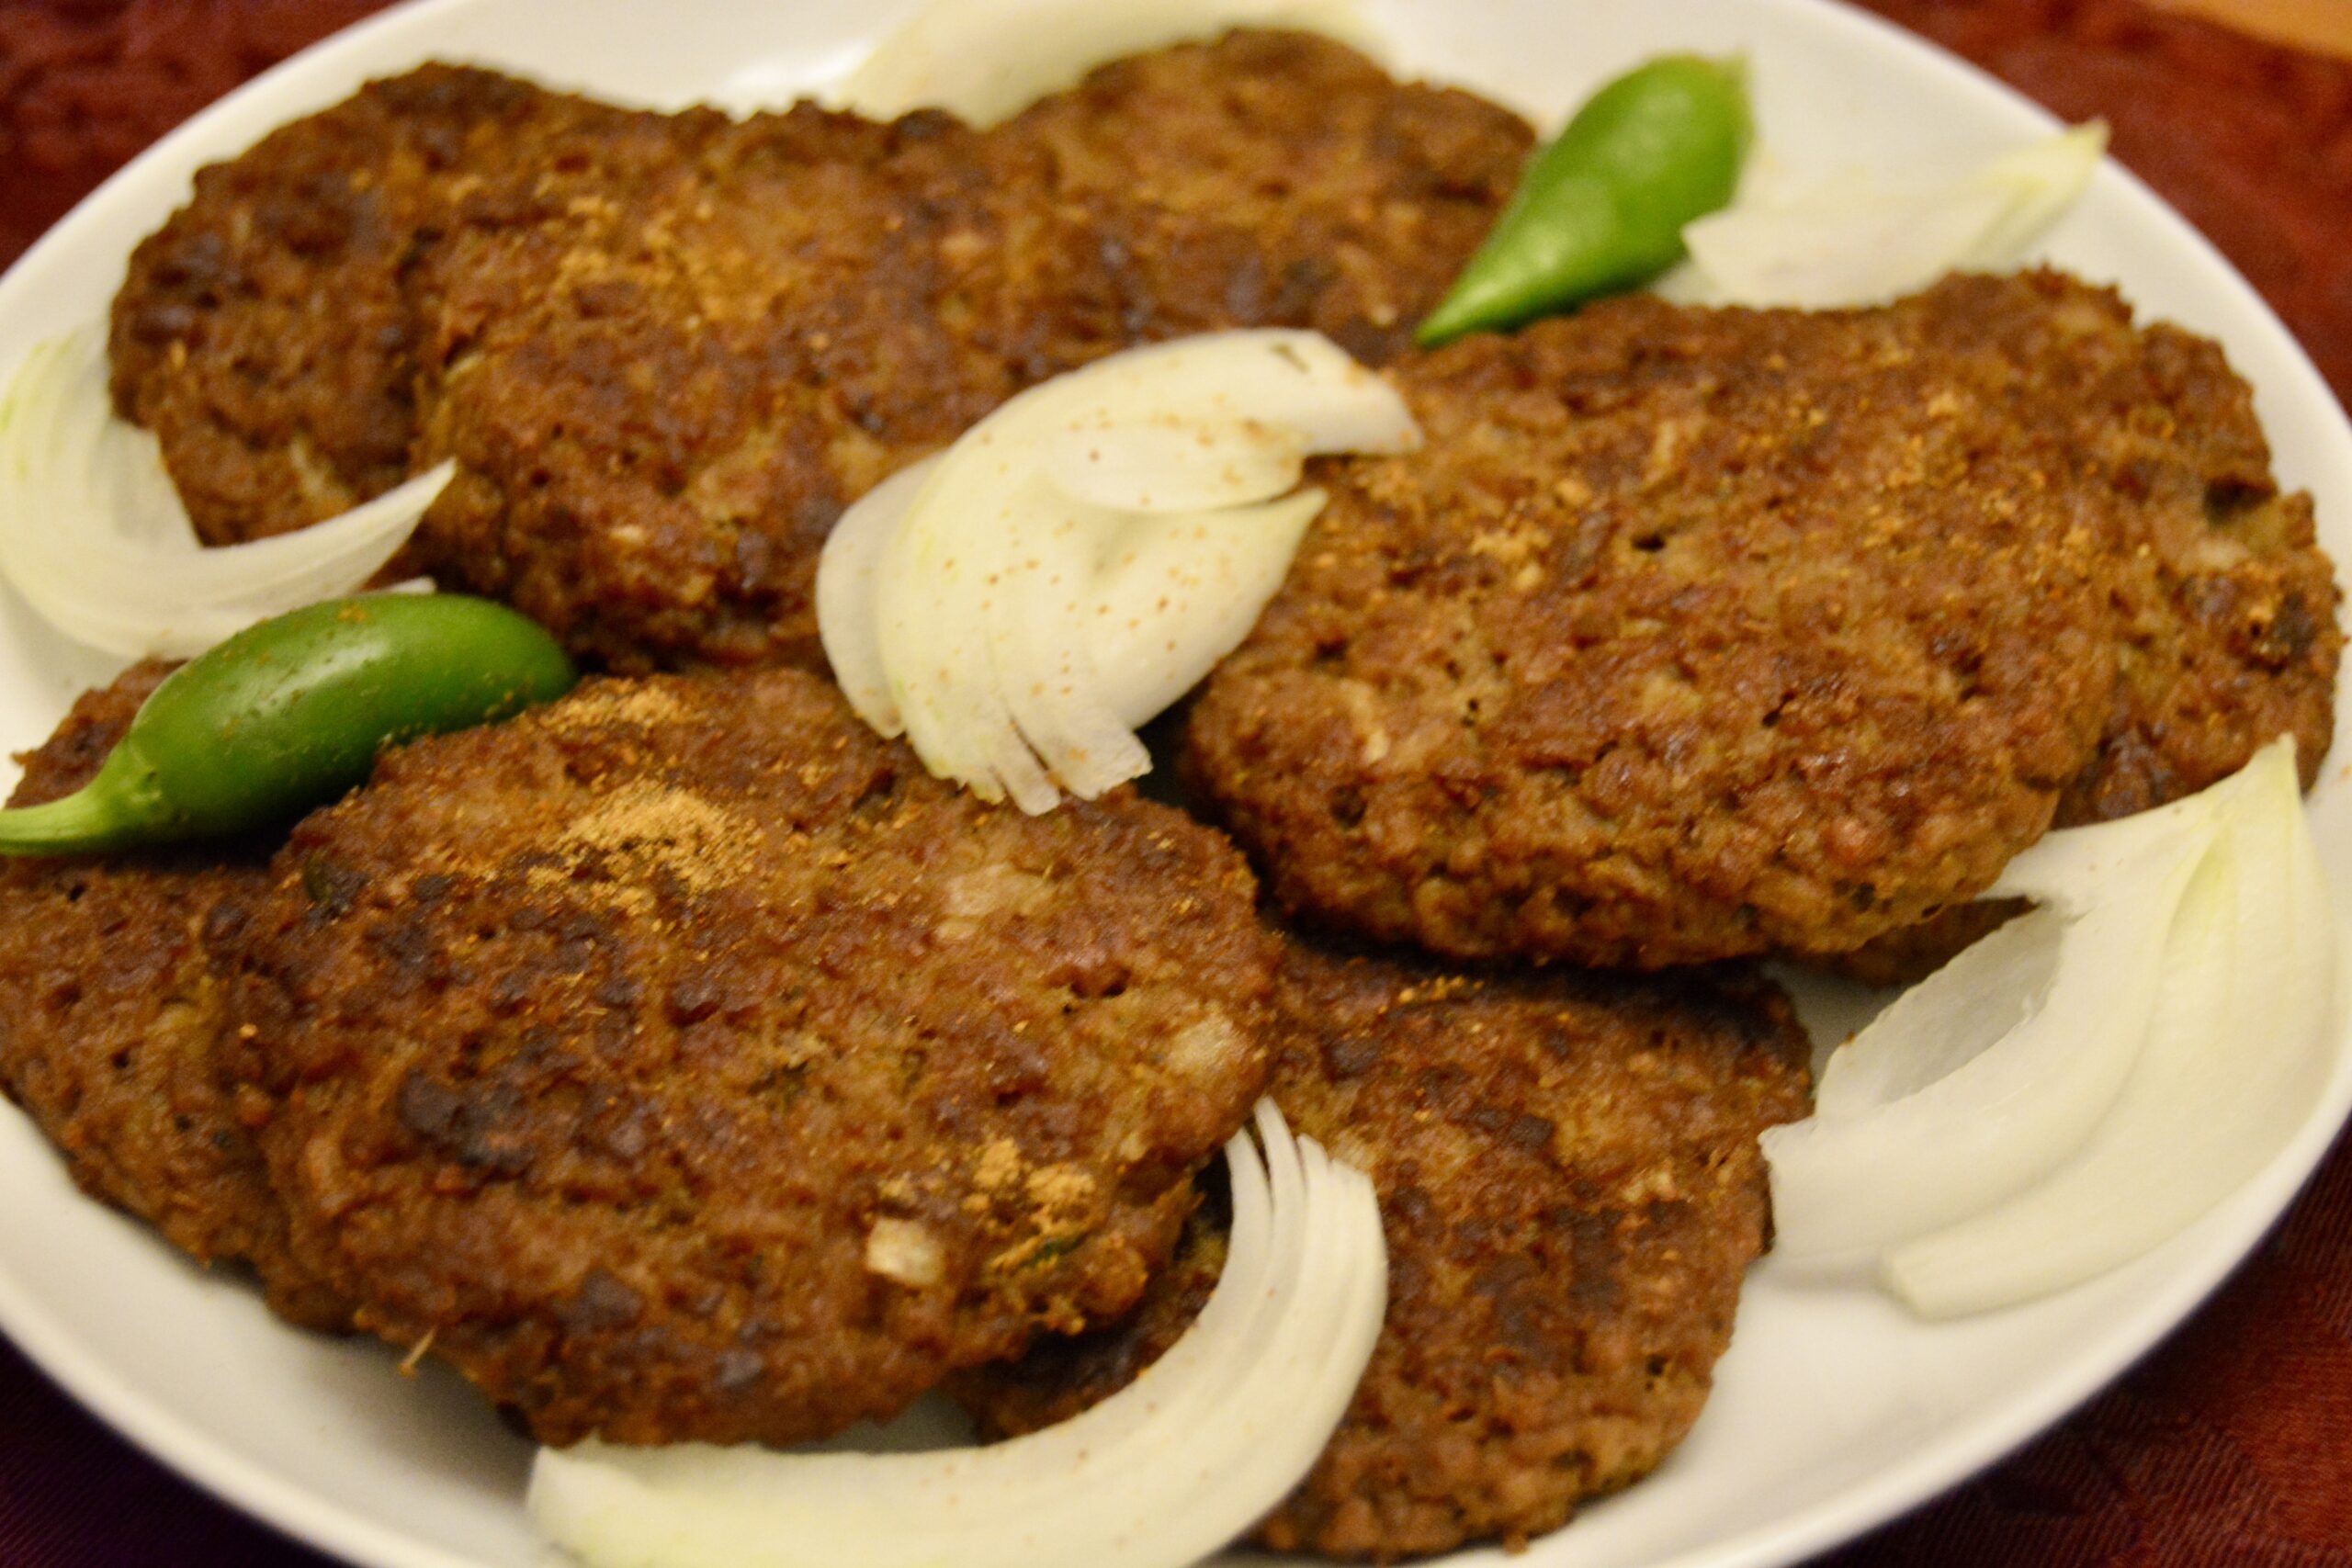
Masala Kheema Tikkas (Spicy Mince Patties)
Ingredients
- 1 lb ground beef (30 % fat gives you a nice juicy tikka)
- ½ large onion (minced fine)
- 1 tbsp ginger-garlic paste
- 1½ tbsp fresh coriander (finely chopped)
- 1 Serrano chili (finely chopped - optional, to your taste)
- 1 tbsp tomato paste
- ½ tsp turmeric powder
- ½ tsp chili powder (or to your taste)
- 1 tsp cumin powder
- ⅛ tsp clove powder
- ⅛ tsp cinnamon powder
- ¼ tsp black pepper powder
- 1½ tsp salt
- ¼ tsp dried green mango powder (amchur)
- 1 tbsp oil
Garnish
- 1 tsp lemon juice
- 1 tsp chaat masala (optional)
- ¼ small onion (sliced)
- 1 green chili (whole or split in half)
- 1 lemon (sliced thin or quartered)
Instructions
- In a large bowl, mix the ground beef with all the other ingredients except lemon juice, chaat masala, and oil.
- Knead until the ground beef mixture is well blended. About 4-5 minutes.
- Divide the ground beef mixture into golf-sized balls and form them into round burger-style patties. You should get about 8-10. I size them less than the regular burger size, but you can size them any way you want.
- Set aside in the refrigerator for 15-20 minutes. You can also leave it overnight if you want to prep ahead.
- Heat a heavy-bottomed skillet, griddle, or grill on medium heat. Grease with the oil using a paper towel or brush.
- Place the tikkas on them and cook for approximately 8 mins, turning them halfway through until well browned and cooked. I like mine well done, so I tend to char them a bit!
- Place on paper towels to soak up any excess oil or fat.
- Move them to a serving dish and sprinkle them with a little lemon juice and chaat masala powder.
- Garnish with chopped lemon and slices of red, white, or vinegared onions.
- Serve with mint chutney, mint yogurt chutney, or a chili sauce, along with tandoori or naan bread, paratha, or roti. You can also use pita or any other flatbread.
Notes
 I occasionally fix our family Indian-style burgers with hamburger buns, chutney, thinly sliced raw or grilled onions, and tomatoes.
Make them a little smaller when serving them for cocktails. Adjust your cooking time accordingly.
You can add a teaspoon of store-bought tandoori or seekh kebab spice powders. These are available at an Indian grocery store. Most readymade powders are super chili hot, so use them carefully if you are not used to chili-heat.
The tikkas can be grilled or baked in the oven at 350 degrees for about 20 minutes or until done. Be sure to flip them halfway through.
You can also Air Fry them. Spray the Air Fryer tray or basket with oil. Heat for 5 minutes. Place tikkas on a basket or tray and cook for 8-10 minutes, turning them midway.
Heat varies on stoves, ovens, and fryers, so keep an eye on the tikkas to ensure they do not get burned.
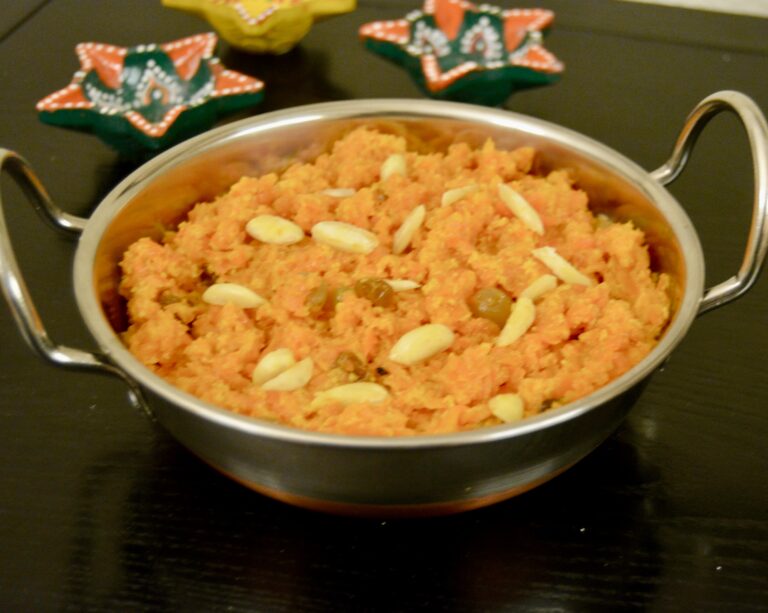
Gajar Ka Halwa/Gajrela or Carrot Halwa (a sweet, creamy, rich pudding from Punjab, with the aromatic taste of cardamon) is a dessert that is a popular dish served at festivals. It is a warm dessert and is best enjoyed in winter. It is an easy dish with few ingredients but not a quick one (unless you use a pressure cooker). Like most halwas, it requires attention while cooking. Being a warm dish, it was a perfect dessert for cold winter days. The carrots in this recipe are regular store-bought carrots rather than the sought-after deep orange carrots normally found in wintertime in Northern India.
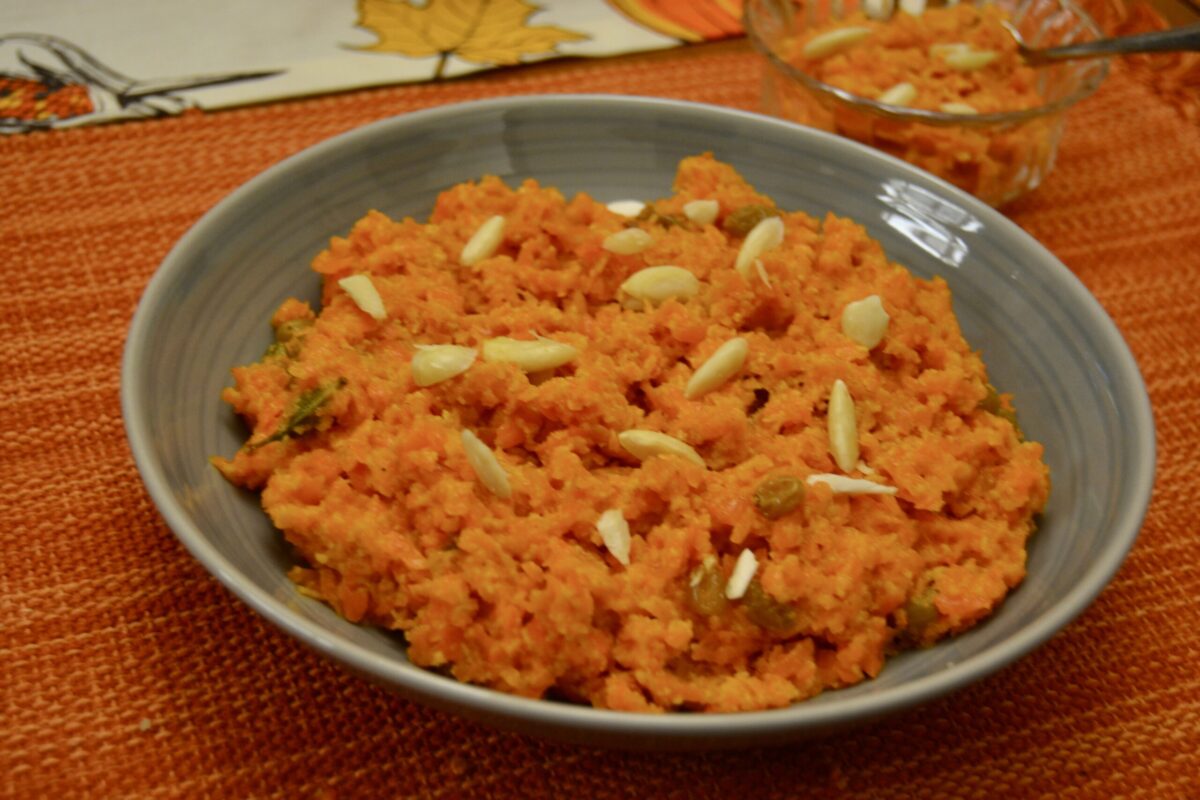
Gajar ka Halwa
Ingredients
- 10 medium carrots
- 2 cups whole milk
- 1 cup whipping cream
- 2 tbsp unsalted butter
- 2 whole green cardamom
- ¼ tsp fresh ground green cardamom powder
- 1 tbsp golden raisins
- ½ cup granulated sugar
- a pinch of salt
- 12 blanched almonds (save half for garnish)
Instructions
- Scrub the carrots with a vegetable brush and peel them.
- Using a hand grater or food processor, grate the carrots.
- Transfer the grated carrots, milk, and whipping cream into a heavy-bottomed medium-sized pot. Bring to a boil on medium heat. About 10 minutes.
- Add the whole cardamom and cardamom powder. Simmer on medium-low, occasionally stirring, until 75% of the milk is reduced. About 20 minutes.
- Add the sugar and golden raisins. Stir in half the nuts. Cook for another 10 minutes until most of the liquid has evaporated, but the halwa is still moist.
- Carefully transfer the cooked dessert to a serving dish and garnish with the rest of the nuts. Serve hot or warm.
Notes
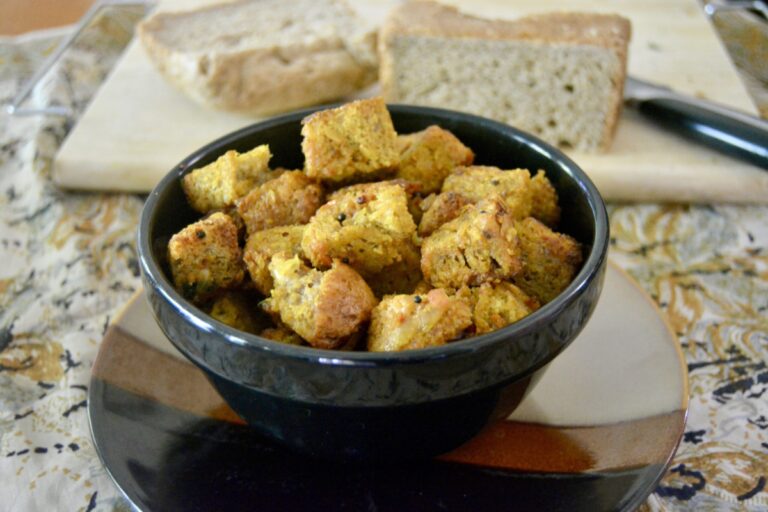
Sometimes I get into the mood to bake bread, and I take the easy route. Years ago, when volunteering at our church thrift shop, I picked up an almost brand-new bread machine for less than half the market price. Now when the mood hits for fresh homemade bread, I pull it out and go for it! Today I have a half loaf lying around— a product of five days ago. I decide to fix Bread Uppma for breakfast. Most Indians refer to bread as ‘double roti,’ or simply bread.
Bread uppma is great for breakfast or a tea-time snack. It is savory and tangy, and, of course, who doesn’t love bread!!
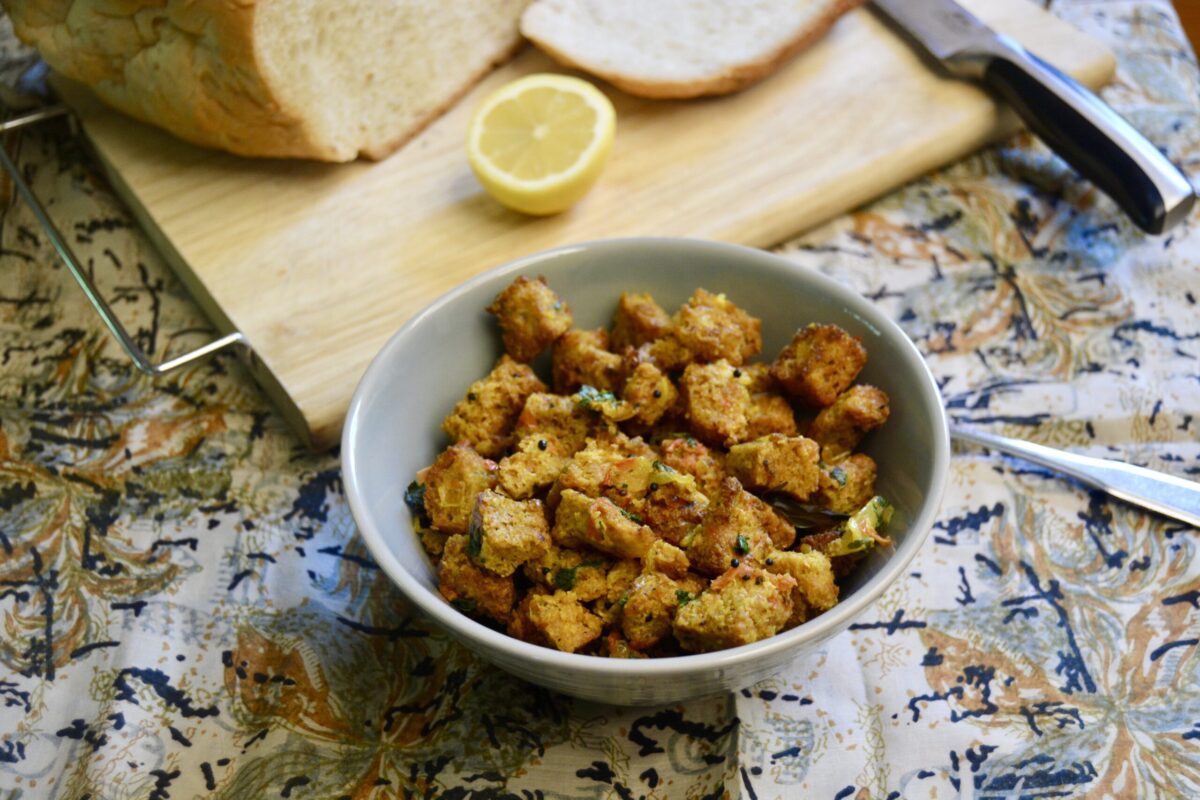
Bread Uppama
Ingredients
- 12 slices bread (preferably stale, toasted, and cut into 1-inch cubes)
- 2 tbsp cooking oil
- 1 Serrano chili (chopped one whole red chili optional—to your taste)
- ½ tsp black mustard seeds
- 8-10 curry leaves
- 1 cup onion (chopped finely, yellow or red)
- ½ tsp turmeric powder
- 2 medium tomatoes (chopped-about 1 cup)
- ½ tsp salt
- ½ tsp lemon or lime juice (only)
- ½ cup cocktail or sautéed peanuts or cashew nuts
- 1 tbsp fresh cilantro (coriander leaves) (washed and chopped, for garnish)
Instructions
- In a large skillet, heat the oil on medium heat.
- Add the chopped green chili or red chili. Stir a couple of times and add the mustard seeds. Be careful as they splutter.
- Give it less than 30 seconds, and add the curry leaves. Stir and add the onions.
- Sauté the onions for about 6 minutes until they are translucent and start to turn reddish in the corners.
- Add the tomatoes and sauté for another 4 minutes until the tomatoes are soft and the oil starts to surface.
- Add your choice of nuts (optional) and give them a stir.
- Now stir in the toasted bread cubes until they are nicely coated with the onion and tomato mixture.
- Add a ¼ cup of water. Lower the heat and cover the skillet. Let it cook for 2-3 minutes.
- Remove the lid, sprinkle the juice of half a lemon/lime, and stir. Cover and let it sit for 5 minutes before serving.
- Remove to a serving dish and garnish with the chopped cilantro.
Notes
One legend of Valentine’s Day is that a priest in the third century performed secret marriage ceremonies for couples as Emperor Claudius of Rome outlawed marriage for young men. The Emperor felt single men would stay more focused as soldiers. The priest was beaten, stoned, and beheaded when the Emperor found out. Valentine’s Day has become a day to celebrate love.
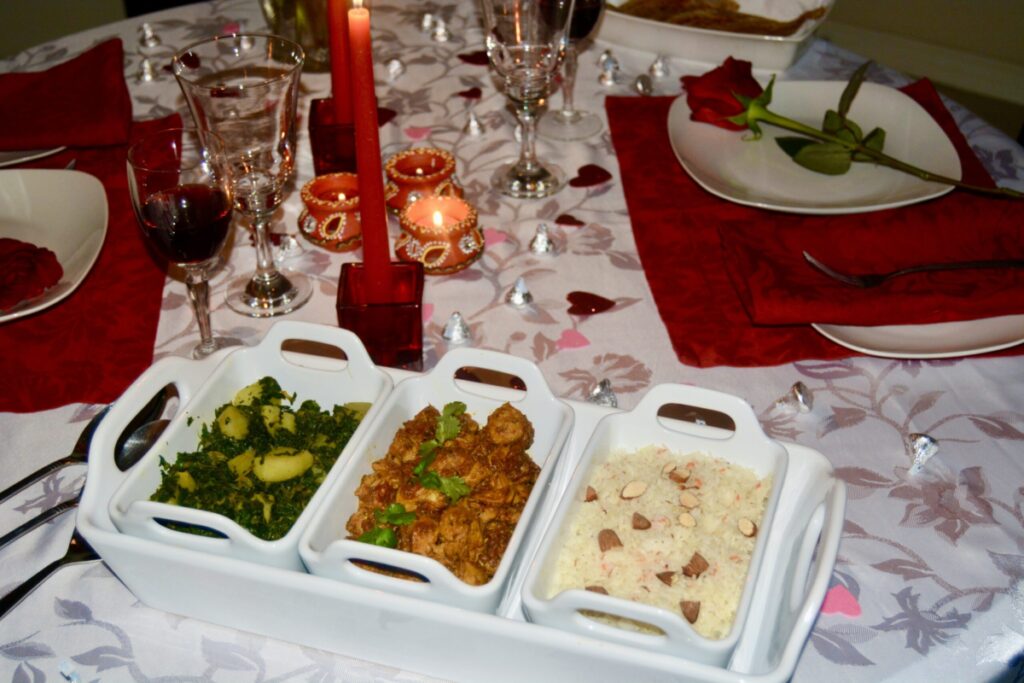
If you want a special meal to celebrate your loved one this Valentine’s Day, here is an easy menu for a delicious Indian meal that can be prepared early and left in a warm oven until you are ready to eat. The dishes are light on spices. You can prepare it a day ahead, zap it on the microwave, and keep it in the warm oven until dinner time.
The heat in Indian food comes from the use of red and green chilies. You can moderate it according to your taste by adding less. If you want to turn it up, add more!!
_____________
Suggestions for an Easy Valentine’s Day Menu
Cocktails
Your choice
Hors d’Oeuvres
Pick these up from an Indian Restaurant or an Indian grocery store. If you have a Trader Joe’s near where you live, they have them as well.
Mini samosas
Pakoras
Dinner
Kala Zeera Gajar Chawal (Black Cumin Carrot Pilaf)
Chicken Chatpata (Spicy Chicken)
Palak Allu Sabzi
Bread – Any kind of flatbread. Naan, Paratha, Roti /Tortilla. These are all available at the Indian Grocery Store, Whole Foods, or Trader Joe’s.
Dessert (Any or all)
Seviyan Kheer (Vermicelli Pudding)
Vanilla Ice Cream topped with Kesar Mango Pulp (These cans are available at the Indian grocery store).
