Tag

Featured

Browsing

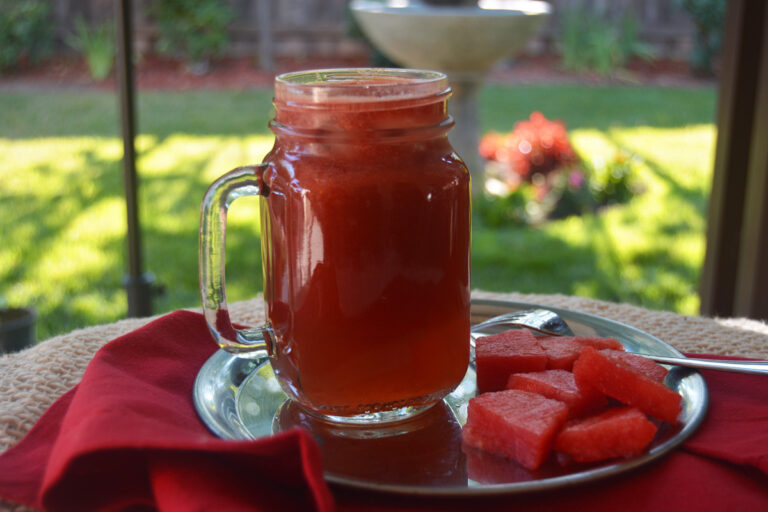
A favorite memory: It is a hot summer’s day. This particular evening, Aunty Sheila has invited us to her place for a party. It is always fun to visit her, as we kids on both sides of the family are around the same age and have a great time together. Aunty has a warm, bubbly personality and throws great parties. Her place is not too far from ours, so, giggling and laughing, we girls walk over, we love walking—even in the heat of the day.

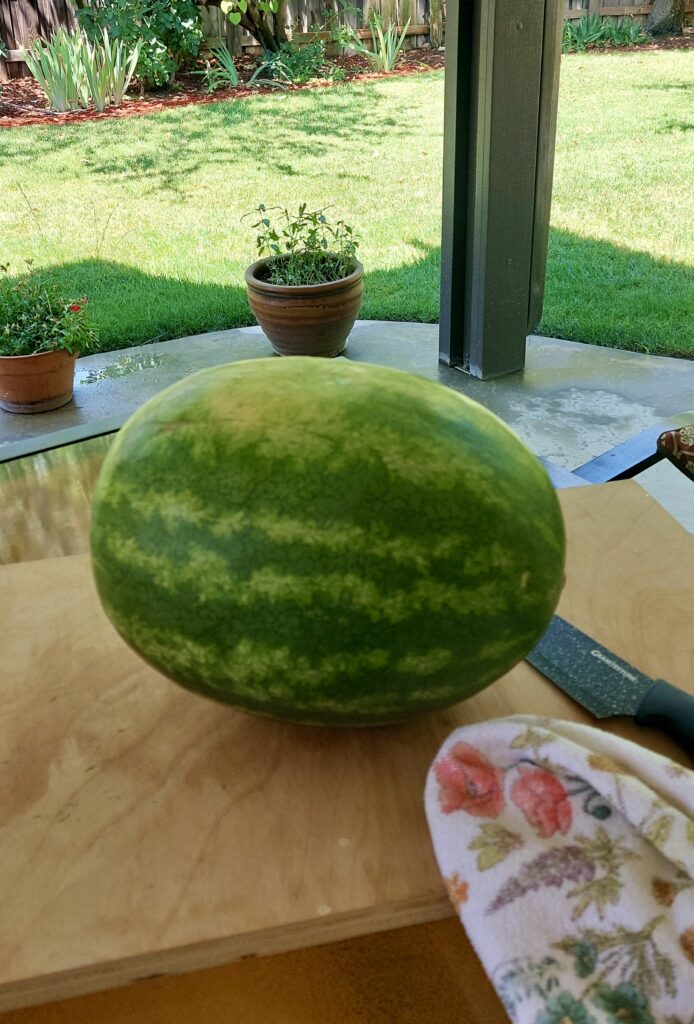
Hot and starting to perspire by the time we get there, our eyes light up as we see that Aunty has already set up an outdoor table of party fare. In the center is a large tray with a giant watermelon propped securely on it. Around the watermelon are other delicious treats. She greets us with her usual big smile and hug and tells us to help ourselves to some watermelon juice. We happily walk across the lawn to the table. The top quarter of the melon has been sliced out, and we peer into the cut melon. The fruit inside has been carefully carved out and then blended with cold black tea and lemonade. Chunks of melon still float around for those who want to eat the fruit. We thirstily gulp down the Watermelon Tea Cooler and help ourselves to more. The drink is so cool and refreshing on that Indian hot summer’s day.

Years later, thinking about some of my fun memories of life in India, I decided to try and duplicate the recipe. I enjoy serving this taste of memory to my family and friends who tell me that I have been successful in duplicating the recipe!
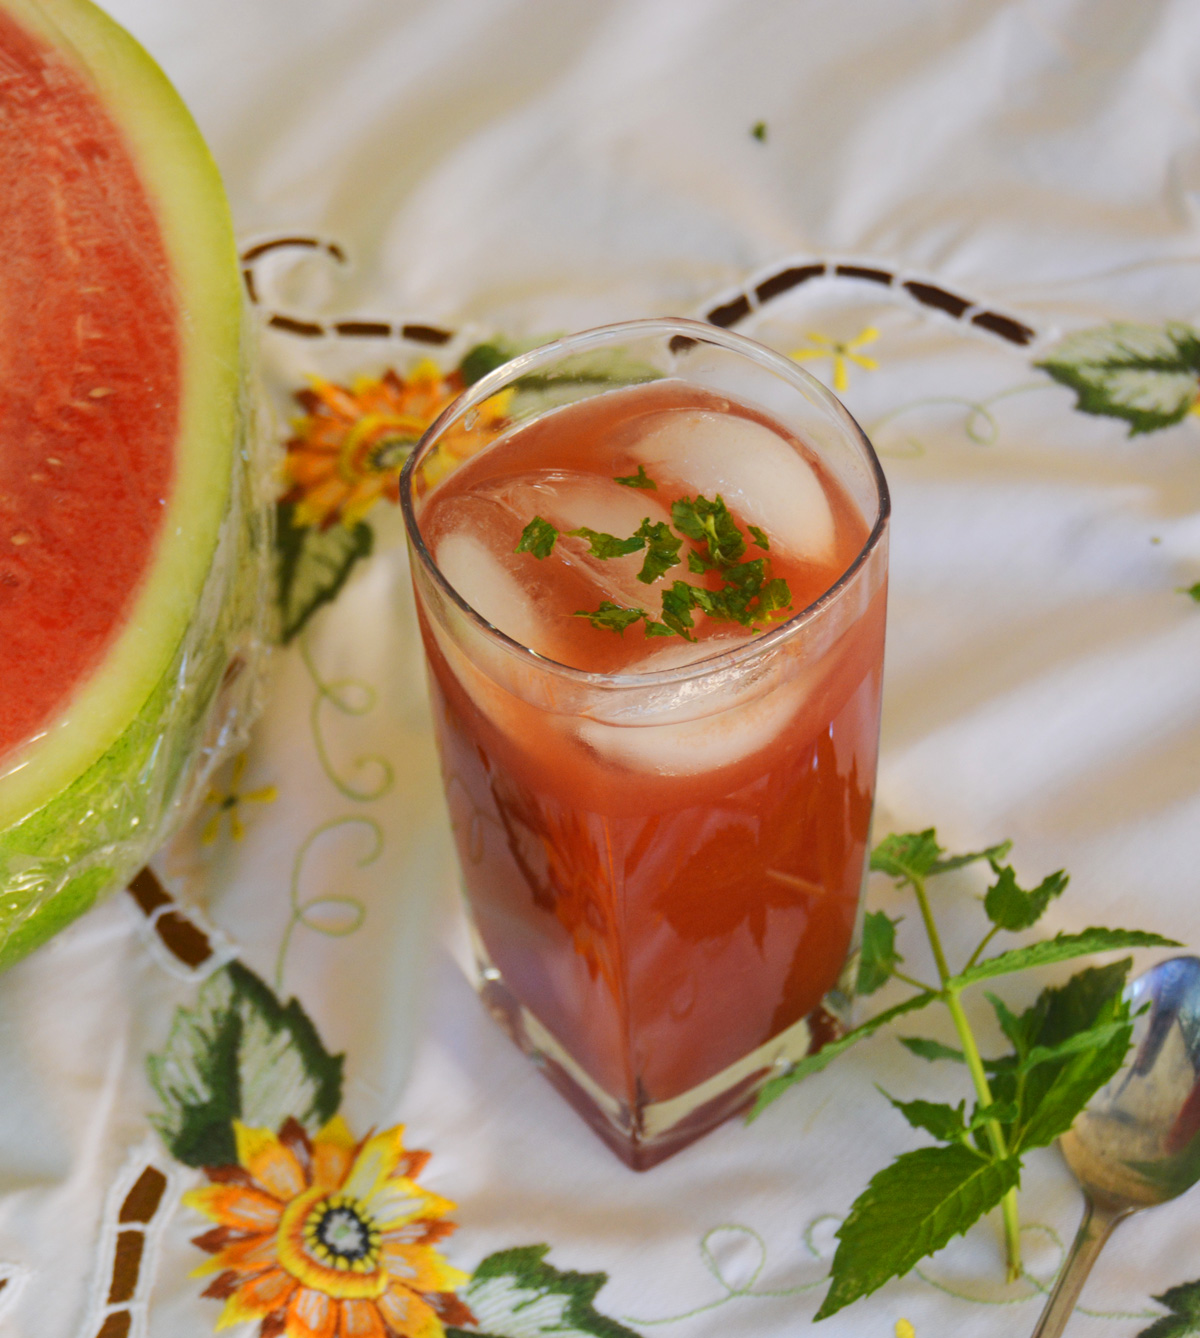
Watermelon Tea Cooler

Prep Time 15 minutes
Cook Time 5 minutes
Total Time 20 minutes
Servings 8
A cool and refreshing drink on an Indian hot summer’s day.

Ingredients

  • 3 tea bags black tea (your choice of brand, caffeinated or decaffeinated)
  • 4 cups water
  • ½ cup simple syrup (see recipe below)
  • ½ cup lime or lemon juice
  • 2–3 cups watermelon chunks, seeds removed
  • 1 tbsp Chopped mint and lemon or melon wedges for garnish (optional)

Instructions 

  • Put tea bags in a container that will hold the 3 cups of water. Boil the 3 cups of water, and when they come to a boil, pour the boiling water over the teabags. Let the bags steep for at least 3 minutes. Remove the tea bags and let the tea cool.
  • Once cooled, place it in the refrigerator. You can do this a day ahead or a few hours before you are going to make the cooler.
  • Blend the watermelon chunks in until it is like a smoothie. In a pitcher that holds at least 6 cups of water, add the tea, simple syrup, lemon juice, and melon smoothie. Stir it all together until nicely mixed. Add some crushed ice when ready to serve.
  • If it is too tangy, you can add more crushed ice or cold water.

Notes

Notes:
-This is a great drink for summer refreshments served with  cucumber, watercress or tomato sandwiches.
-You can kick it up a notch for adults by adding a splash of gin or vodka! Check out this site. I love the cause.  https://boozeforpaws.org/
-If you want to go the route of scooping out the melon and using it as a container, it makes a wonderful and impressive presentation. Unfortunately, no matter how well I plan, I find myself invariably short on time and scrambling for an easy way out!
-Scooping out the melon and using it as a container makes a wonderful and impressive presentation. 
Simple Syrup
Ingredients:
½ cup fine-granulated sugar
½ cup water
Directions:
1. In a saucepan, on low heat, dissolve ½ cup of sugar with ½ cup of water (approximately 3 minutes).
2. Take the saucepan off the heat and leave the syrup to cool.
3. When cool, pour the syrup into a clean glass bottle that has a tight lid.
4. Rinse the bottle both with boiling water (do not wipe with a cloth as it may leave bacteria).  
5. Refrigerate the syrup until ready to use. It should last a month in the fridge. It should remain a clear liquid. If it turns cloudy, throw it out as that is a sign of bacterial growth! 
6. The ratio for simple syrup is one part sugar and one part water so you can always make more to store.
Course: Drinks
Cuisine: American, Indian
Keyword: lemon, Tea, watermelon

It is 3.30 in the morning, and I quietly let myself out of the door so that I won’t wake the sleeping household. It is a freezing winter’s day in New Delhi, and I tug my long black uniform coat snug around me. The airline transport that just drove up will transport several of us who live in the area to the airline bus depot. We will wait until the other vehicles arrive, and then we will be shuttled to the airport in time for the 5:00 a.m. shift.

We arrive at the bus depot with half an hour to spare. The dhabba that serves at the canteen for the folks who work there is open. Several of us make our way to it. A cup of hot chai is just what we need to warm and wake us up. The owner is ready for us. He has been down this route every morning with the different groups on the morning shift. “Chai?” he asks. We nod, breathing in the wonderful aroma.

He pours out the hot tea simmering on the chula (mud stove) into the kulhars (handleless terra cotta cup). I watch, fascinated, as he froths the tea by pouring it from one kulhar to the other, keeping about 2 feet of distance between the two kulhars. Surprisingly, he doesn’t lose a drop. He hands me a kulhar. My frozen fingers around the warm kulhar with the steaming hot tea soon warms me up. I am now awake and ready to welcome the incoming passengers and aircraft.
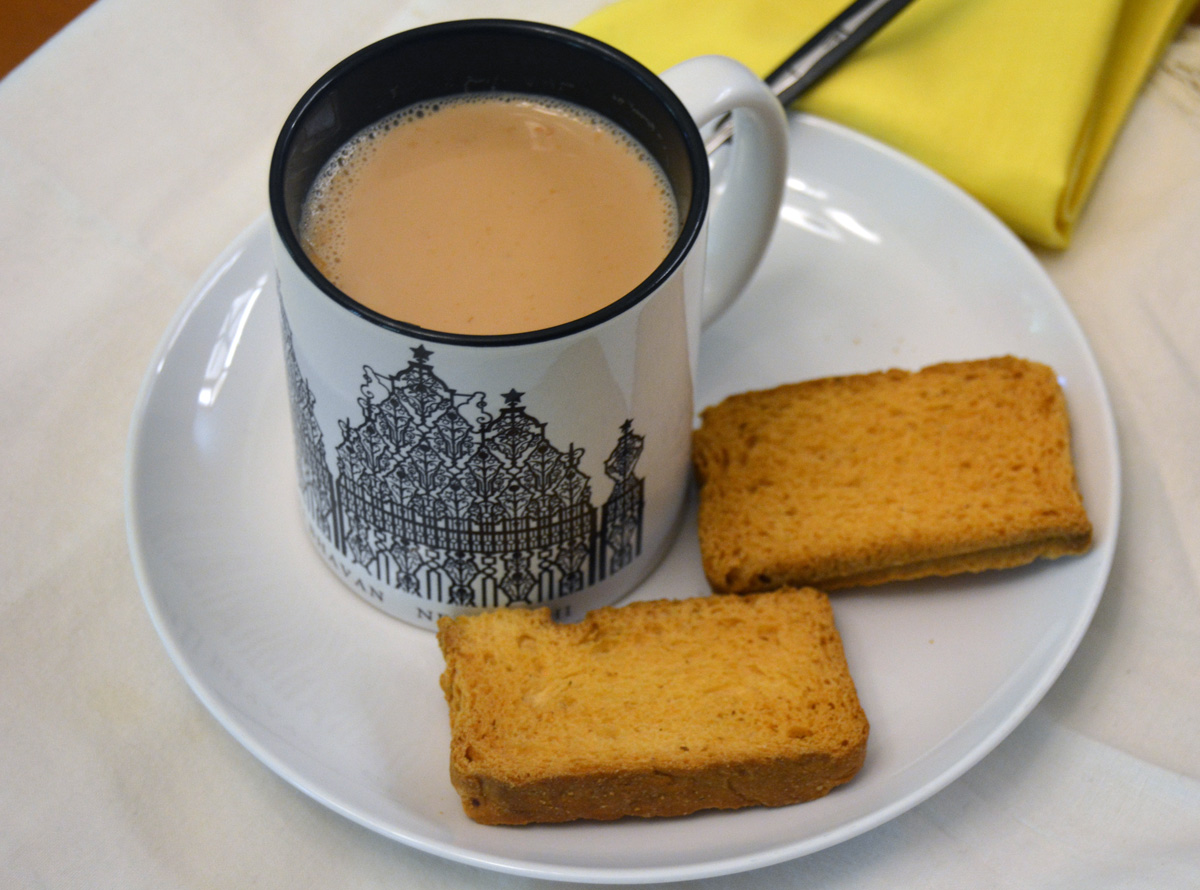
Real Chai has to be aromatic, sweet, and milky, but you can adjust it according to your taste.

Chai: Indian Aromatic Tea

Prep Time 5 minutes
Cook Time 15 minutes
Total Time 20 minutes
Servings 2 servings
Calories 90
The authentic Indian tea classic. While real Chai has to be aromatic, sweet and milky, you can adjust this recipe according to your taste.

Ingredients

  • 2 cups whole milk (you can also use low fat if you are watching calories, or a vegan milk substitute)
  • 1 cup water
  • 2 tsp sugar (white or brown, according to your taste)
  • 2 teabags black tea (or 2 teaspoons of loose black tealeaves)
  • 2 green cardamom
  • 1/4 tsp cinnamon powder
  • 1/4 tsp clove powder

Instructions 

  • Crush the cardamom with a rolling pin. The top shell should come off easily. Bow crush the seeds as best you can. It does not have to be absolutely smooth.
  • Put all ingredients in a small pot and bring to boil. Lower heat and simmer for 3-4 minutes while you do a taste test. Add more spice accordingly. 
  • Pour into cups and sprinkle a bit of cinnamon or grate a little nutmeg on top.
  • Enjoy!

Notes

Some do not like the taste of crushed cardamom in their mouth while drinking chai. In that case, you can strain the chai and then serve it. Most Indians do not mind the cardamon as it serves as a breath freshener!
Milks: If you are lactose intolerant or vegan, you can use oat milk instead, or another vegan milk substitute. The flavour will be different but still delicious! If you're watching calorie intake, you can also use a low-fat or non-fat milk instead of whole milk.
 
Calories: 90kcal
Course: Drinks
Cuisine: Indian
Keyword: Tea

Indian Airlines Photo by Sean D’Silva
Kulhar Photo by Inspo on Unsplash

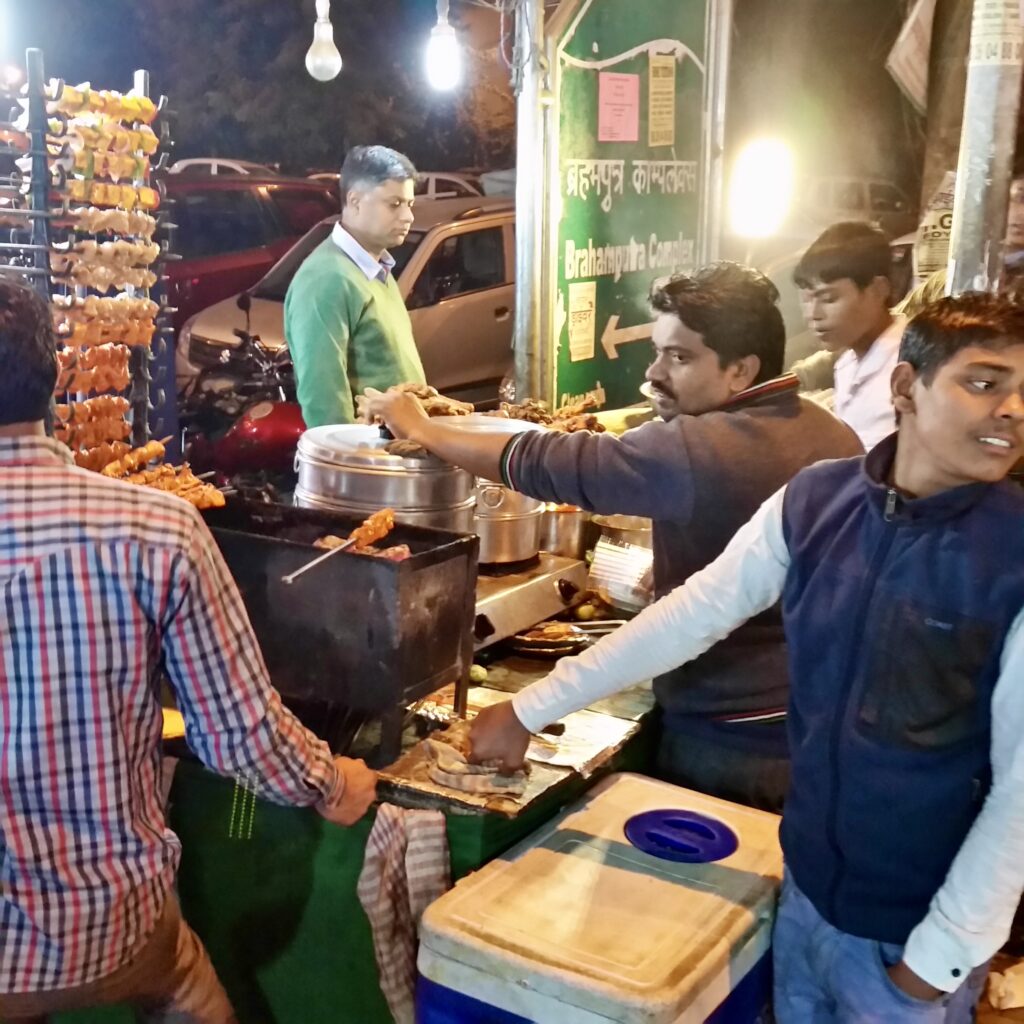
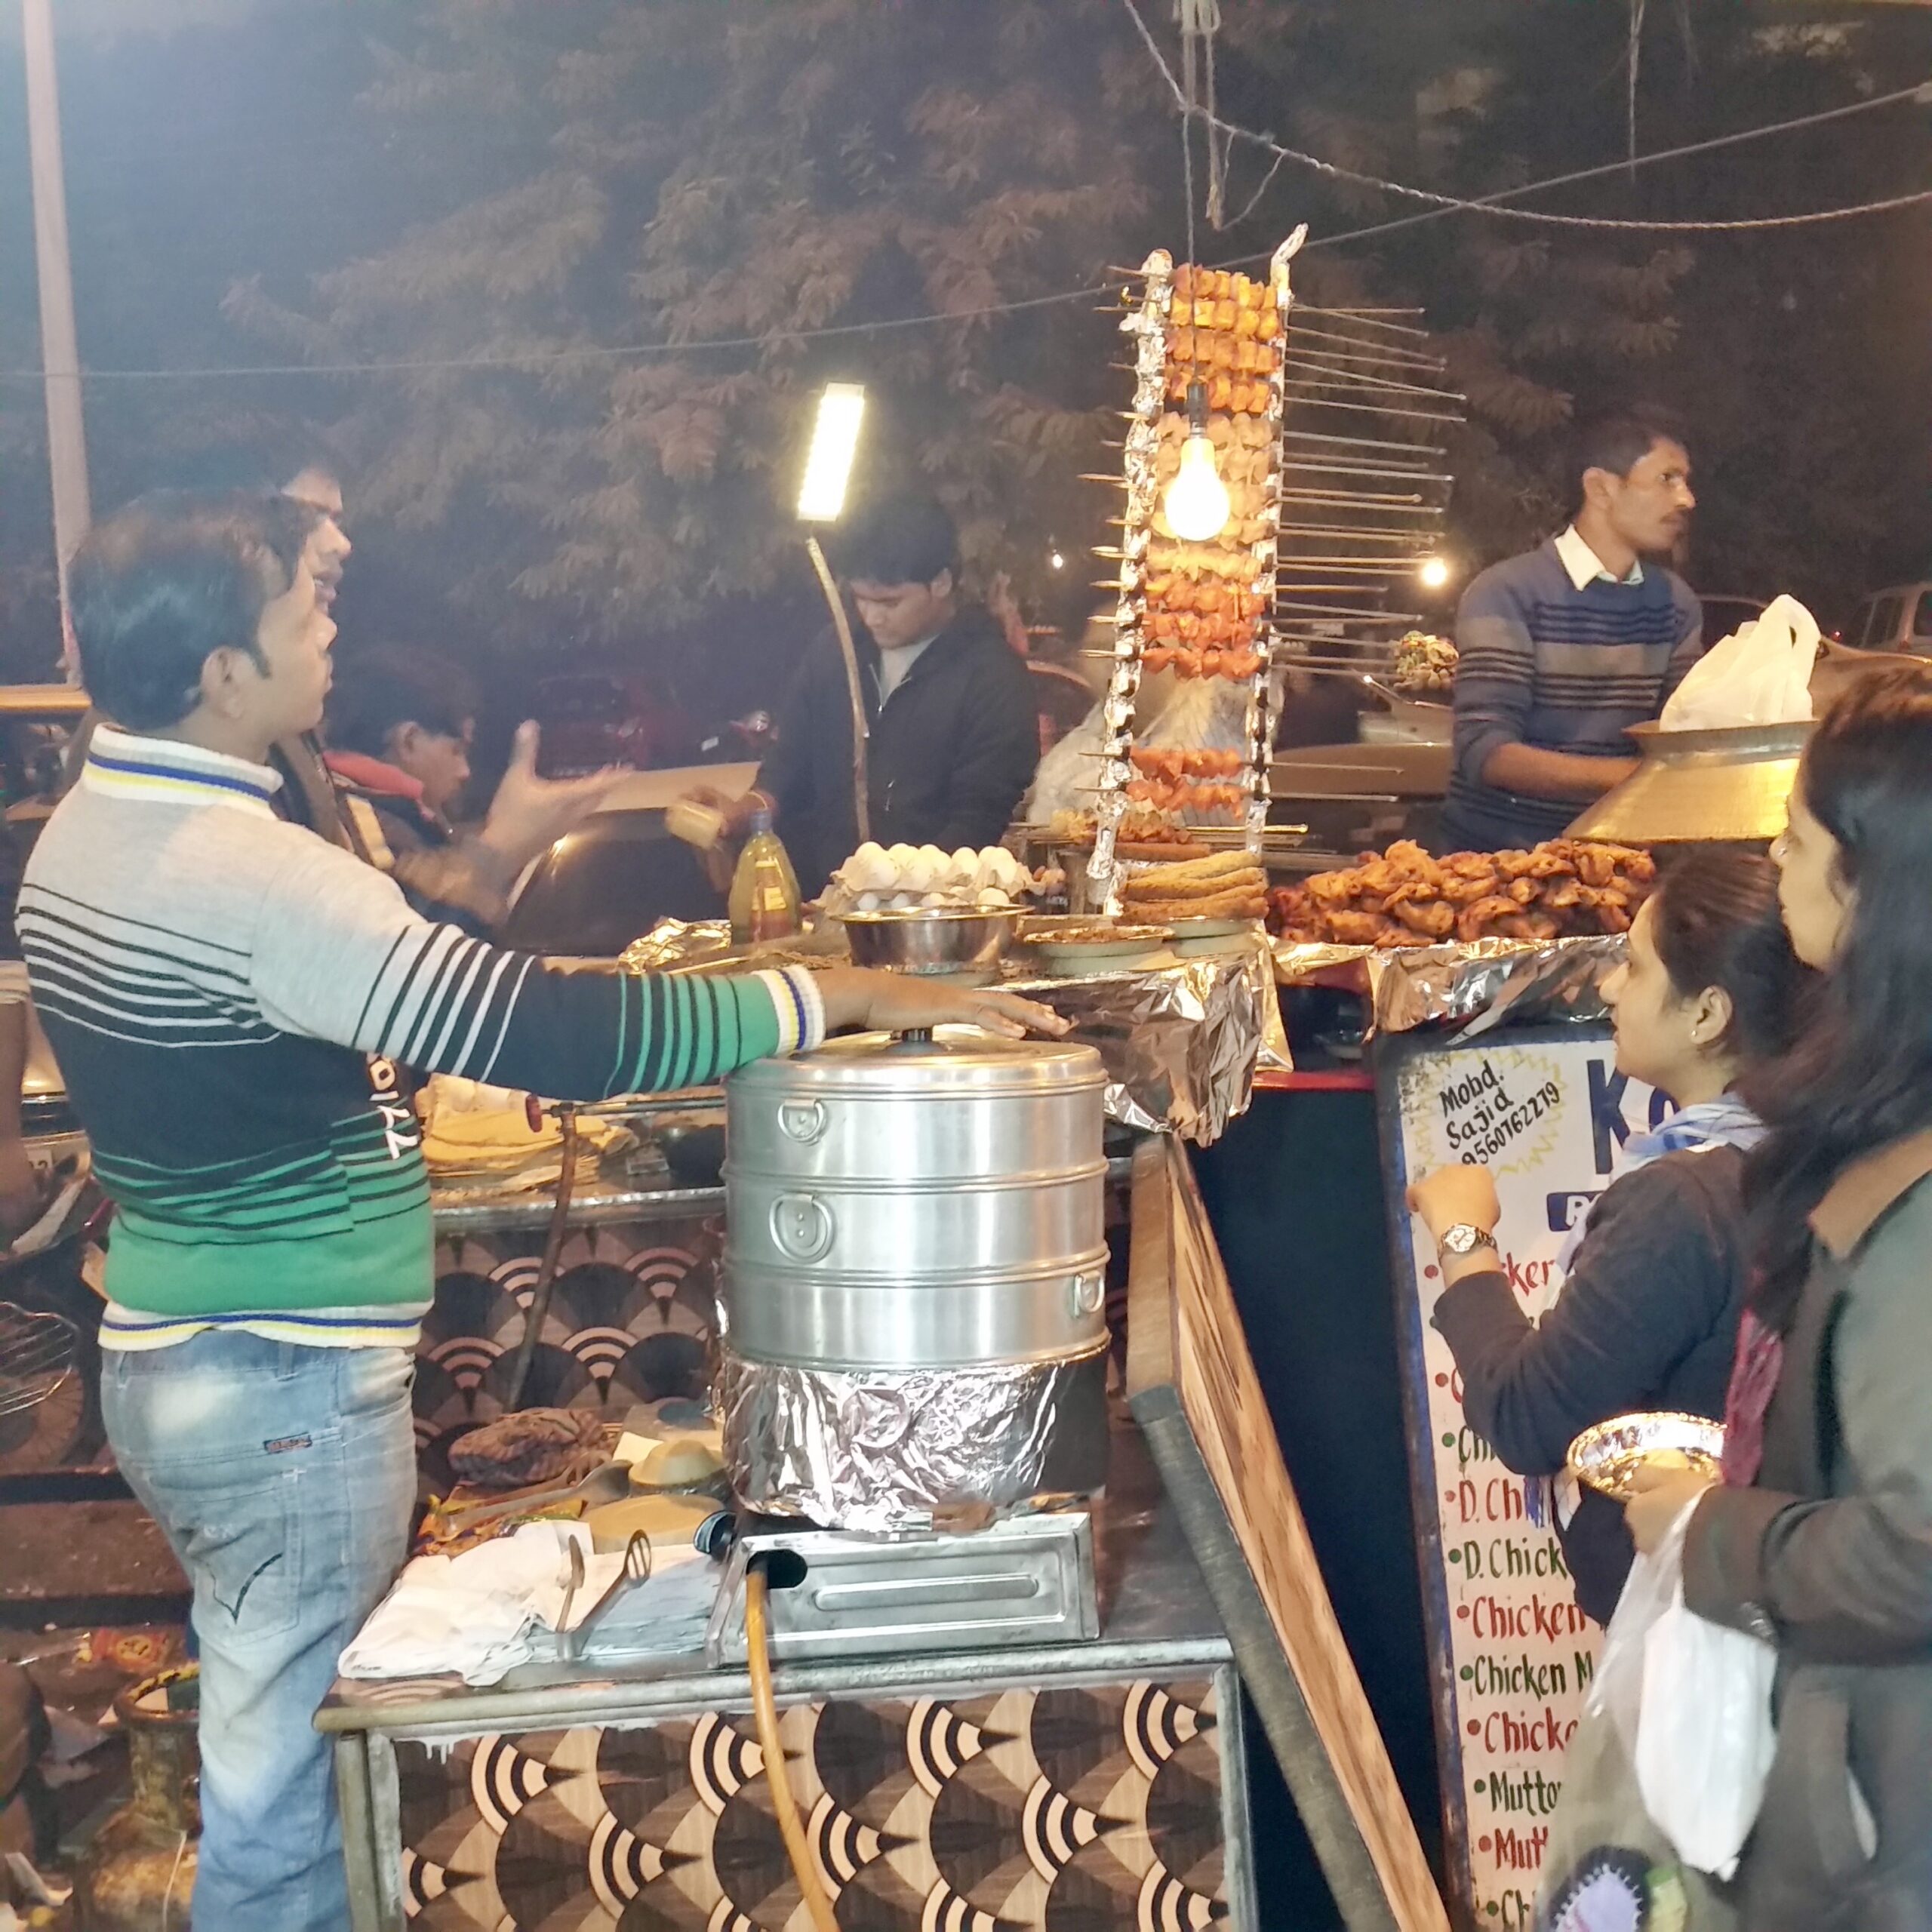
Who hasn’t heard of Tandoori Chicken?

History
-Historians are said to have found the first evidence of a meat preparation which looked like Tandoori Chicken in the ruins of Harappa.
-Tandoor like clay ovens and chicken bones with char marks dated 3000 BC are said to have been unearthed at the excavation sites.
– Ancient Sanskrit treatise Sushruta Samhita mentions meat marinated with mustard powder and fragrant spices being cooked in clay ovens.

Source: To read more, click here, timesofindia.com

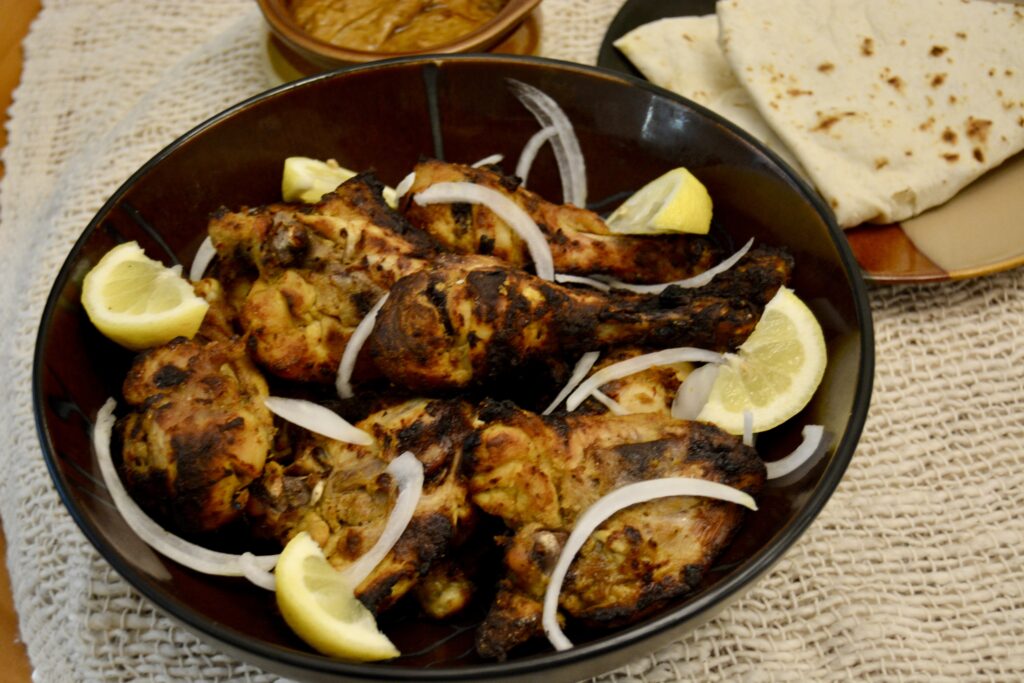
Tandoori Chicken

Prep Time 6 hours 15 minutes
Cook Time 45 minutes
Total Time 7 hours
Servings 6
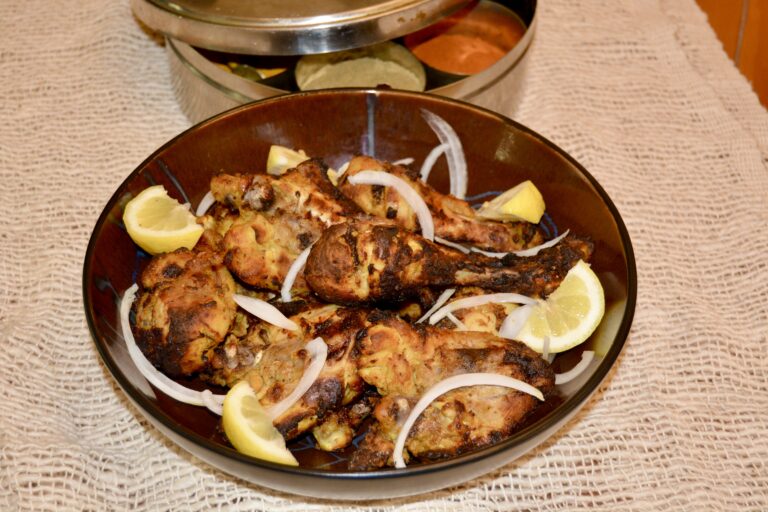
Classic Indian marinated chicken specialty, spiced and grilled to perfection.

Ingredients

  • 2 lbs chicken (breasts, bone or boneless, thighs and/or legs—make deep slices in chicken, so it can marinate more thoroughly)
  • 1 tbsp garlic paste
  • 1 tbsp ginger paste
  • tsp cumin powder
  • 1 tsp salt (or to taste)
  • ¾ tsp chili powder
  • 1 tsp coriander powder
  • 1 tbsp tomato paste
  • 1 cup plain yogurt (fat free, low fat, or whole milk)
  • tbsp vinegar
  • 2-3 tbsp lemon juice (1 tbsp of lemon juice is approximately the juice of ½ lemon)
  • ½ tsp garam masala
  • 1 oz butter
  • few drops red food color (optional)

Instructions 

  • Mix all the spices into a smooth paste.
  • Rub into chicken and marinate for at least 6 hours.
  • Heat the oven broiler or fire up your barbecue. Place pieces on baking tray or BBQ grill (save the remaining marinade).
  • Dot the chicken with butter.
  • Bake at 400 degrees or barbecue about 15-20 mins, until golden brown, turning chicken once during cooking.
  • Brush occasionally with the marinade to prevent it from drying out.
  • When cooked, place on a platter and garnish with fresh sliced onion or Vinegared Red Onions and lemon wedges. Sprinkle with lemon juice and garam masala.
  • Serve with naans or rotis.

Notes

Pan Fry:
You can also pan fry the chicken. Place the pan on high heat. Add oil to cover the bottom of the pan. Add the chicken pieces and quickly sear on each side, lower heat to medium, and let it cook for another 30 minutes, turning over the pieces after 15 minutes.
 
Course: Main Course
Cuisine: Indian
Keyword: chicken, tandoori

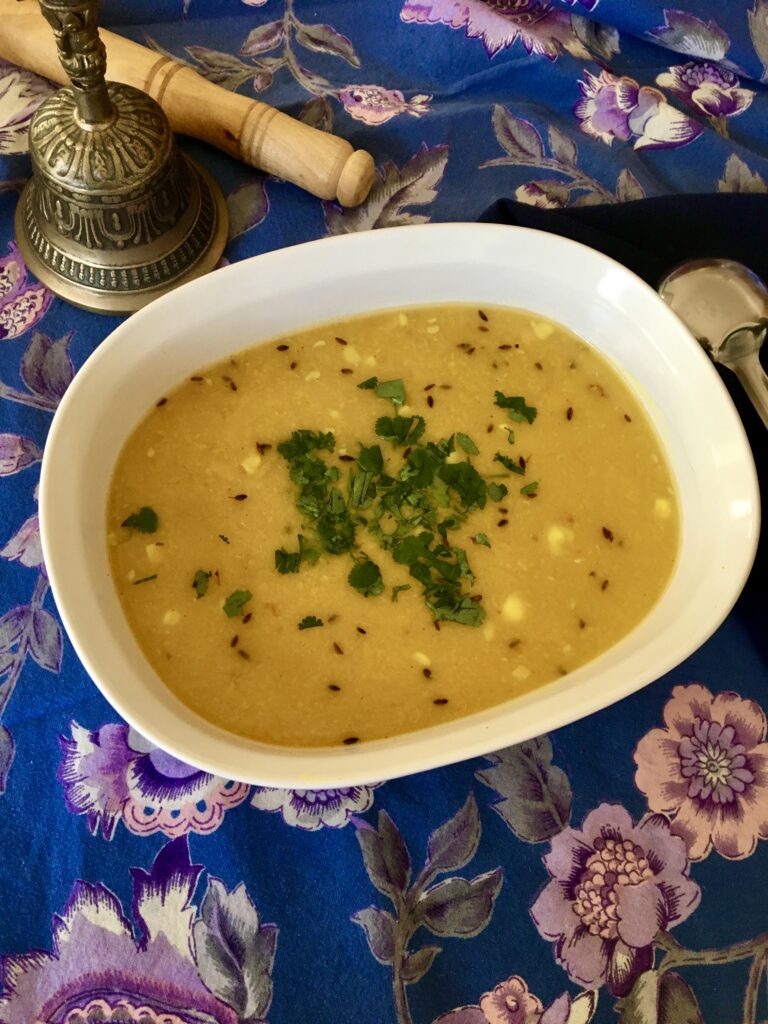
My youngest sister is visiting. She and her family have just returned from Basel, Switzerland. I am planning the menu with some of her favorites. As a little girl, she used to love Moong dal or Masoor dal mixed with rice, a little curry gravy, and butter until it was mushy. Mama would make the mix into little bite-sized balls to feed her. It was an easy way to get her to eat, and the tradition was continued with the grandkids.

Moong Dal

Prep Time 15 minutes
Cook Time 50 minutes
Total Time 1 hour 5 minutes
Servings 4
A hearty lentil soup, packed with flavor and tempered with aromatic spices to satisfy the pickiest eater!

Ingredients

  • 1 cup moong dal ( )
  • 5 cups water
  • 1 tbsp tumeric powder
  • 1 oz fresh ginger (grated or finely diced)
  • 4 pods fresh garlic (grated or finely diced)
  • 1 medium Serrano chili (finely chopped)
  • Salt (to taste)

Instructions 

  • Sort lentils and clean of any grit. Rinse at least 3 times. Placed in a large pan, cover with water, and let it soak 30 minutes. This will hasten the cooking process.
  • In a large pot (at least 4-5 quarts as lentils expand when cooked), add the lentils, tumeric powder, fresh ginger, garlic, Serrano chili and salt.
  • Cook on medium-high heat for 15 minutes. Reduce heat to medium-low and cook until the lentils are well blended but not too mushy. Approximately 30 mins. If the lentil appears too thick, you can add some hot water to bring it to the desired consistency. Dals are like thick soup and not runny.
  • Turn heat down to very low and tadka (temper) using one of the following methods.

Tempering #1

  • 2 tbsp cooking oil or ghee
    ½ medium onion, chopped fine
    1 medium tomato, chopped
    ¼ teaspoon red chili powder (optional)
  • Heat the oil. Add the chopped onions and sauté for 3-4 minutes until the onions are half brown.
  • Add the tomatoes and sauté for another 3-4 minutes until the tomatoes lose their moisture and the oil rises to the surface.
  • Add the chili powder (optional) and stir.
  • Pour the seasonings into the prepared dal. Stir the dal mixture and let it cook again for 3-5 minutes so that the seasoning is absorbed.
  • Garnish with fresh green coriander before serving.

Tempering #2

  • 1 tbsp cooking oil or clarified butter (ghee)
    1 tsp cumin seeds
    ½ tsp cumin powder
    ½ tsp garam masala
    ¼ tsp red chili powder (optional)
  • Heat the oil. Add the cumin seeds and brown lightly for a few seconds.
  • Turn off the heat, and add the cumin powder and garam masala.
  • Pour the tempering over the prepared dal and stir. Cook for another 5 minutes to absorb the spice flavors. 
  • Garnish with fresh chopped coriander before serving.

Notes

You can also add cumin seeds and the cumin powder and garam masala to  Seasoning #1. There are no hard or fast rules. Just a matter of your taste!
Dal is usually served with a sabzi, rice, or roti and condiments like pickles, papads, or raita.
I love this dal with just plain boiled Basmati rice and spicy Indian pickle.
Remember, cooking times may vary depending on your altitude (it affects the boiling point of water as well as cooking time—no kidding!) and, of course, there is the amount of heat from your stove. If you want to cut the cooking time, you can also first boil the dal in a manual pressure cooker or Instapot. Follow the manual's directions for cooking the lentils. I time it less than the manual indicates, that way I can control the consistency of the dal to my liking.
 
Course: Main Course, Side Dish
Cuisine: Indian
Keyword: dals, lentils

Rotis, phulkas, chapattis—many names of the same delicious Indian flatbread!

I am a soon-to-be bride and my soon-to-be mother-in-law has taken me to visit my husband’s youngest Chachaji (Dad’s brother). It is lunchtime, and Chachiji (his wife) is making the rotis while I stand watching to see if I can help in any way. It is an art to roll the rotis and get them evenly round.

Other than taking some dough from our Cook and trying to roll it out as a kid, I never really had a chance to cook them myself, so when Chachiji hands me the rolling pin, I panic. I am on the spot!

I valiantly attempt to mimic her skills. Her two boys are laughing at my first attempt. Then strangely enough, I do the next one fairly well. By the fourth one, I am on a roll and my soon-to-be-in-laws look fairly pleased. I have saved face! I look triumphantly at my fiancé. He grins. Never mind if I am sweating profusely!!

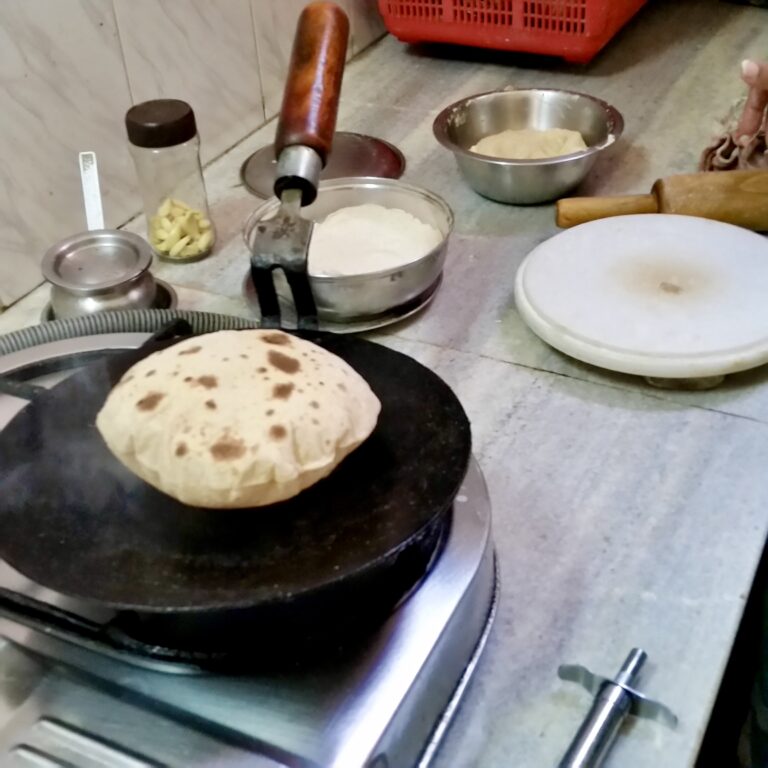
Rotis are the ultimate comfort food for me, like rice and dal. There is nothing like the smell and taste of a hot roti straight off the tava (griddle). It is as good as a fresh-baked loaf of bread.

To fix the roti you will need a tava. Preferably, a cast-iron one, but a nonstick will do. You will also need a wooden chakla and belan (a rolling board and rolling pin). Some dry wheat flour in a flat bowl to use when rolling out the dough.

Roti (Indian Flatbread)

Prep Time 25 minutes
Cook Time 20 minutes
Total Time 45 minutes
Servings 6
Rotis, phulkas, chapattis—many names of the same delicious Indian flatbread!

Ingredients

  • 2 cups whole wheat flour (found at Indian grocery or health food stores))
  • 1 cup water
  • ghee or butter (to butter roti)
  • salt (to taste)

Instructions 

To Prepare the Dough

  • In a large bowl or praath (round, flat Indian metal platter with a 2" rim), add 2 cups of flour.
  • Heap the flour in the center and make a little hollow in the middle of it. Slowly pour in the water, gradually mixing the mixture together to form a dough ball.
  • On a flat surface, roll the dough out, and knead the dough for about 8 minutes until you get a smooth and pliable dough.
  • Cover with a damp cloth and let rest it least 10 minutes before you use the dough. 

To Make the Rotis

  • Break off a golf-sized ball of dough and shape them into rounds. You should get 10-12 dough balls for 6-8 " diameter rotis.
    On a rolling board, flatten out the ball of dough with your fingers, palm side down. Dip the flattened dough into some dry flour, put it in the center of the rolling board, and roll it out until it is approximately 6"-8" in diameter. If you put more pressure on one side of the rolling pin it should give you an even roundness. The roti should be ⅛ of an inch (2-3 centimeters).
  • Meanwhile, heat the griddle over medium heat.
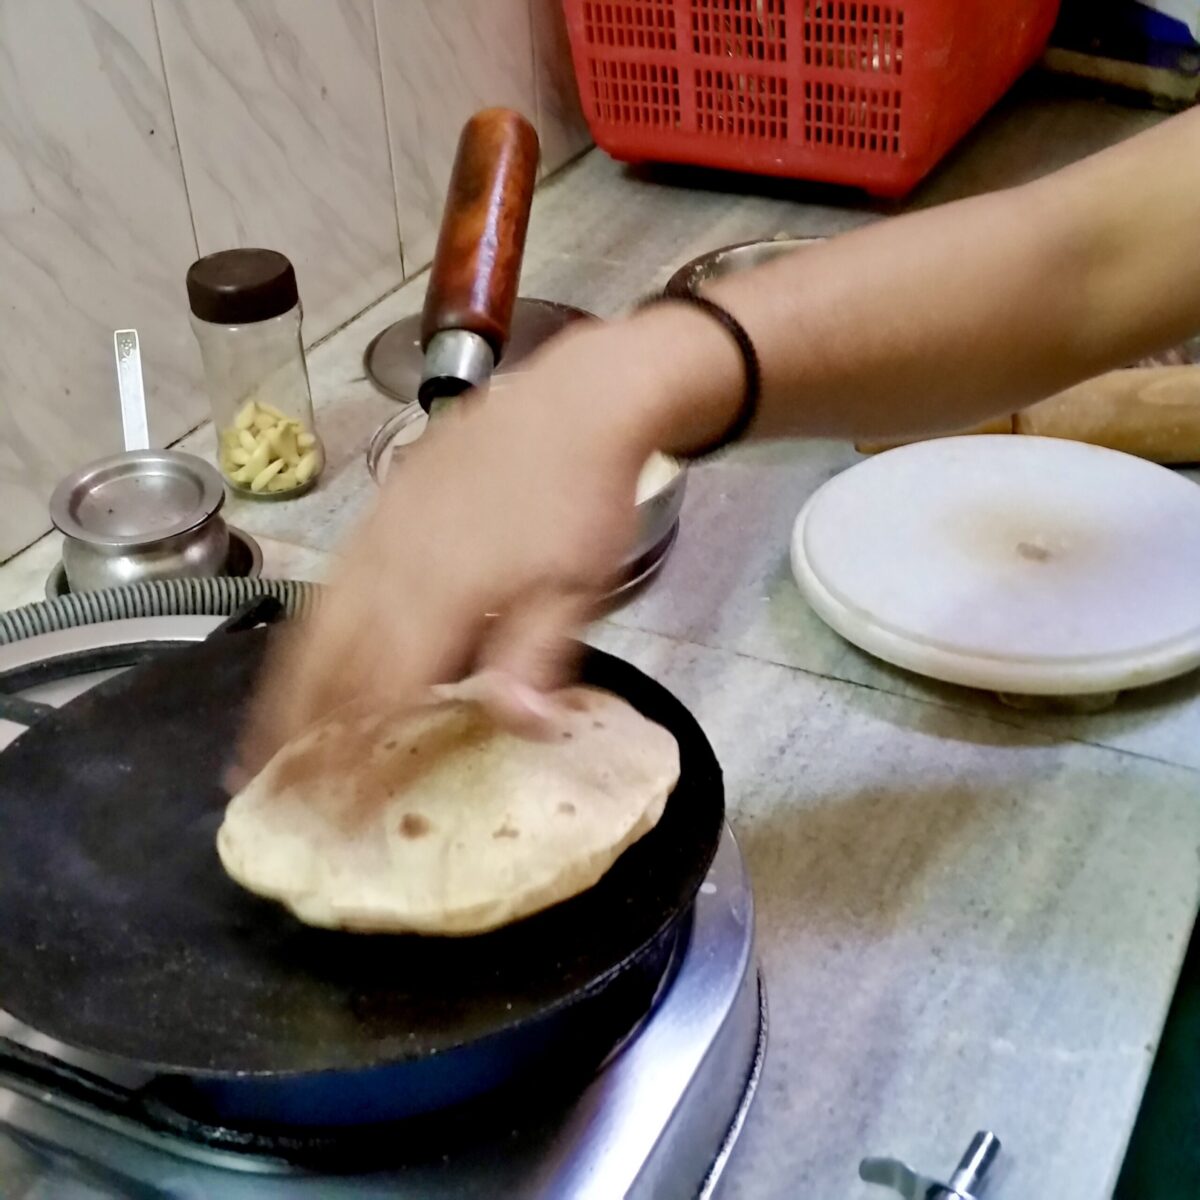
  • Pat the raw roti between the palms of your hand in a flipping motion to shake off the excess flour, then carefully lay it on the hot griddle. Within a minute, you will see bubbles appear on the surface. With a spatula, turn the roti over once more. With a napkin or paper towel rolled into a ball, gently press on the edges of the roti while trying to spin the roti around on the tava. It is an art learned with practice. This should puff the roti up. Don't be disheartened if the roti doesn't puff up on your first try.
  • If you have a gas burner, it is easier. Remove the roti with a pair of tongs and put it on the open flame. It should start to puff. Be quick or it can burn.
  • Whichever method you use, the roti is cooked when it has some nice brown spots on it, and the edges should be cooked.
  • Remove the cooked roti and spread it with ghee or butter.
  • Place a napkin in a deep dish and put the roti into this. Fold the edges of the napkin over the roti to keep it warm. Most Indians use an insulated container or a tortilla warmer to keep the rotis warm.
  • Continue making the rest of the rotis the same way.  Sandwich them together with the ghee- or butter side, so they do not smear all over the napkin.
  • Enjoy with dal, sabzi, or a meat dish.

Notes

I use salt only when I am mixing the dough for parathas, but you can add a pinch if you like.
Course: Appetizer, Side Dish
Cuisine: Indian
Keyword: chappati, phulka, roti

My husband has been transferred once again. This time to Agra. In true military fashion, there are no homes available for immediate occupation. We stay with a close friend and fellow officer and his wife. They have graciously allowed us to stay with them until we are allotted temporary accommodation. This was a recipe that I learned when we were with them. Thank you, Madhu!

About Agra—the city of the Taj Mahal! When I first saw it, I wasn’t that impressed as I had been fortunate to have seen so many beautiful structures all over India, old or older. And then, one moonlight night, we went to see it and suddenly its beauty and majesty sprang to light. I guess my daytime visits with teeming crowds and vendors detracted from it.

Years later, our family was able to revisit it and spend more time soaking up the intricacies of its amazing architecture and design.

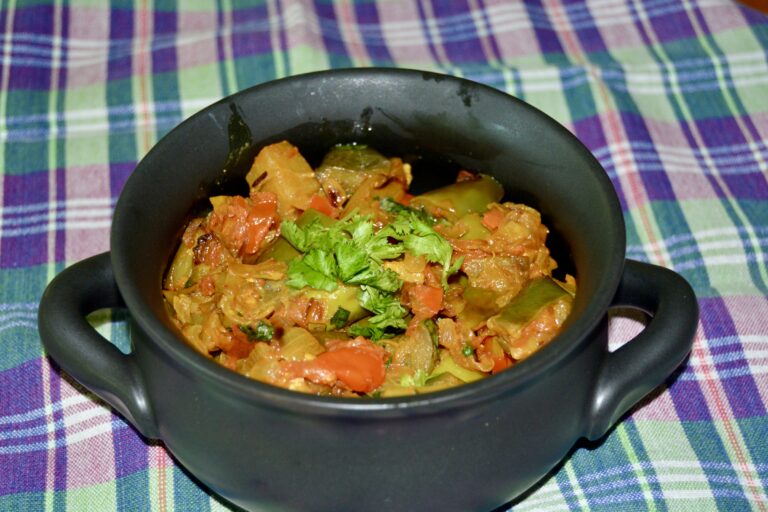
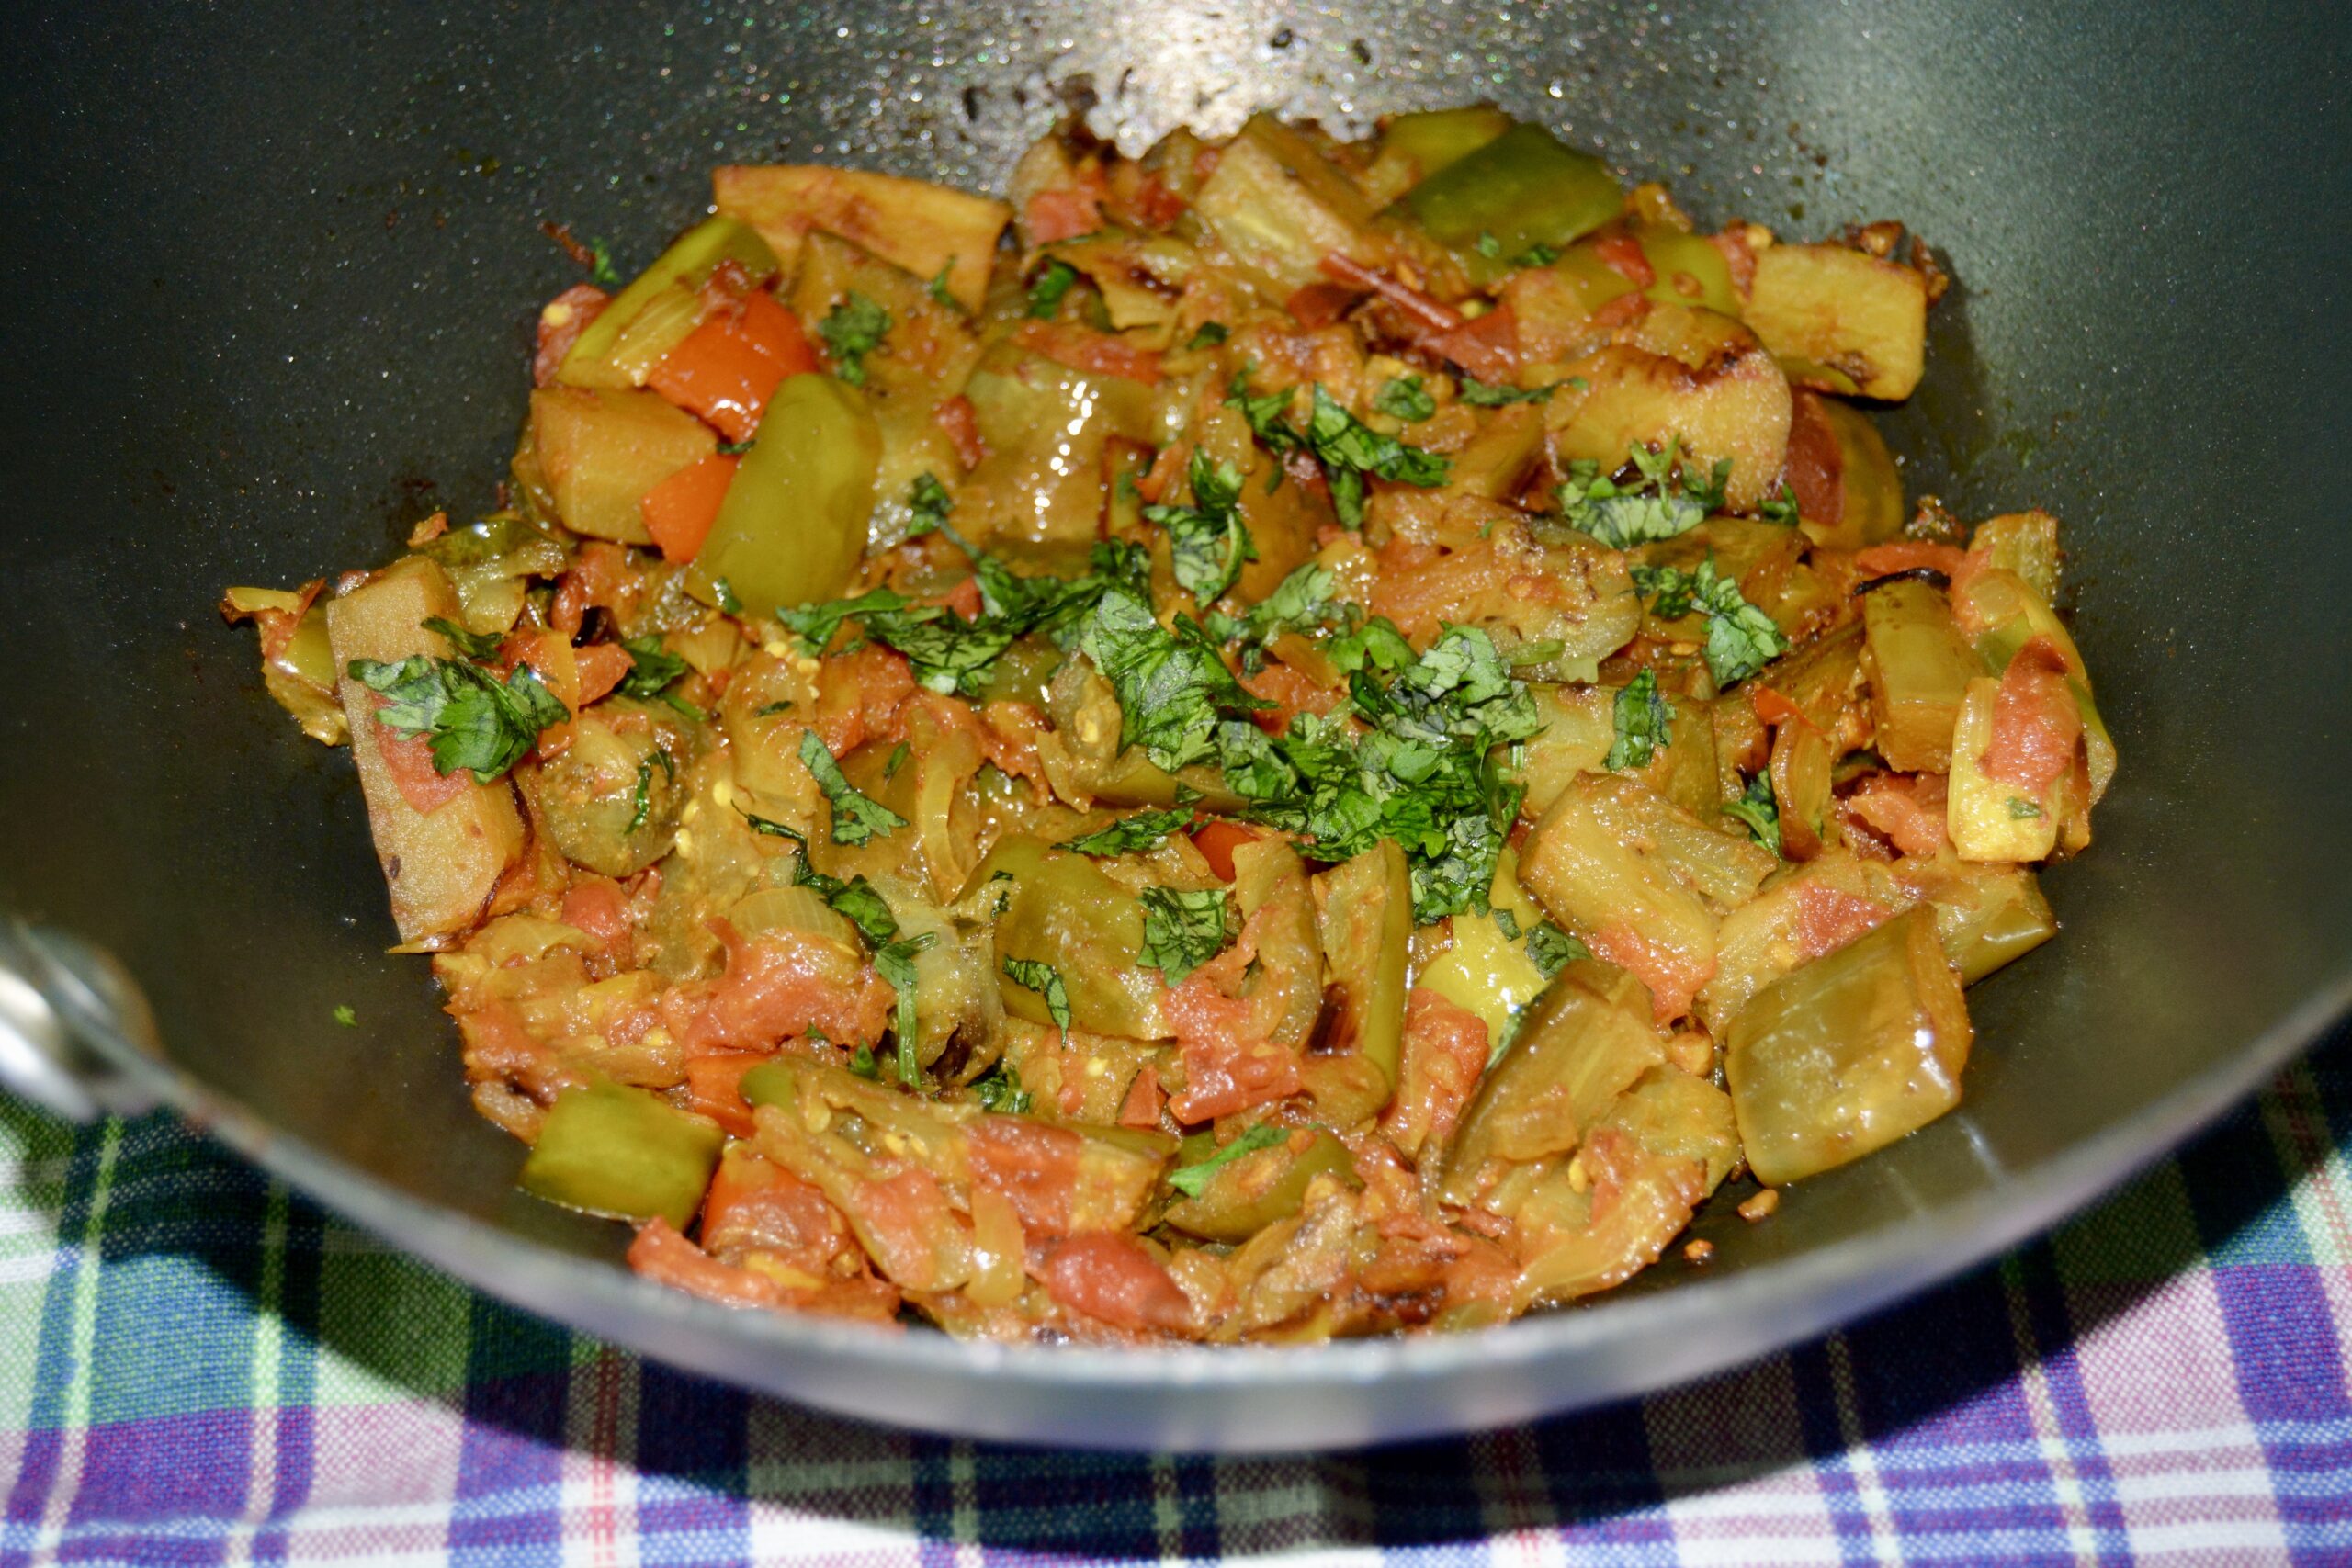
Masala Baingan (Sautéed Spicy Eggplant)

Prep Time 15 minutes
Cook Time 20 minutes
Total Time 35 minutes
Servings 4
A delicious, nutritious way to enjoy eggplant!

Ingredients

  • 2 large long eggplants (or large oblong one. Wash and dice into one-inch cubes, unpeeled.)
  • 1 tbsp fresh ginger (chopped, skin removed)
  • ½ large onion (semi-finely diced)
  • 2 large tomatoes (diced)
  • ½ tsp tumeric powder
  • chili powder (to taste or 1 green Serrano chili, finely diced)
  • 4 tbsp cooking oil
  • salt (to taste)
  • 2 tbsp fresh cilantro, finely diced, for garnish

Instructions 

  • Heat oil in a wok or deep skillet over medium heat. Add chopped ginger and sauté for 30 seconds.
  • Add onions and sauté for another 4 minutes until soft and starting to turn brown at the edges.
  • Now add the spice powders and stir for 30 seconds to stir-fry the masala.
  • Add the chopped eggplant. Stir a few times to mix the masala and the eggplant, then add the tomatoes.
  • Cover and cook for about 5 minutes until the eggplants are tender. Uncover and cook on semi-low until the moisture evaporates and the oil starts to separate. Approximately 10-15 minutes.
  • Be sure to stir a few times while cooking so your eggplant does not stick to the pan and burn. The eggplant should be soft, but not mushy.
  • Add half the cilantro and stir to mix it in. Transfer to a serving dish and garnish with the rest of the cilantro.

Notes

In an Indian meal, vegetables are usually served with dal or a meat/poultry dish or both. You can have them with roti or rice. I just use them in a wrap sometimes when I want a light meal or  not feel like cooking a full meal!
Course: Side Dish
Cuisine: Indian
Keyword: vegetable, vegetarian

-Taj Mahal Photo by AussieActive on Unsplash