Tag

Slider

Browsing

In the southern part of India, where coconut grows in abundance, it finds its way into many dishes. Fresh or dried, grated or ground, it adds flavor to the dish.

I remember the old-fashioned scraper in the kitchen used when I was a kid.  It was a metal blade shaped like a scythe, at the end of which was a circular metal disk with sharp teeth. The metal blade was mounted on a square block of wood. To scrape the coconut, you had first to remove the husk, then split the brown kernel in half. Next, you set up the scraper on the floor with a bowl or tray to catch the grated coconut. You sat on your haunches on the floor and steadied the board with the weight of one foot. Holding the coconut half against the scraping metal, you would move it back and forth across the grate, and the white meat would fall into the receiving bowl or plate. The metal teeth were sharp, and you had to be careful. The best part was the sharp blade was used to cut meat and poultry. It was always fascinating to watch the cook doing it. We were not allowed near the gadget, of course!
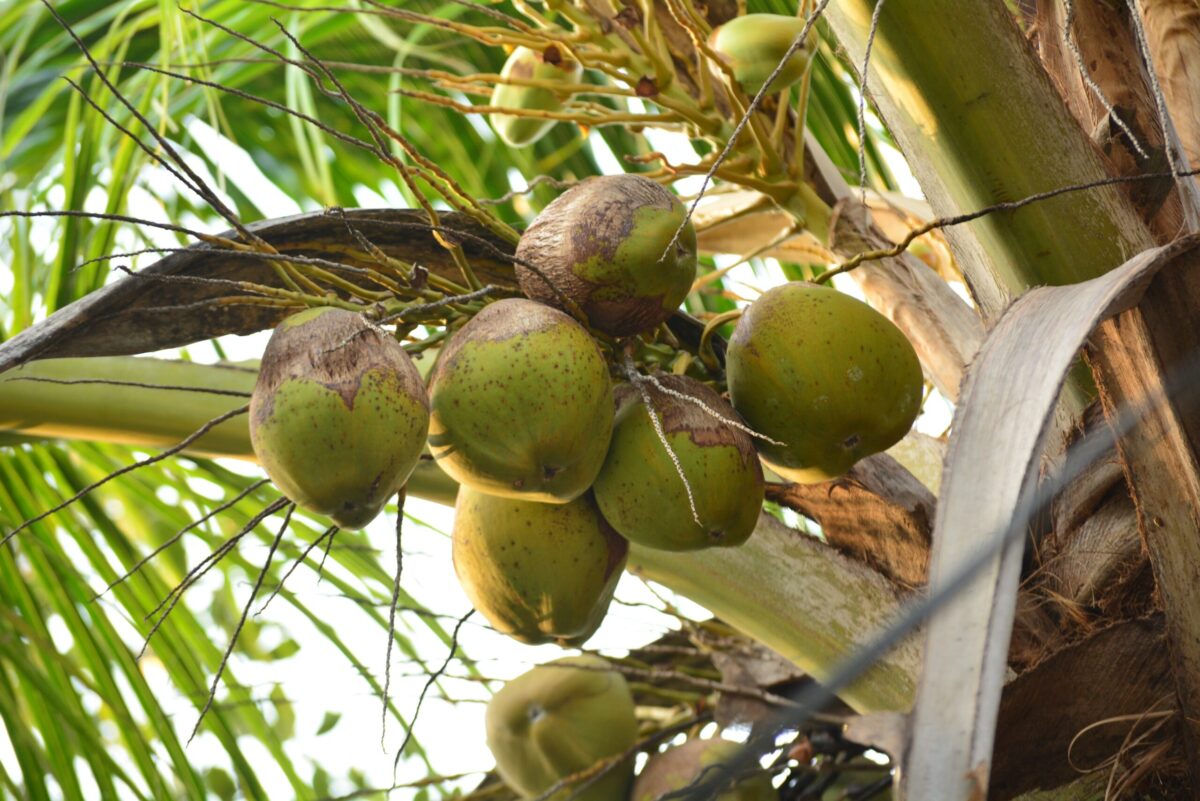
These days they have coconut graters that you can mount on the kitchen counter. It has a handle to swivel the grater head and scrape the meat off the coconut.  It does a pretty effective job. If you cannot get a fresh frozen pack of coconut meat and do not own a scraping gadget, buy a whole brown coconut from the grocery store with the husk removed. Shake it to see if you can hear the water swish inside. That means it is still fresh. Knock it against a hard surface to split it in half. You might have to break it into two pieces to do that.  Cut away the outer brown part and use a standing grater. Grate the white coconut meat only.

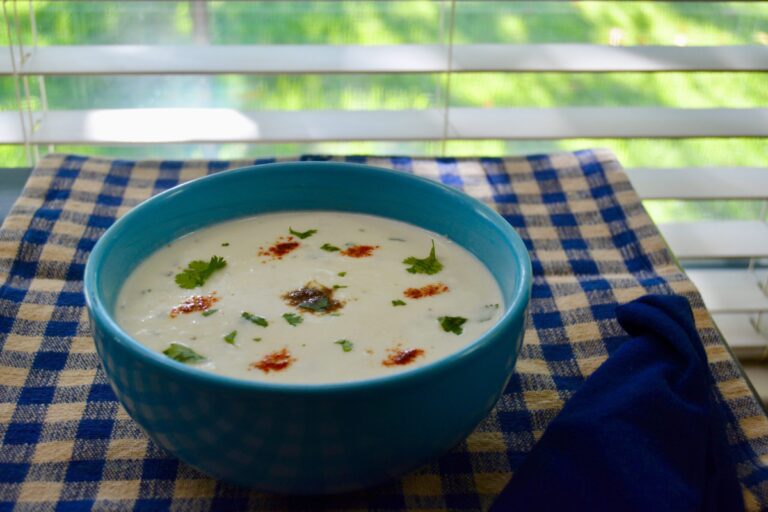
Here is a raita made with coconut, which we enjoy with any pilaf.

Coconut Raita

Prep Time 15 minutes
Cook Time 4 minutes
Total Time 19 minutes
Servings 4
A sweeter version of raita that goes well with pilafs, plain boiled rice, dal, sabzi, or curry. 

Ingredients

  • ¾ cup freshly grated coconut (Roasted ground cumin and red chili powder (paprika orCayenne) for Garnish)
  • cup plain yogurt (whole, lowfat, or fat free)
  • ½ small onion (chopped fine)
  • 1 medium Serrano chili (to your taste, chopped fine)
  • 2 tbsp fresh green cilantro (chopped fine)
  • ½ cup water
  • salt (to taste)
  • Dash roasted ground cumin and chili powder (paprika or cayenne) (for garnish)

Instructions 

  • In a medium bowl, beat the yogurt with water and salt until smooth. 
  • Add the rest of the ingredients and mix well.
  • Pour into a serving dish and garnish with the roasted ground cumin, pepper, and chili powder.
  • Serve with an Indian meal of Pilaf or plain boiled rice, dal, sabzi, or curry. 
  • As with the cucumber raita, it can also eat it as a snack.

Notes

Shout out to Dileesh Kumar on Unsplash for the great photo!
Course: Side Dish
Cuisine: Indian
Keyword: coconut, raita, yogurt


Military style, Dad was transferred to another city. We were all packed and ready to go. It would be a long train journey and our arrival at the train station would be just before lunch.

To avoid the chaos of feeding us at the train station, Mama had Cook fix curry and rice. Then, since all the crockery and cutlery were packed, Mama mixed the rice and curry in a huge ‘thali’ (metal platter). She formed the rice and curry into little golf-sized balls. We gathered around, and she placed them one at a time on our open palms as we scoffed them down. To us, it was the most delicious curry and rice! Needless to say, it was great fun being fed in this fashion. The excitement of the long train journey only enhanced the experience.

The packed trunks and other baggage were loaded onto the waiting military trucks, and off to the station, we went. Pushing our way through the crowded platform, we arrived at the compartment reserved for us.

Mama is busy taking a count of all the hand baggage, and the kids, Cook, and the Orderly assigned to accompany us supervise the loading of all the household goods.

Dad, standing tall and handsome, is being bid goodbye by the junior officers who have come to see him off. We always loved the train journeys and the experience of being served hot spicy Indian food ordered from the dining cart.

The best experience was drinking tea in the cup-sized kullarhs (earthern pots) sold all along the platform by the chaiwalla (tea vendor). He would make his way alongside the train yelling “chai garam” (hot tea). Tea drunk out of the kullarhs had an earthy taste. We saved the earthen pots to throw out the window when the train slowly steamed out onto the open fields. It was a challenge to see who could throw it the farthermost—when our parents weren’t watching us!

I still cannot fix curry and rice or board a train without remembering the curry and rice Mama mixed for our long train journeys.

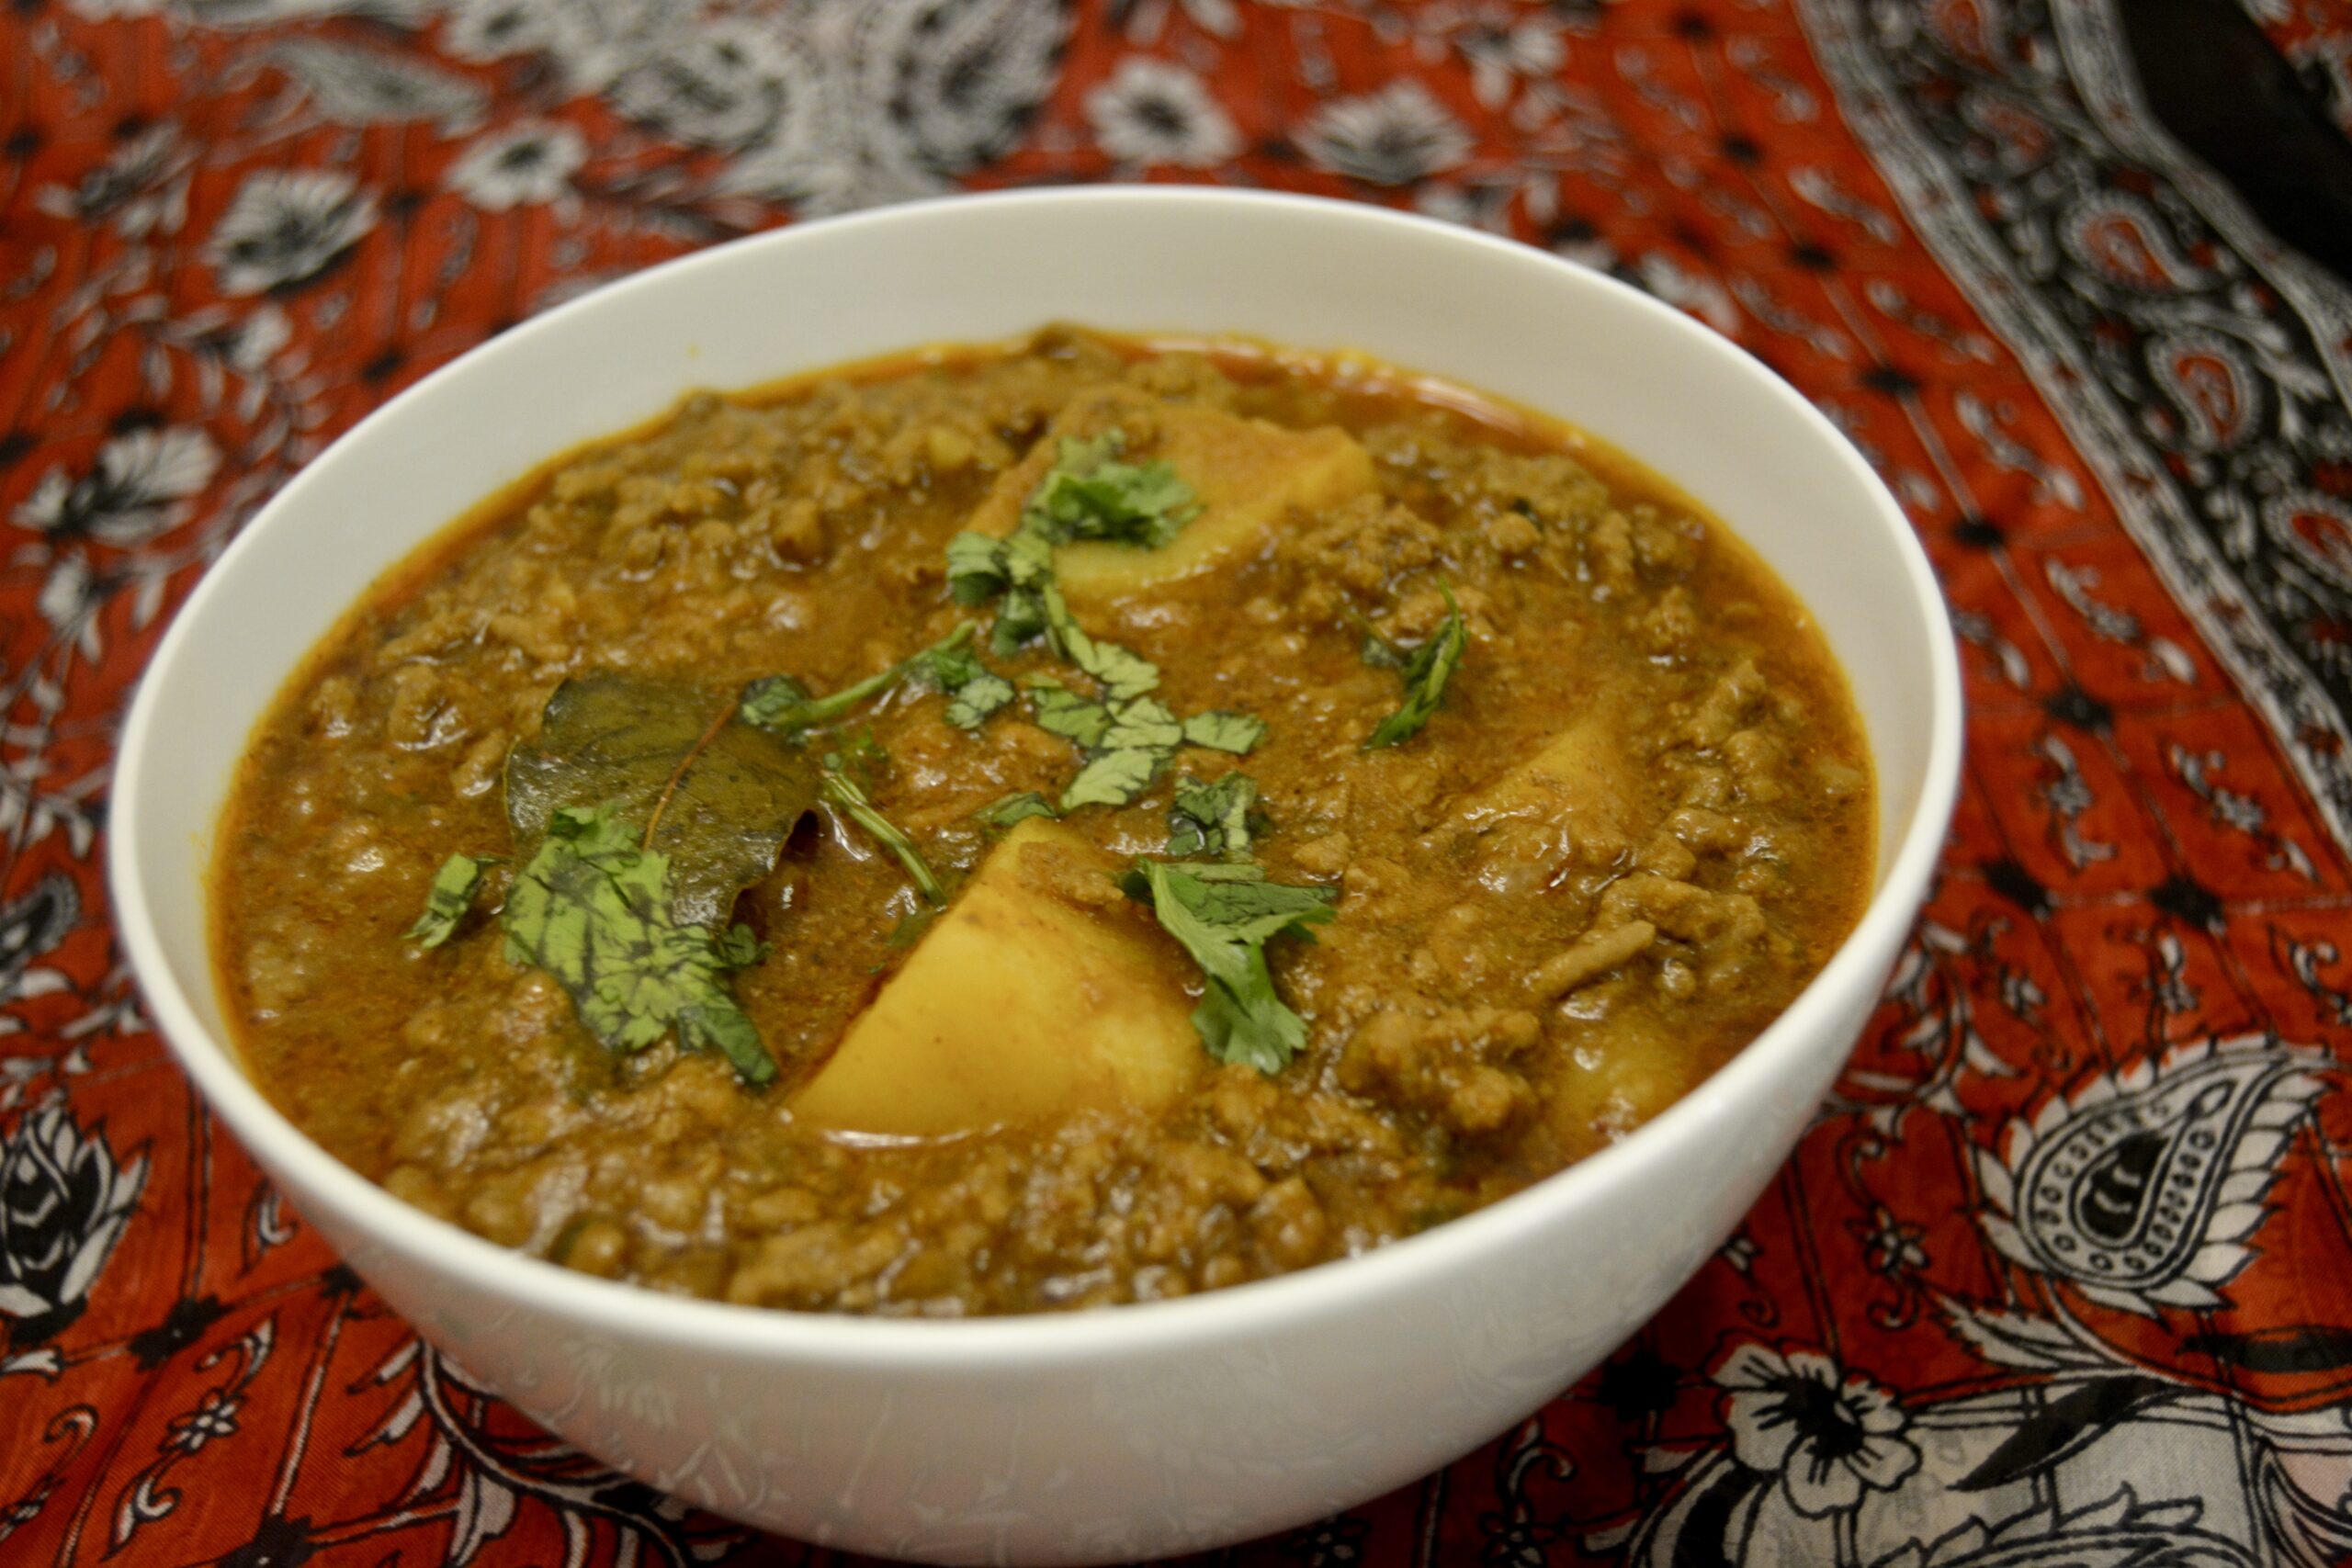
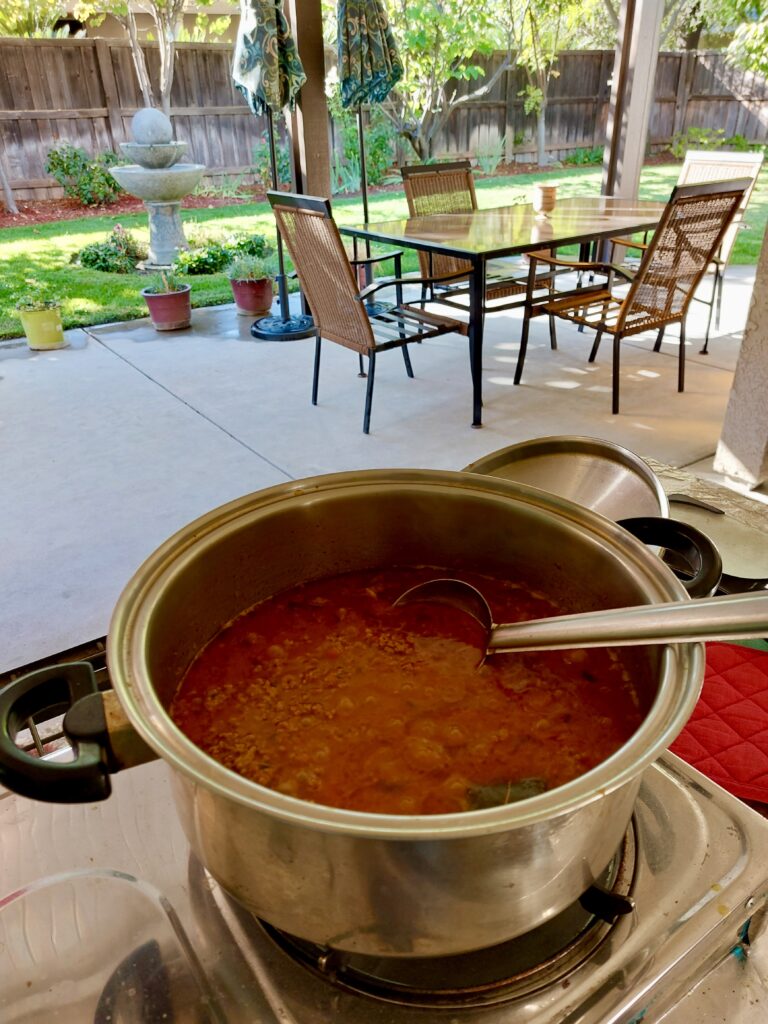
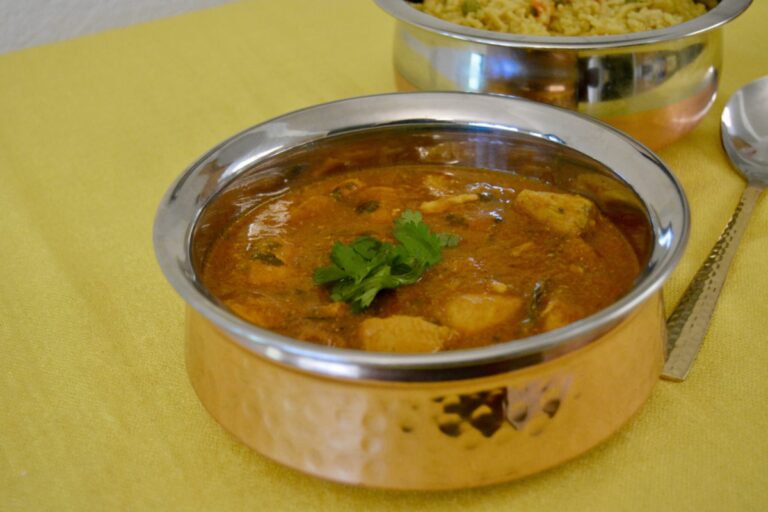
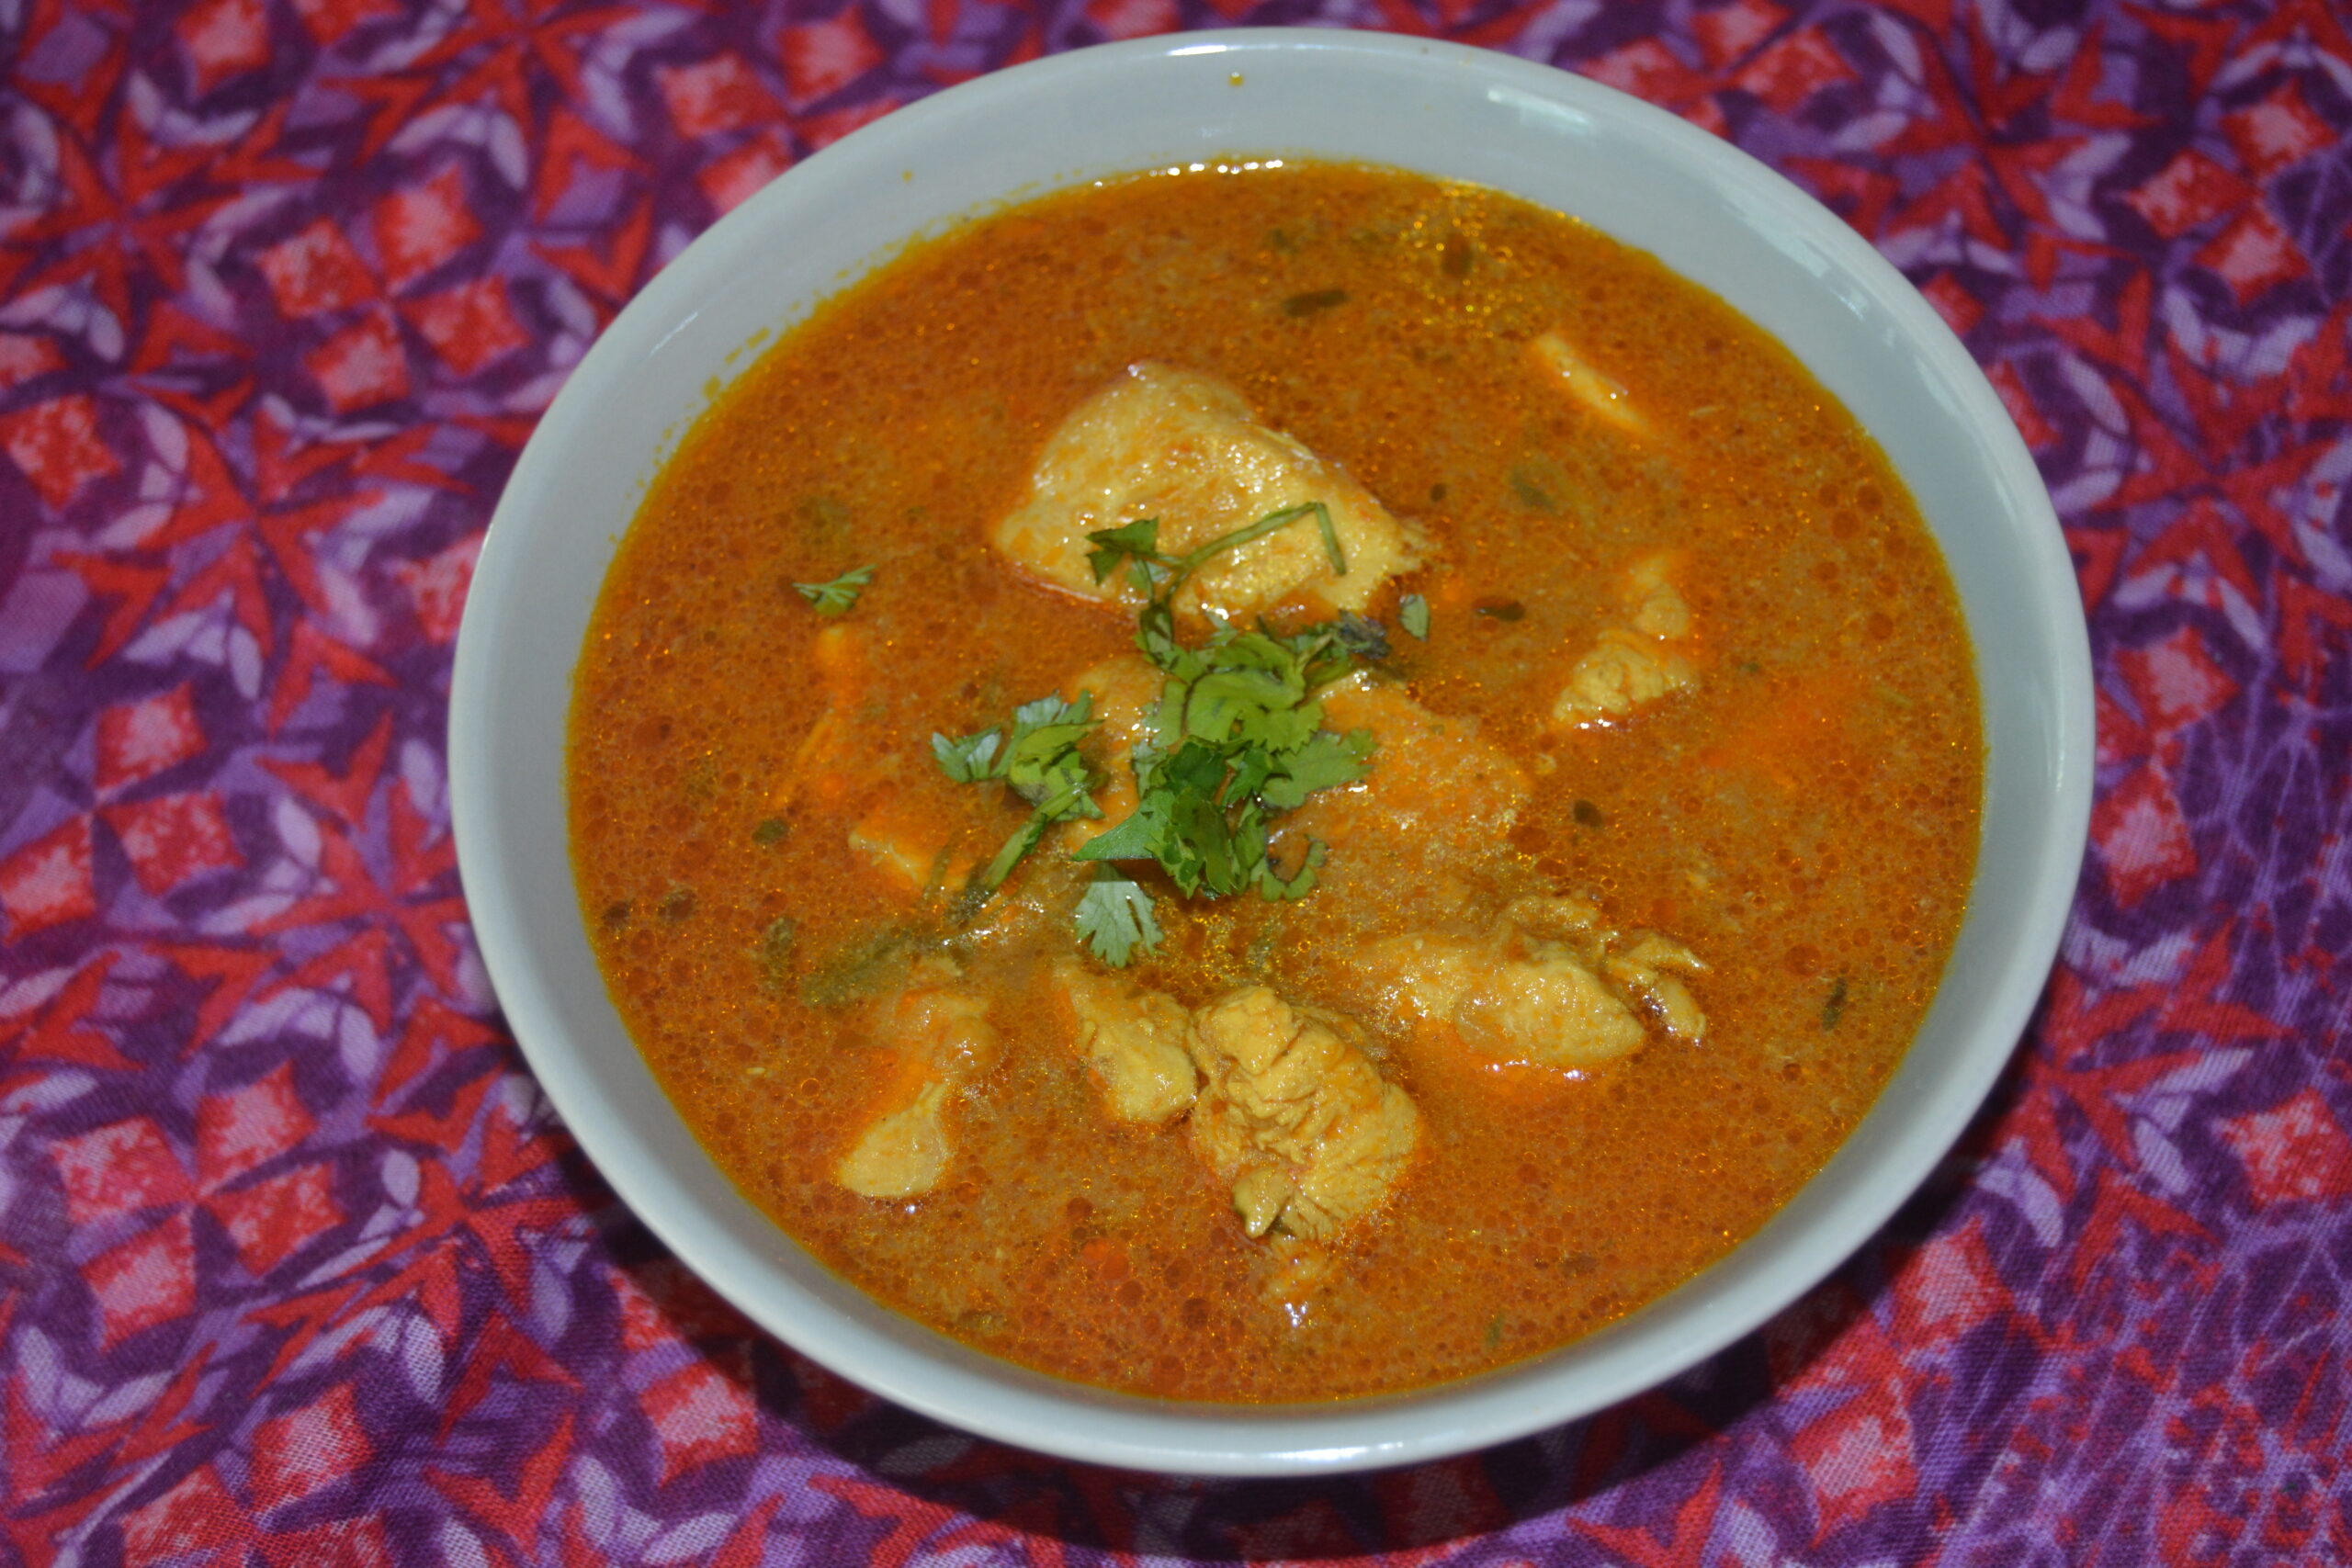
Chicken Curry

Prep Time 15 minutes
Cook Time 50 minutes
Total Time 1 hour 5 minutes
Servings 6
An aromatic, mouth-watering main dish to amaze your dinner guests!

Ingredients

  • 2 lb chicken breasts (boneless, skinless, cut into pieces, washed, and drained (can use thighs or thighs and drumsticks))
  • 2 medium onions (chopped very fine or use a food processor, but do not grind into a paste)
  • 1 tbsp fresh garlic paste (can use bottled )
  • 1 tbsp fresh ginger paste (can use bottled)
  • 2 large or medium potatoes (russet( (peeled and quartered)
  • ½ bunch fresh cilantro (pick leaves, wash, and chop)
  • 2 tbsp tomato paste (or 1 small can (6 oz) tomato sauce)
  • 3-5 tbsp cooking oil (canola, vegetable, corn, peanut)
  • 1 whole Serrano green chili (split half way down the middle(optional) )
  • 1 cup hot water (for gravy)
  • 1 can chicken broth (plain)

Whole Spices

  • 2 medium bay leaves
  • 4-5 peppercorns
  • 4-5 cloves
  • 3 small green cardamom
  • 1 small cinnamon stick (1 inch)

Masala (Spices)

  • ½ tsp tumeric powder
  • 1 tsp cumin powder
  • 2 tsp coriander powder
  • ¼ tsp chili powder (optional)

Instructions 

  • Heat oil in a dutch oven or large cooking pot over medium heat.
  • Add whole spices and whole green chili (optional). Let splutter a few moments, and then add onions.
  • Sauté till onions are nearly ¾brown. Approximately 8 minutes.
  • Add the chicken. Sauté well until the chicken is nicely glazed, approximately 10 minutes.
  • Add the ginger, garlic, and spice powders. Continue to sauté for about 8 minutes.
  • Now add half of the chopped cilantro and continue to cook, frequently stirring until most of the moisture is absorbed. You can tell when, as the oil starts to appear on the sides of the pan. About 10 minutes more.
  • Add the hot water, stock (add more water if you do not have stock), potatoes, and tomato paste. Cover and let cook until the potatoes are done. Approximately 15 minutes.
  • Serve in a deep dish and garnish with the remaining cilantro.

Notes

You can make more or less gravy by monitoring the water content, but don't make it thin and runny as it loses its flavor.
I add hot water as it continues the cooking process but there is no harm done if you add warm or  coldwater.
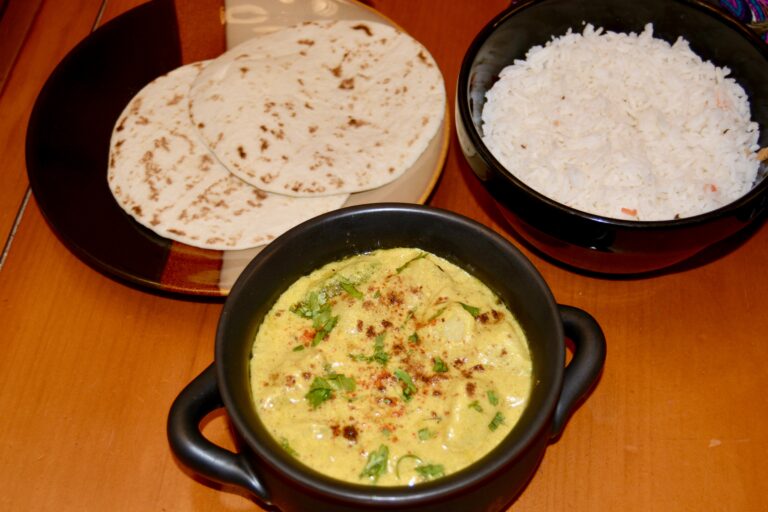
Serve with plain rice, an Indian styled pilaf or any kind of flat bread (roti,naan, paratha, pita bread, etc.).
You could also add a vegetable side dish. 
Course: Main Course
Cuisine: Indian
Keyword: chicken, curry

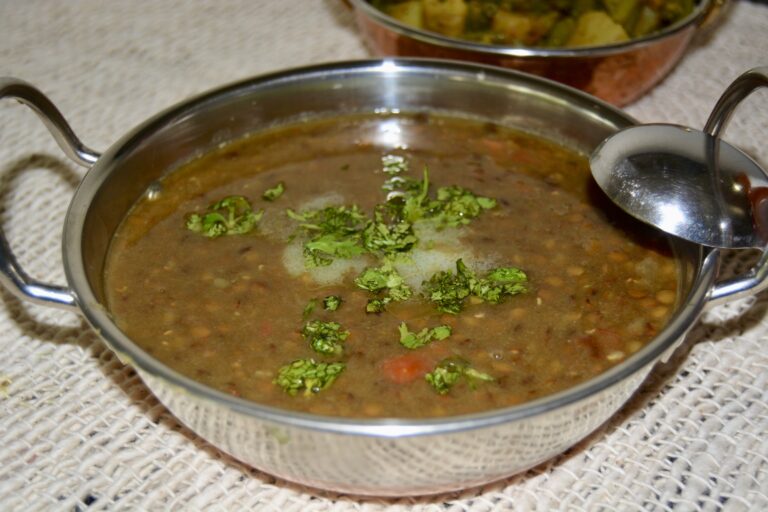
This dal is the red lentil dal with the husk on. I make it the easy way. The leftover dal (as with most dals) tastes great with morning breakfast or brunch parathas. You can make tasty parathas when you knead the dal into the paratha dough. (A recipe I shall share with you later).

Kala Masoor Dal (Red Lentil Whole Dal)

Prep Time 10 minutes
Cook Time 45 minutes
Total Time 55 minutes
Servings 4
A healthy, savory dish that works perfectly as a main or side dish!

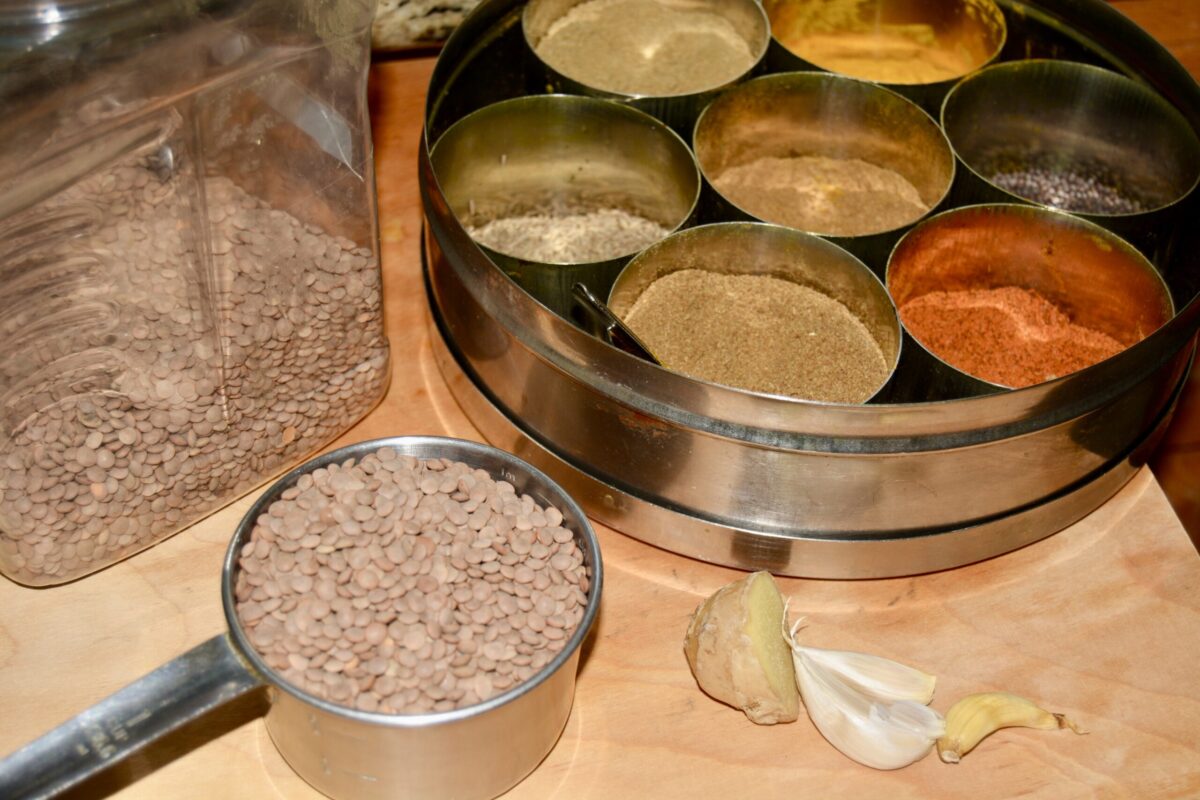
Ingredients

  • 1 cup whole red lentil
  • 7-8 cups water
  • ½ tsp tumeric
  • 2-3 fresh garlic cloves (peeled and chopped)
  • 1 inch fresh ginger (peel the skin and chop)
  • 1 whole red chili (or to taste)
  • salt (to taste)

Tempering (Tadka) 

  • 1-1 ½ tbsp oil
  • ½ onion (chopped fine)
  • ½ large tomato (chopped fine)
  • 1 tsp garam masala
  • ¼ tsp red chili powder (optional or to taste)
  • ½ tsp cumin powder
  • 2 tsp desi ghee (optional - available at Indian or health grocery stores)

Kala Masoor Dal Variation Tadka (Tempering)

  • 2 tbsp cooking oil
  • ¾ cup yellow or red onion (chopped)
  • 2 medium tomatoes (finely chopped)
  • 1 tbsp ginger-garlic paste
  • 1 tsp cumin powder
  • ½ tsp red chili powder (or to taste)
  • ½ tsp garam masala
  • 2 tbsp desi ghee (available at Indian or health grocery stores)

Garnish

  • 1 tbsp fresh chopped coriander

Instructions 

  • Sort, clean, wash and strain the dal.
  • Place dal, water, garlic, ginger, chili, turmeric, and salt in a heavy-bottomed 6-quart cooking pot or deep saucepan.
  • Cover and cook on medium-high until it starts to boil. You may want to leave the lid slightly open as some dals boil over as they increase in volume.
  • Once it starts to boil, reduce the heat and cook until the lentils are tender and slightly mushy. About 40-45 minutes.

Tempering (Tadka)

  • Heat oil in sauté pan.
  • Add chopped onion, and when ¾ brown (about 3-5 minutes).
  • Add chopped tomatoes. Let sauté till tomatoes are half done. This will take another 2-3 minutes. Turn off the heat.
  • Add the garam masala, chili powder, and cumin powder. Stir quickly for a few seconds and then add to the dal. Add the desi ghee (optional).
  • Stir the dal and seasoning, turn the stove to low, and let it cook on low for another 5 minutes to absorb all the flavors of the tempering.   
  • Garnish with chopped green coriander.

Kala Masoor Dal Variation

  • Boil the dal with the chili, turmeric, and salt until tenderbut not mushy.

Kala Masoor Dal Variation Tadka (Tempering)

  • Heat oil in a pan on medium heat.
  • Add the onions and fry until golden brown, approximately 7-8 minutes.
  • Add the ginger, garlic, and spice powders. Sauté for a minute until fragrant.
  • Add the chopped tomatoes. Sauté for about 4-5 minutes until soft and the oil starts to surface.
  • Add the boiled dal and simmer on low for 10 minutes. You can add a little hot water if the dal gets too thick.
  • Top with desi ghee and garnish with cilantro when serving.  

Notes

Serve with rice, roti, or pita bread. As with most Indian meals, we like to serve our dals with a sabzi (vegetable) or maybe kachumber (fresh chopped salsa) and, of course, the ever-constant array of pickles!
Note: Using a manual or electric pressure cooker or Instapot speeds up the cooking process.
You can start with the tempering being done directly in the pressure cooker and then add the dal. Or, you could cook the dal in the pressure cooker (check the manual for cooking time for various lentils) and then do the tempering separately and add it to the dal. 
Feel free to omit the garlic or onions if they do not agree with you.
P.S. I add some butter before serving for my eating pleasure!
Course: Main Course, Side Dish, Soup
Cuisine: Indian
Keyword: dals, lentils, masoor

Lassi, a yogurt drink that is common in India, is becoming popular all over the world. It is a refreshing summer drink to combat the heat. I normally just like it plain with no fruit, but once in a while, I will fix it with fruit. It is a great substitute for a light lunch or a mid-day snack. My youngest sister and her daughters love it after a workout at the gym.

Raspberry Lassi (Raspberry Yogurt Drink)

Prep Time 5 minutes
Cook Time 5 minutes
Total Time 10 minutes
Servings 2
Lassi, a refreshing, healthy yogurt drink that is common in India, is now popular all over the world.

Ingredients

  • 1 cup plain yogurt (fat-free, low-fat, your choice)
  • 1 cup fresh raspberries (or berries of your choice)
  • 2-3 tbsp sugar (optional or sugar substitute)
  • 1 cup ice or ice cubes (crushed)

Instructions 

  • Place all the ingredients with a ½ cup of crushed ice in a blender (or hand whisk) and blend until smooth. Taste for sugar. Save the extra ice in case you want the drink colder.
  • Pour into long stemware or regular glasses. Garnish with chopped raspberries or raspberries on a cocktail stick.

Notes

You can substitute 1 cup of fresh raspberries for 1 cup of frozen raspberries.
You can convert this into a milkshake by substituting the yogurt with a cup of milk, almond milk or oat milk. Just make sure both milk and fruit are well chilled, so the milk does not split. Adjust the sugar to your liking. Serve with dollops of ice cream and chopped nuts.       
Course: Drinks
Cuisine: American, Indian
Keyword: drinks, lassi, raspberry, yogurt

Lassi, a yogurt drink that is common in India, is becoming popular all over the world. It is a refreshing summer drink to combat the heat. I normally just like it plain with no fruit, but once in a while, I will fix it with fruit. It is a great substitute for a light lunch or a mid-day snack. My nieces love it after their band has finished playing at a summer festival.

Mango Lassi (Mango Yogurt Shake)

Prep Time 10 minutes
Cook Time 5 minutes
Servings 2
Lassi, a refreshing, healthy yogurt drink that is common in India, is now popular all over the world.

Ingredients

  • 1 cup yogurt (full cream or low fat)
  • 2 mangoes (large, ripe, skin removed and diced)
  • 3 tbsp sugar (less or more to taste)
  • 2 tbsp lemon juice
  • 1 cup crushed ice

Instructions 

  • Place all the ingredients in your blender (or use a hand whisk) and blend until smooth.
  • Pour into long-stem glasses or regular glasses. Garnish with a wedge of mango or a few mint leaves.       

Notes

When I feel lazy, but still crave a mango lassi, I buy a can of Kesar mango pulp from the Indian grocery store and use that instead of fresh mangoes, but I still prefer the taste of fresh mangoes in the lassi!
To substitute: Use 2 cups of canned mangoes for the fresh. Since it is in syrup, the pulp is quite sweet, be sure to adjust the sugar according to your taste.
You can also substitute almond or coconut yogurt for the milk yogurt.
You can convert this into a milkshake by substituting the yogurt with a cup of milk, almond milk or oat milk. Just make sure both milk and fruit are well chilled, so the milk does not split. Adjust the sugar to your liking. Serve with dollops of ice cream and chopped nuts.    
Course: Drinks
Cuisine: American, Indian
Keyword: lassi, mango, shake, yogurt

Rotis, phulkas, chapattis—many names of the same delicious Indian flatbread!

I am a soon-to-be bride and my soon-to-be mother-in-law has taken me to visit my husband’s youngest Chachaji (Dad’s brother). It is lunchtime, and Chachiji (his wife) is making the rotis while I stand watching to see if I can help in any way. It is an art to roll the rotis and get them evenly round.

Other than taking some dough from our Cook and trying to roll it out as a kid, I never really had a chance to cook them myself, so when Chachiji hands me the rolling pin, I panic. I am on the spot!

I valiantly attempt to mimic her skills. Her two boys are laughing at my first attempt. Then strangely enough, I do the next one fairly well. By the fourth one, I am on a roll and my soon-to-be-in-laws look fairly pleased. I have saved face! I look triumphantly at my fiancé. He grins. Never mind if I am sweating profusely!!

Rotis are the ultimate comfort food for me, like rice and dal. There is nothing like the smell and taste of a hot roti straight off the tava (griddle). It is as good as a fresh-baked loaf of bread.

To fix the roti you will need a tava. Preferably, a cast-iron one, but a nonstick will do. You will also need a wooden chakla and belan (a rolling board and rolling pin). Some dry wheat flour in a flat bowl to use when rolling out the dough.

Roti (Indian Flatbread)

Prep Time 25 minutes
Cook Time 20 minutes
Total Time 45 minutes
Servings 6
Rotis, phulkas, chapattis—many names of the same delicious Indian flatbread!

Ingredients

  • 2 cups whole wheat flour (found at Indian grocery or health food stores))
  • 1 cup water
  • ghee or butter (to butter roti)
  • salt (to taste)

Instructions 

To Prepare the Dough

  • In a large bowl or praath (round, flat Indian metal platter with a 2" rim), add 2 cups of flour.
  • Heap the flour in the center and make a little hollow in the middle of it. Slowly pour in the water, gradually mixing the mixture together to form a dough ball.
  • On a flat surface, roll the dough out, and knead the dough for about 8 minutes until you get a smooth and pliable dough.
  • Cover with a damp cloth and let rest it least 10 minutes before you use the dough. 

To Make the Rotis

  • Break off a golf-sized ball of dough and shape them into rounds. You should get 10-12 dough balls for 6-8 " diameter rotis.
    On a rolling board, flatten out the ball of dough with your fingers, palm side down. Dip the flattened dough into some dry flour, put it in the center of the rolling board, and roll it out until it is approximately 6"-8" in diameter. If you put more pressure on one side of the rolling pin it should give you an even roundness. The roti should be ⅛ of an inch (2-3 centimeters).
  • Meanwhile, heat the griddle over medium heat.
  • Pat the raw roti between the palms of your hand in a flipping motion to shake off the excess flour, then carefully lay it on the hot griddle. Within a minute, you will see bubbles appear on the surface. With a spatula, turn the roti over once more. With a napkin or paper towel rolled into a ball, gently press on the edges of the roti while trying to spin the roti around on the tava. It is an art learned with practice. This should puff the roti up. Don't be disheartened if the roti doesn't puff up on your first try.
  • If you have a gas burner, it is easier. Remove the roti with a pair of tongs and put it on the open flame. It should start to puff. Be quick or it can burn.
  • Whichever method you use, the roti is cooked when it has some nice brown spots on it, and the edges should be cooked.
  • Remove the cooked roti and spread it with ghee or butter.
  • Place a napkin in a deep dish and put the roti into this. Fold the edges of the napkin over the roti to keep it warm. Most Indians use an insulated container or a tortilla warmer to keep the rotis warm.
  • Continue making the rest of the rotis the same way.  Sandwich them together with the ghee- or butter side, so they do not smear all over the napkin.
  • Enjoy with dal, sabzi, or a meat dish.

Notes

I use salt only when I am mixing the dough for parathas, but you can add a pinch if you like.
Course: Appetizer, Side Dish
Cuisine: Indian
Keyword: chappati, phulka, roti