")
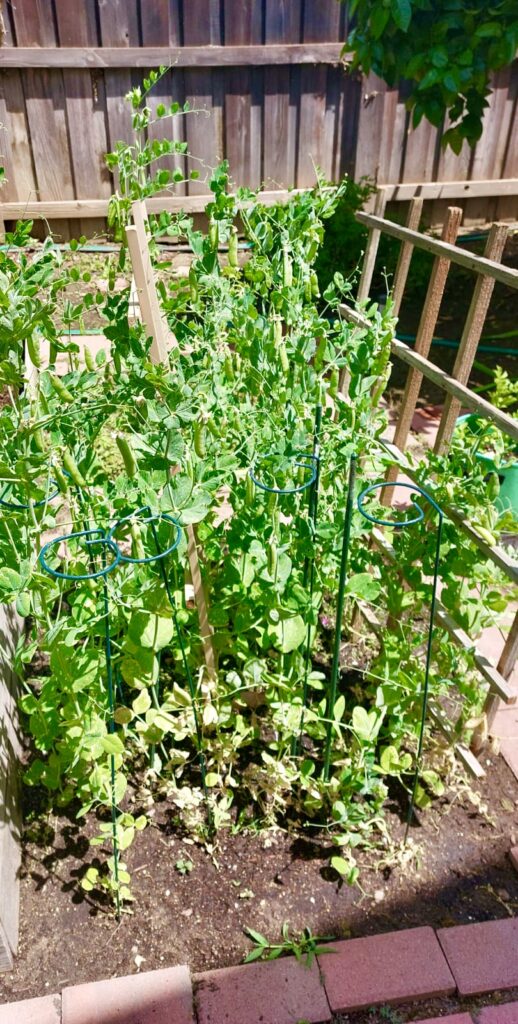 The morning is beginning to heat up. I look out my kitchen window at the small patch of peas I am growing. It needs a weeding. Armed with my garden hat, gloves, and shovel, I head out to see if I can tackle the weeds before it gets too hot. I am pleased to see that there are enough peas I can pick to fix a curry or sabzi (sautéed vegetable of any kind without gravy). A little while later, I return to the kitchen with fresh peas.
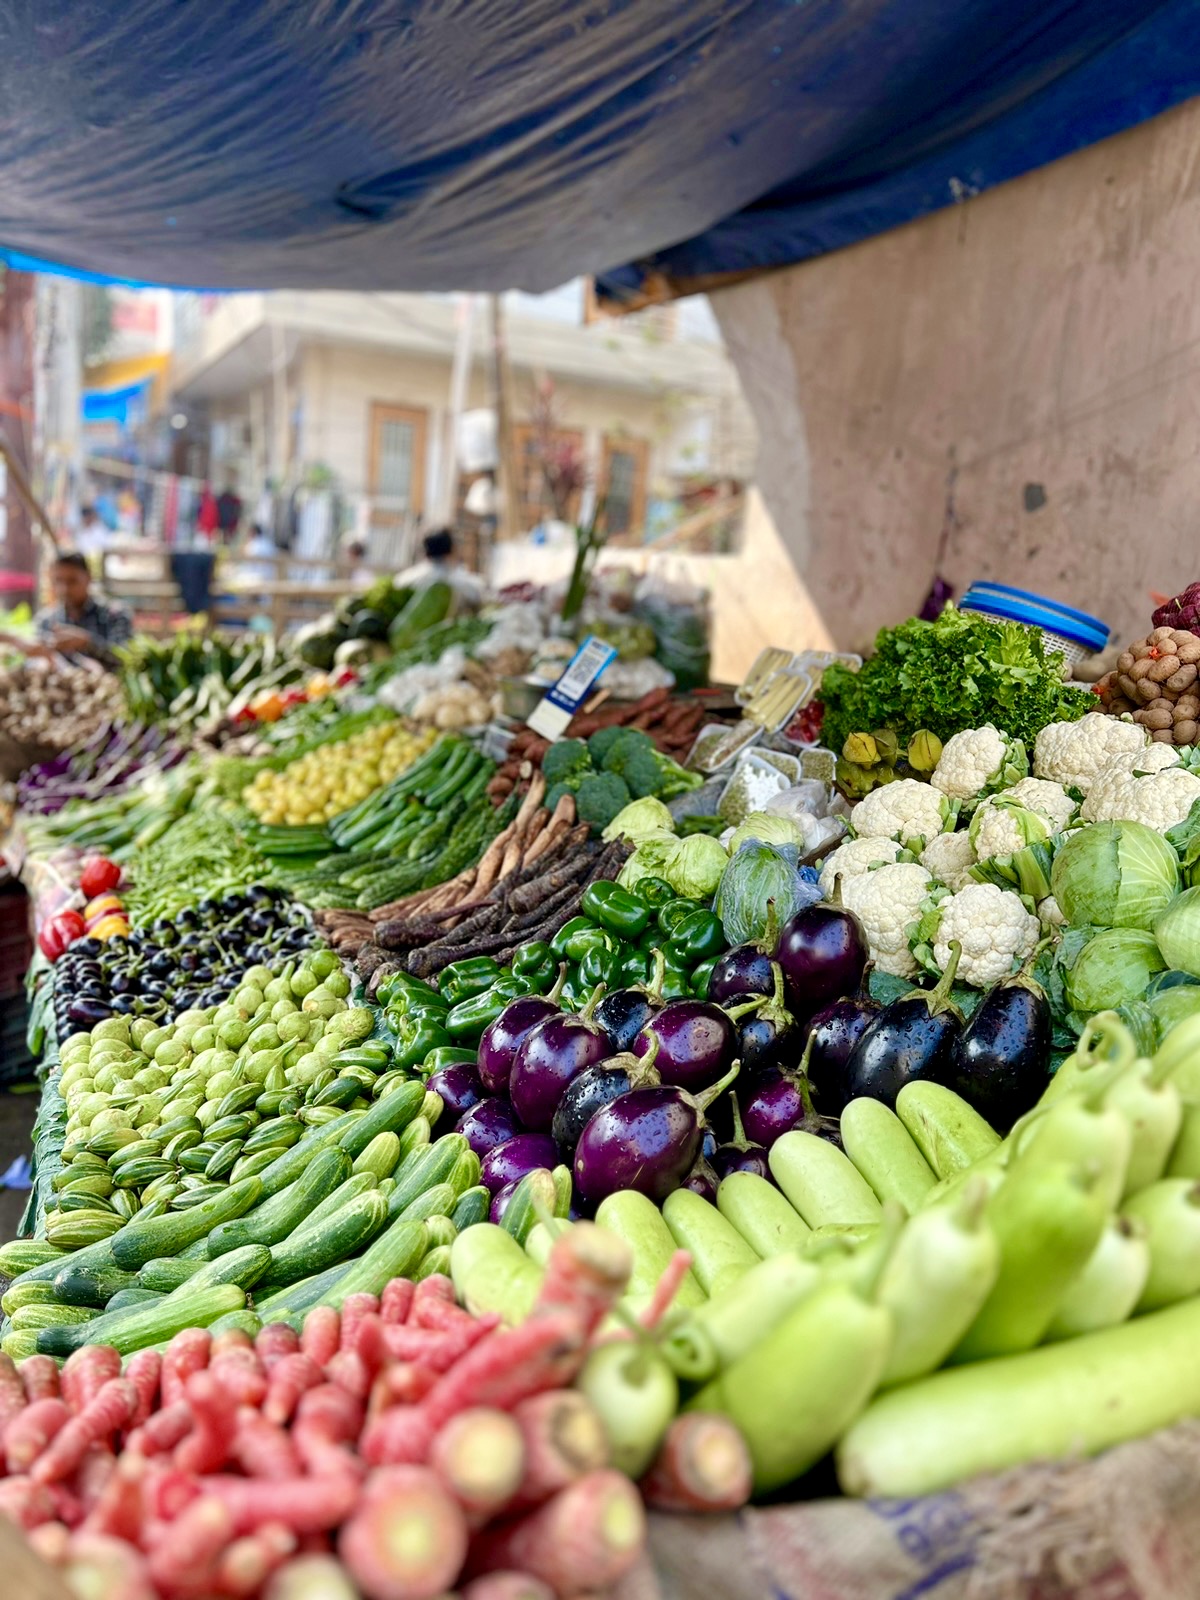
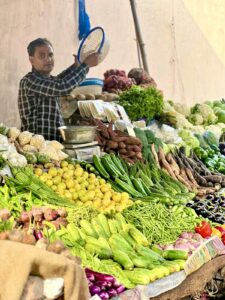 I recall walking through the sabzi mandi’s (vegetable markets) in India or stopping by the wayside vegetable vendors’ stalls by the primary market. The vegetables were always farm fresh. You would make your selection. The grocer would weigh these on scales and put them into the ‘thaila’ (cloth bag) you carried with you—before plastic bags hit the scene! Of course, there was always bargaining to be done. It was an essential part of the buying process. I didn’t bargain much, knowing how hard they worked to make a living, so I always caved. I never quite got used to it!
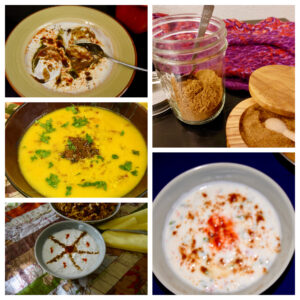
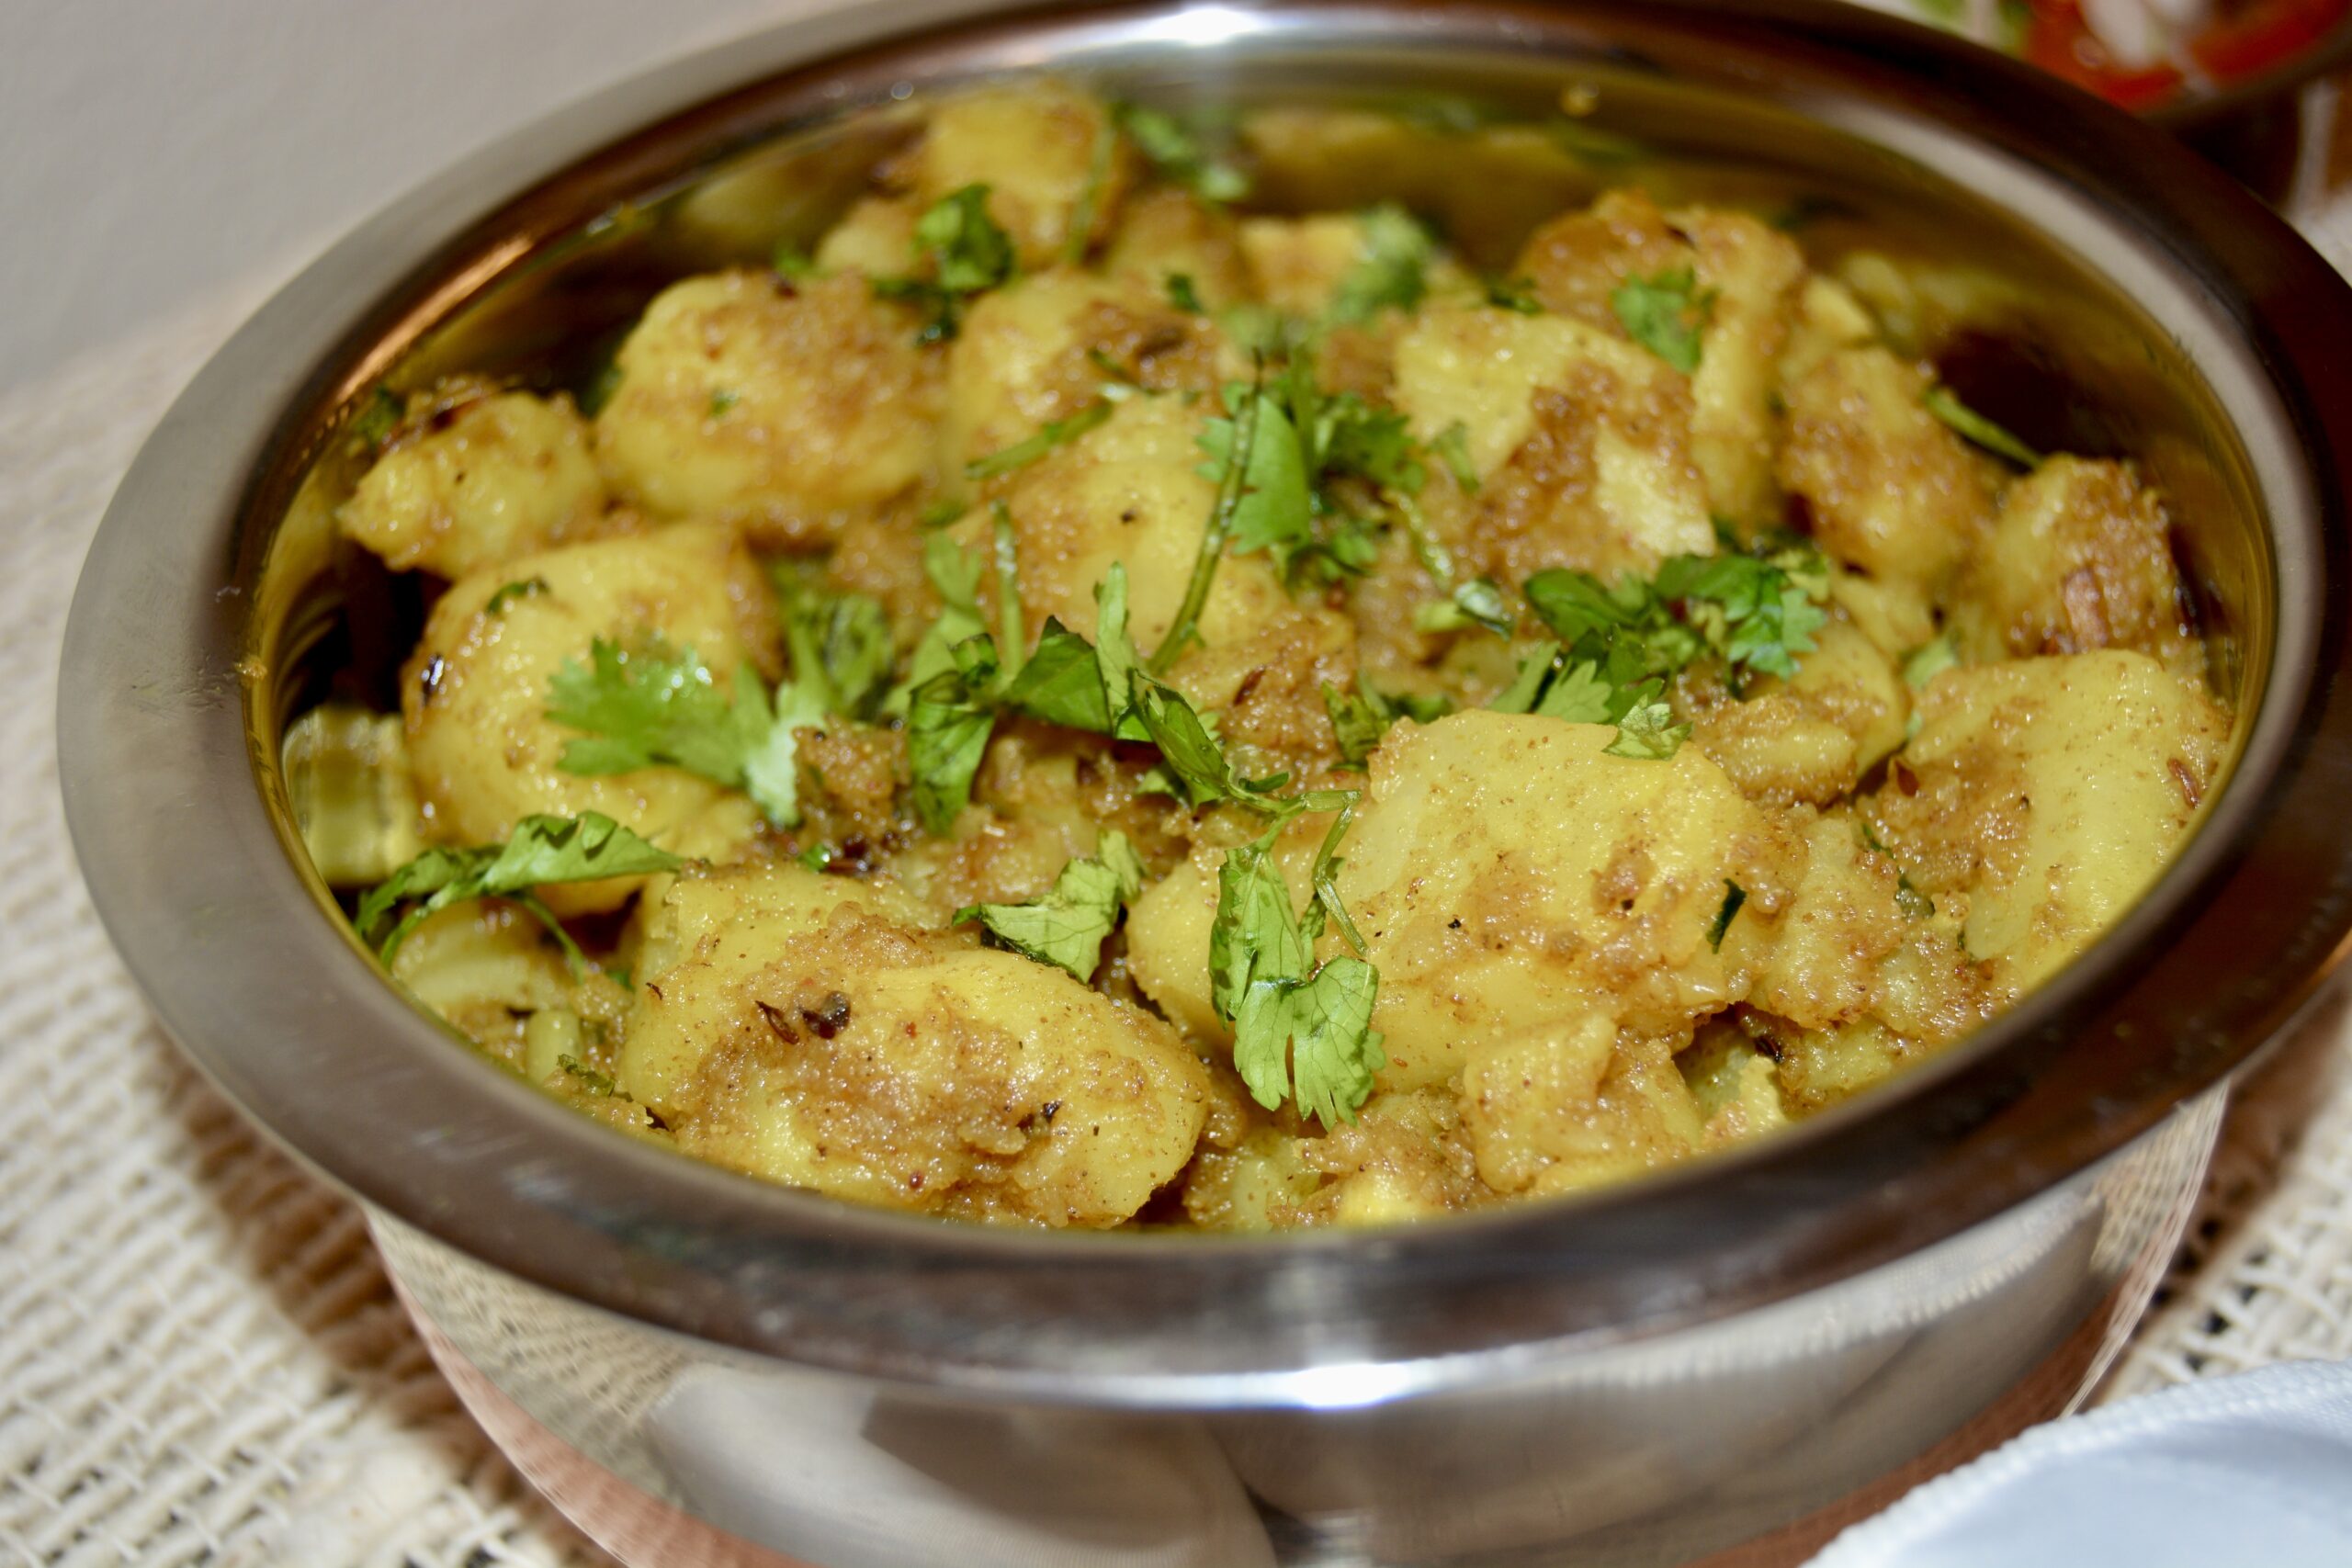
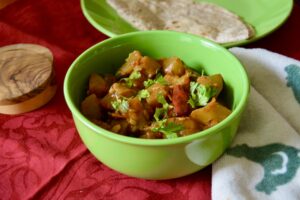
Taridar Mattar Allu is a vegetarian, North Indian dish that is delicious with dals, rice, and rotis!
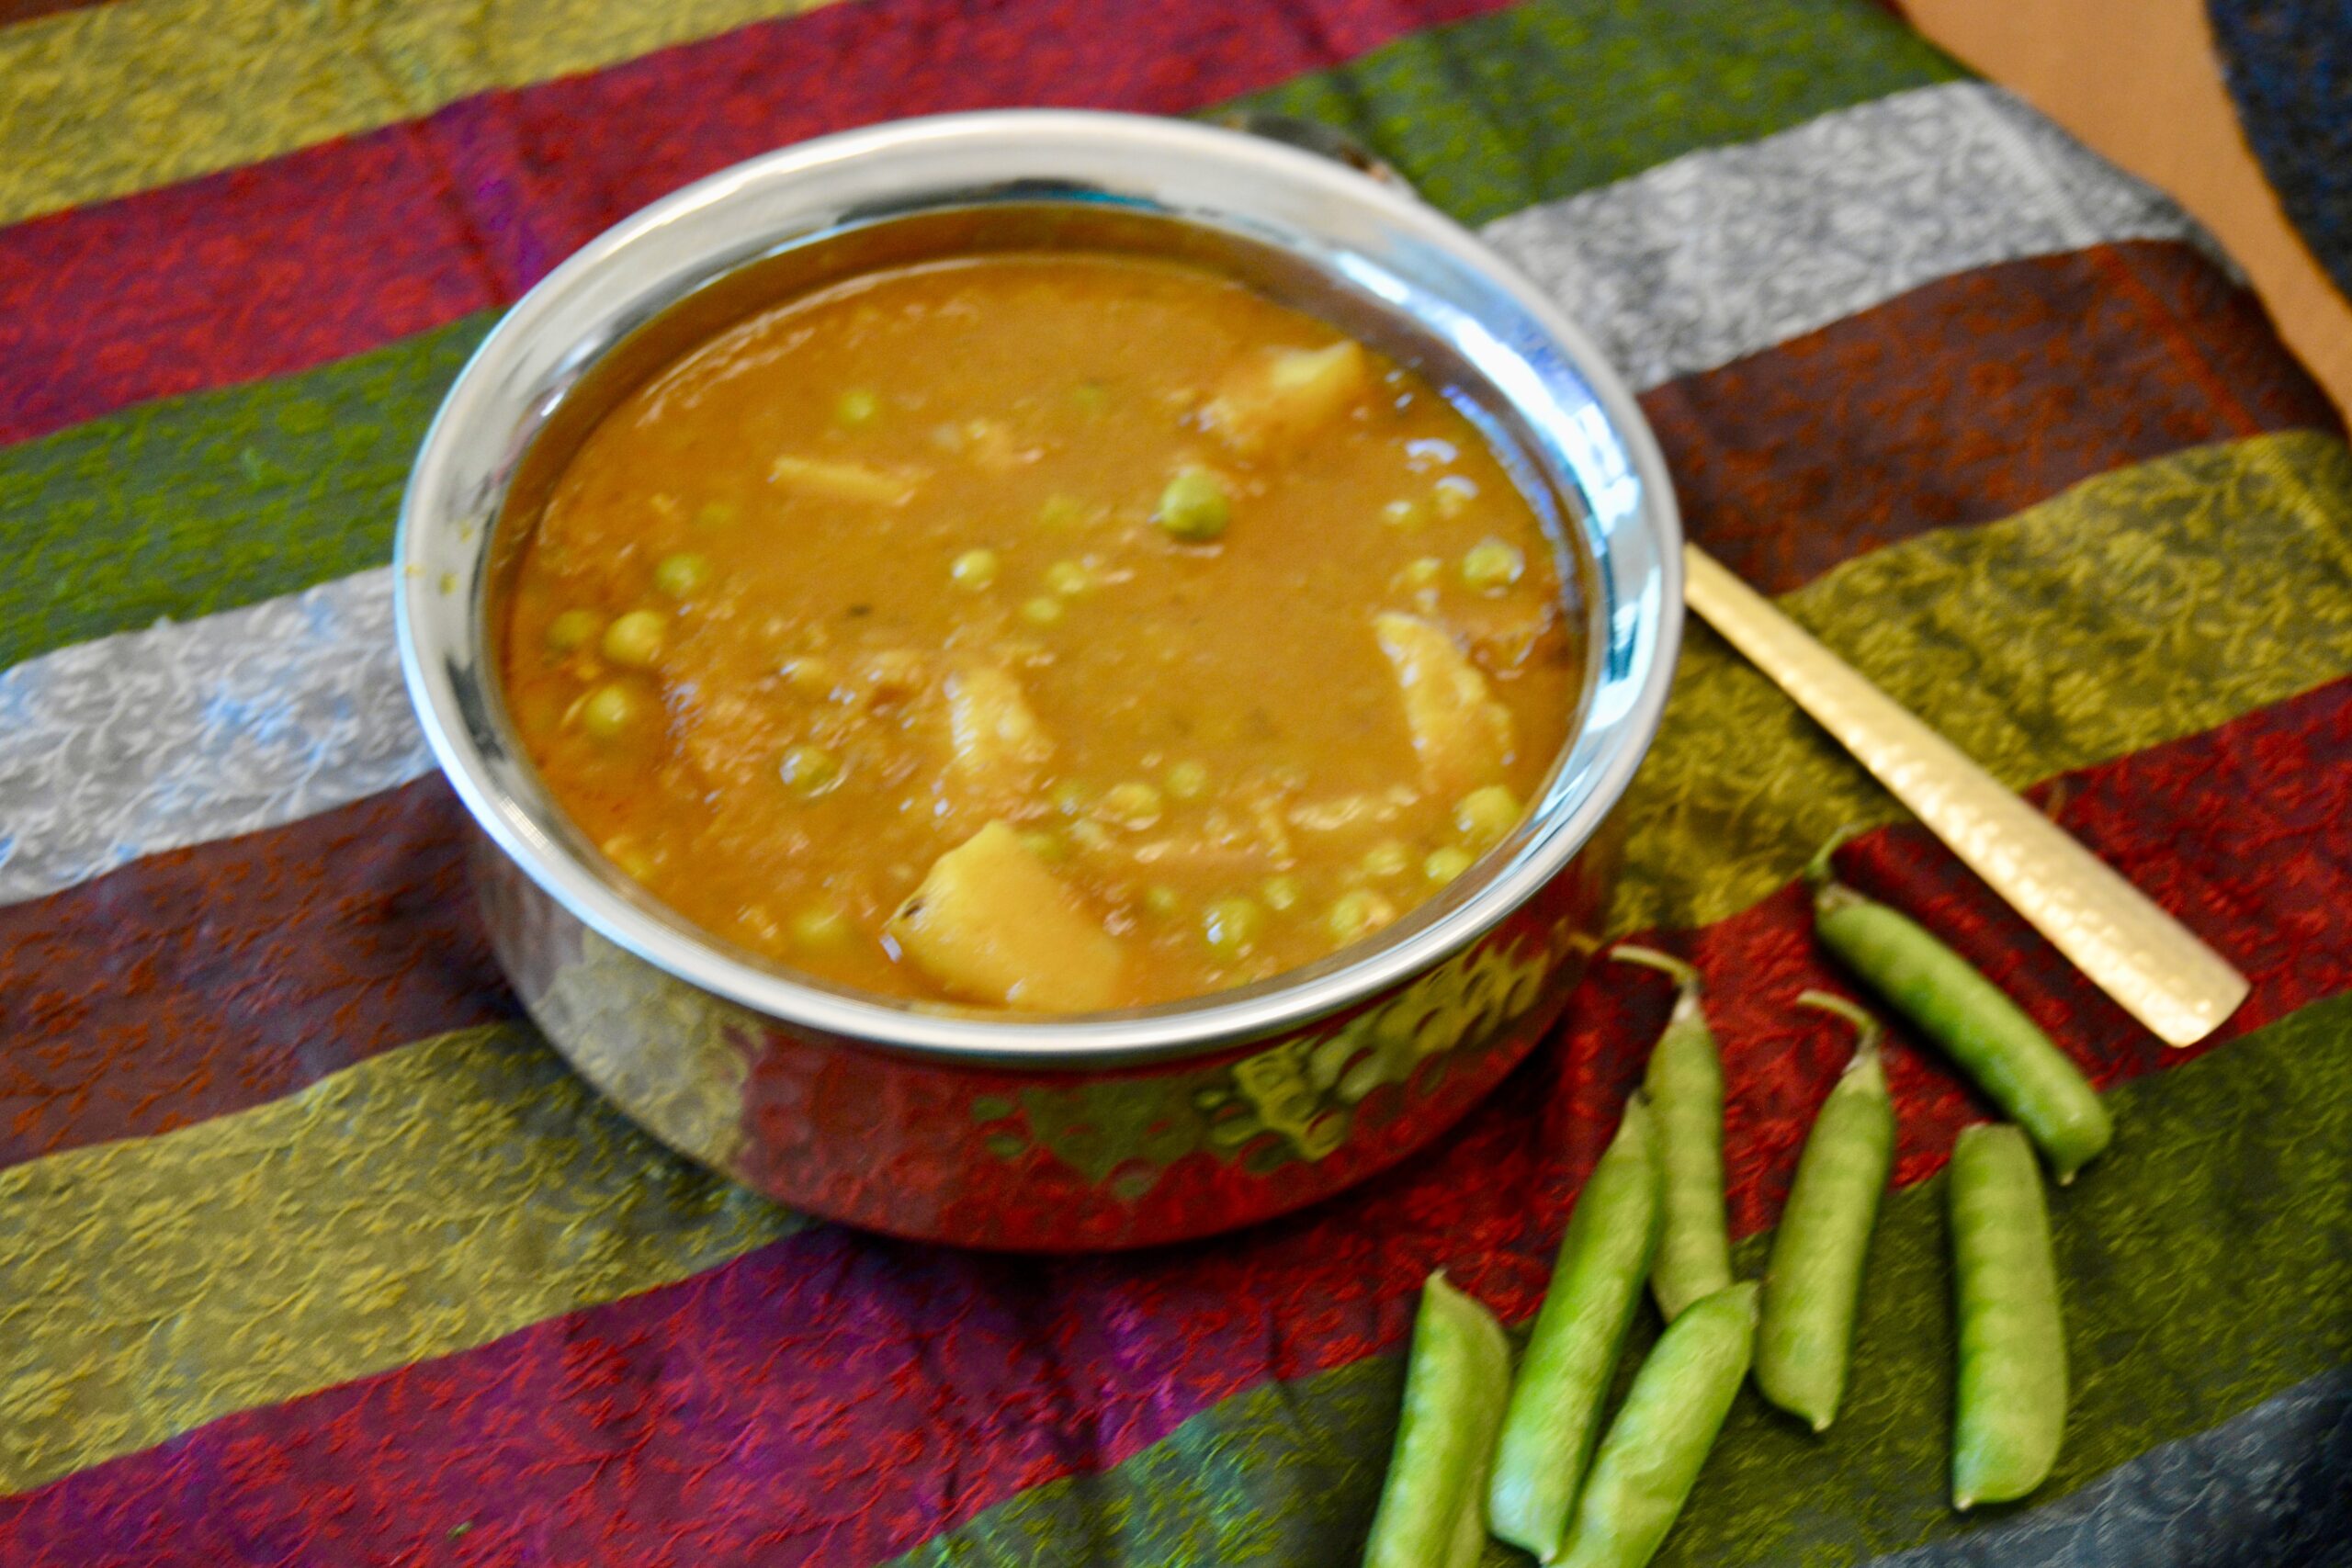
Taridar Mattar Allu (Peas and Potato Curry)
Ingredients
- 1 cup fresh or frozen peas
- 3 medium potatoes
- 2 bay leaves
- 1 stick cinnamon (1 inch stick)
- 2 green cardamoms
- 4 peppercorns
- 4 cloves
- 1 medium Serano chili, slit (to taste, or optional )
- ¾ cup yellow onion (diced finely)
- 1 tbsp ginger-garlic (paste)
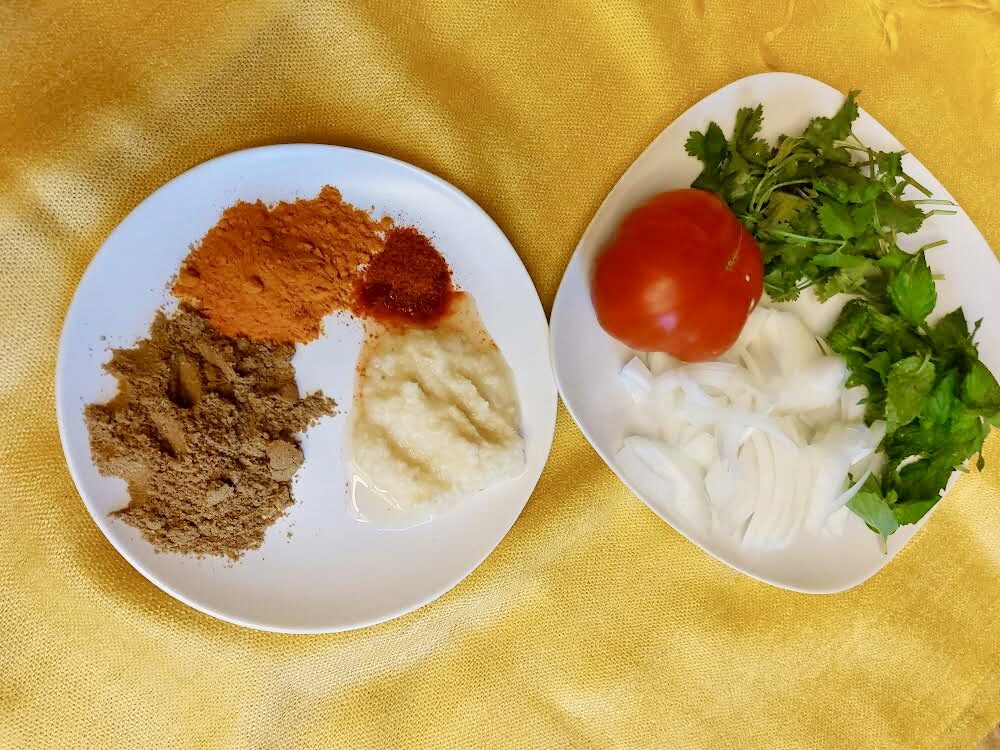
- ¼ tsp turmeric powder
- ¼ tsp cayenne pepper (to taste, or optional)
- 1 tsp cumin powder
- 2 tsp coriander powder
- 2 medium tomatoes
- 3 tbsp cooking oil
- 1 tsp salt (or to taste)
- 3 cups water
- 2 tbsp fresh cilantro (coriander leaves) (chopped finely)
Instructions
- Scrub, peel, and quarter the potatoes. Place them in a bowl of water so that they don't brown.
- Heat your oil in a heavy-bottomed pan on medium heat.
- Add the bay leaves, cinnamon, cardamom, peppercorns, and cloves. Let splutter for 30 seconds, and then add the finely diced onions.
- Sauté on medium-high heat until onions turn golden—approximately 7-8 minutes.
- Add the ginger-garlic paste and sauté for 2 minutes. The ginger tends to stick at the bottom, so be sure to stir it well.
- Now add the turmeric, cayenne, cumin, and coriander powder. Sauté for a minute, stirring well.
- Now add the chopped tomatoes. Cook the tomatoes for approximately 4-5 minutes until the oil rises to the surface.
- Now add your peas and potatoes. Give it a few stirs before adding your water and salt. Stir the pot. Bring the water to a boil.
- Cover and cook on medium till the potatoes are cooked—approximately 15-20 minutes.
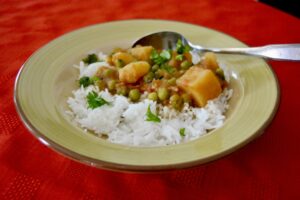
- Pour into a serving bowl and garnish with the chopped cilantro. Serve with boiled rice, pilaf, flat or fried Indian bread, tortillas, or pita bread.
Notes

")


")
")