Tag

Slider

Browsing

It is the month of February. A good month to visit India. We are on a quick visit to my husband’s brother and family. It is worth the long plane ride to see them again.

The windows are open, and there is a cool breeze passing through the second-story flat. I am up early despite the late night of catching up with each other. I sit, feet curled up on the sofa, reading the newspaper while the sweeper mops the floor. I watch fascinated as she squats on her haunches and runs the old towel she uses as a mop over the marble floor. She does that all the way across the room without getting up to stretch herself. The mop bucket is moved along with her as she keeps dipping and wringing the towel before scrubbing the floor again.

In India, dusting, sweeping, and mopping the floors are a daily affair. Everything smells fresh and clean. The sweeper turns the ceiling fan on full blast. I grab the newspaper before it flies away and weigh it down with a cushion. I wait until the floor dries, then walk across to the kitchen to see what the cook is fixing my nephew for brunch before he leaves for work.

Cook is a thin slip of a girl, barely up to my shoulders but with the energy of a hurricane. I watch as she puts together all the ingredients, questioning her as she goes along. I am out of practice speaking the local dialect, but amazingly she understands me!

I write the ingredients down, and later back home I use it as a quick snack or breakfast pancake! Since it is made from chickpea flour, it is high in protein and very filling.
 

Besan Cheela (Chickpea Flour Savory Pan Cakes)

Prep Time 20 minutes
Cook Time 16 minutes
Total Time 36 minutes
Servings 2
A quick snack or breakfast pancake! Made from chickpea flour, it is high in protein, very filling, and great before your morning workout!

Ingredients

  • 1 cup chickpea flour
  • ¼ small yellow onion or shallot (chopped fine)
  • 1 small tomato (chopped fine)
  • 1 green chili (optional) (chopped fine)
  • ¾ tsp ajwain (caraway seeds)
  • ¼ tsp cumin seeds (slightly crushed)
  • 1 tbsp green cilantro (chopped)
  • ¾ tsp salt (or to taste)
  • ¼ tsp chili powder (or to taste)
  • ½ cup water (more or less to reach pancake batter consistency)
  • ¾ tbsp cooking oil

Instructions 

  • Add the chickpea flour, turmeric, chili powder, cumin powder, salt, caraway, and cumin seeds in a small deep bowl.
  • Add water, whisking slowly until you get a smooth pancake-like batter.
  • Set aside for 15 minutes.
  • After 15 minutes, stir and add the chopped onions, tomatoes, green chili, and cilantro. Mix well. Make sure you get a nice flowing consistency, not too thin or too thick.
  • Heat a nonstick griddle or broad frying pan over medium heat.
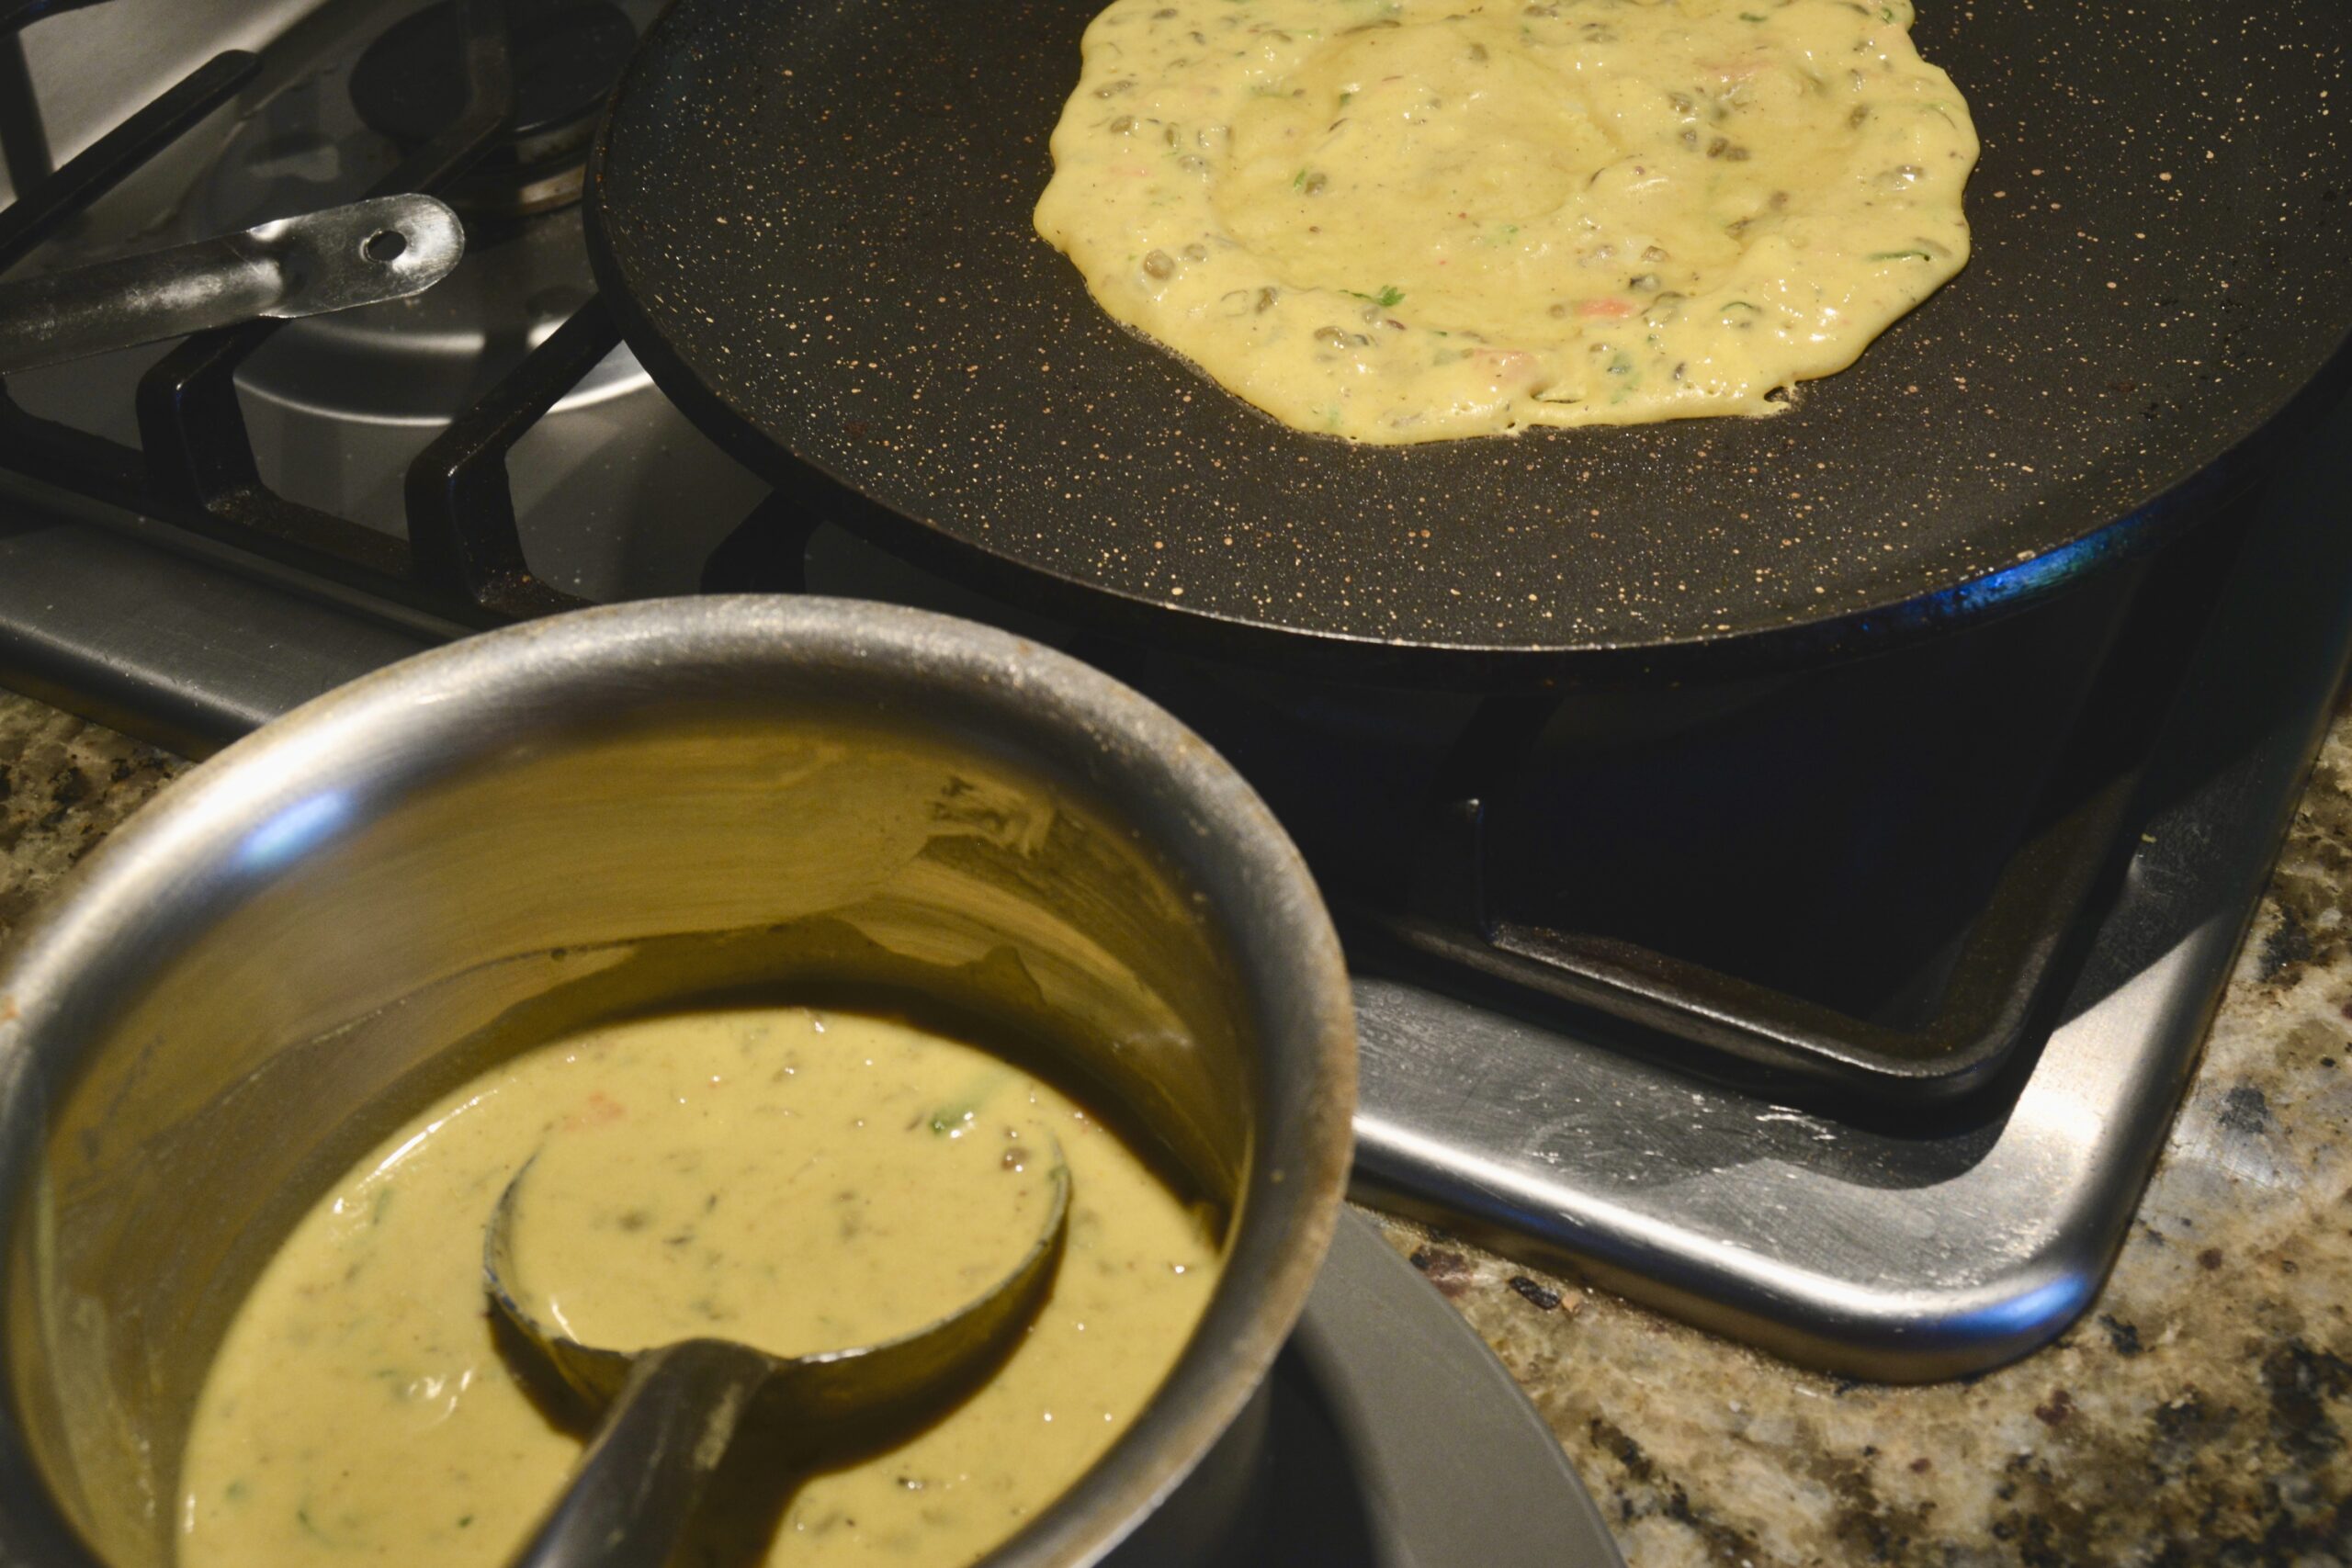
  • Pour a ladle full or half a cup full of batter onto the hot griddle. Spread the batter around the pan in a quick circular motion with the back of a round metal to form a nice even pancake.
  • Let cook for 2-3 minutes until the surface of the cheela starts to darken. Pour a teaspoonful of oil over and around the cheela. If you are not using a tava that has a natural slope to the center, pick up the pan and swirl the oil around a bit.
  • When the edges start to brown, flip the cheela over and cook the other side the same way. If the pan seems too hot, lower the heat a bit.
  • The pancakes should be well cooked with brown flecks. Lift with a spatula and place on a serving plate. I add a dollop of butter as it adds to the taste. You could also fold it in half before serving.       
  • Serve hot with any spicy chutney, tomato sauce, or salsa. I also like it with humus.
Notes

You can also add finely chopped or grated raw vegetables to the mix.
I sometimes like to add 1/4 cup of fresh or dried kasturi methi (ready-made dried fenugreek leaves).
For added protein, I will sometimes add a beaten egg.  
To change things around I will add a half cup of leftover dal to the besan flour along with some chopped onions, green chilies (to taste), and cilantro. Just make sure the consistency is like pancake batter.
Enjoy!
Course: Breakfast, Side Dish
Cuisine: Indian
Keyword: besan cheela, chickpea flour

Indians, especially those from the northern plains of Punjab, love their white butter and ghee. It is generally fixed at home. The process involves churning fresh cream gathered over several days. The churning separates the water content, and pure butter is extracted. Some of this is melted down to obtain ghee.
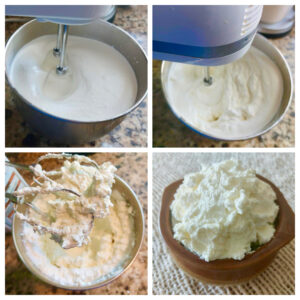
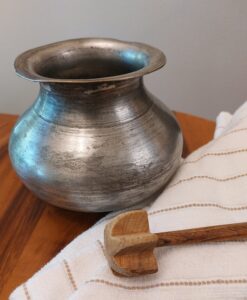
I loved to churn the butter the old-fashioned way before the mechanical churners and blenders came along. All you needed was a clay pot (matki) or a metal pot for a churn and a wooden churner (mathni/ madhani). The churner stick was a round stick about a foot long, and at the end was a round-pronged wooden disc.

Fresh raw milk delivered by the milkman (doodhwala) was boiled, and the cream was gathered for several days. It was thick cream, and though refrigerated, you had to be careful it did not turn rancid before you churned it. A little curd would be added to the cream the night before to curdle it.

The cream would be poured into the churning pot and half-filled with cold or iced water. Then, placing your palms on opposite sides of the churner stick, you would maintain a steady sliding, back-and-forth motion to churn the soured cream.

Some pots came with a lid to prevent the liquid from splashing, but you could always cover a portion of the top with a dishcloth to prevent that from happening. It took a while, and you needed strong arms and patience to do it, but after a while, the cream would get thicker and thicker.

The fascinating part for me was to see the little blobs of butter start to separate from the whey and clump together. A few ice cubes added would help separate the whey further. When the butter was separated, you reached into the pot to skim the butter out with your fingers and poured it into a strainer or cheesecloth to drain the excess liquid.

A quick rinse with cold water and then gently squeeze the butter blob between your palms to remove more liquid before placing it in a dish. Your homemade white butter was ready for use. If my mother-in-law were around, she would ensure I rubbed the residual butter on my fingers over my palms and arms. She called it a home beauty treatment! Of course, I washed it off before I started smelling rancid!!

This unsalted homemade white butter, or safed makhan, tastes so good on fresh rotis, parathas, and bread. It is also made into pure ghee.

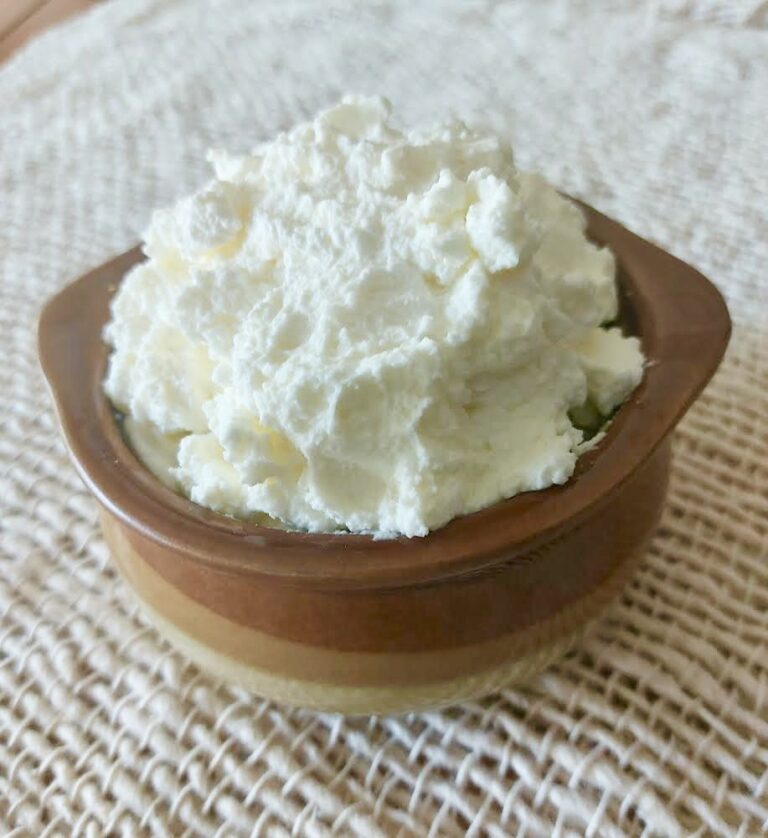
Milk bought in containers at the grocery stores is pasteurized and homogenized, so you do not get that thick layer of cream you get from boiling and cooling raw milk. I use whipping cream to fix white butter even though it has a lighter texture than the ones I made back home with the clotted cream I got from boiling the fresh raw milk. I have also melted this to fix ghee, but it takes longer to melt down, so I prefer unsalted butter.

Safed Makhan (White Butter)

Prep Time 5 minutes
Cook Time 10 minutes
Total Time 15 minutes
Servings 16
A delicious, unsalted homemade white butter that tastes so good on fresh rotis, parathas, bread, and more!

Ingredients

  • 1 8 oz heavy whipping cream

Instructions 

  • Pour the cream into a chilled deep bowl.
  • Whip the cream on low speed for about 3 minutes until it thickens.
  • Now, beat it on medium speed for another 8 minutes until it clumps together and forms butter.
  • Pour into a dish, preferably with a lid.
  • Tilt the dish and drain any residual whey. You get very little.
  • Keep refrigerated.

Notes

The butter should last about ten days in the refrigerator if pasteurized. Do a smell test to make sure it has not turned rancid! When I fix the butter from a heavy whipping cream, I melt it into ghee after 4-5 days to keep it safe.


If clotted cream is available at your grocery store, you could whip it up into white butter and then melt it down into ghee.  
Course: Side Dish
Cuisine: American, French, Indian
Keyword: butter, clotted cream, cream

It is 3.30 in the morning, and I quietly let myself out of the door so that I won’t wake the sleeping household. It is a freezing winter’s day in New Delhi, and I tug my long black uniform coat snugly around me. The airline transport that just drove up will transport several of us who live in the area to the airline bus depot. We will wait until the other vehicles arrive, and then we will be shuttled to the airport in time for the 5:00 a.m. shift.

We arrive at the bus depot with half an hour to spare. The dhabba that serves at the canteen for the folks who work there is open. Several of us make our way to it. A cup of hot chai is just what we need to warm and wake us up. The owner is ready for us. He has been down this route every morning with the different groups on the morning shift. “Chai?” he asks. We nod, breathing in the wonderful aroma.

He pours out the hot tea simmering on the chula (mud stove) into the kulhars (handleless terra cotta cup). I watch, fascinated, as he froths the tea by pouring it from one kulhar to the other, keeping about 2 feet of distance between the two kulhars. Surprisingly, he doesn’t lose a drop. He hands me a kulhar. My frozen fingers around the warm kulhar with the steaming hot tea soon warms me up. I am now awake and ready to welcome the incoming passengers and aircraft.

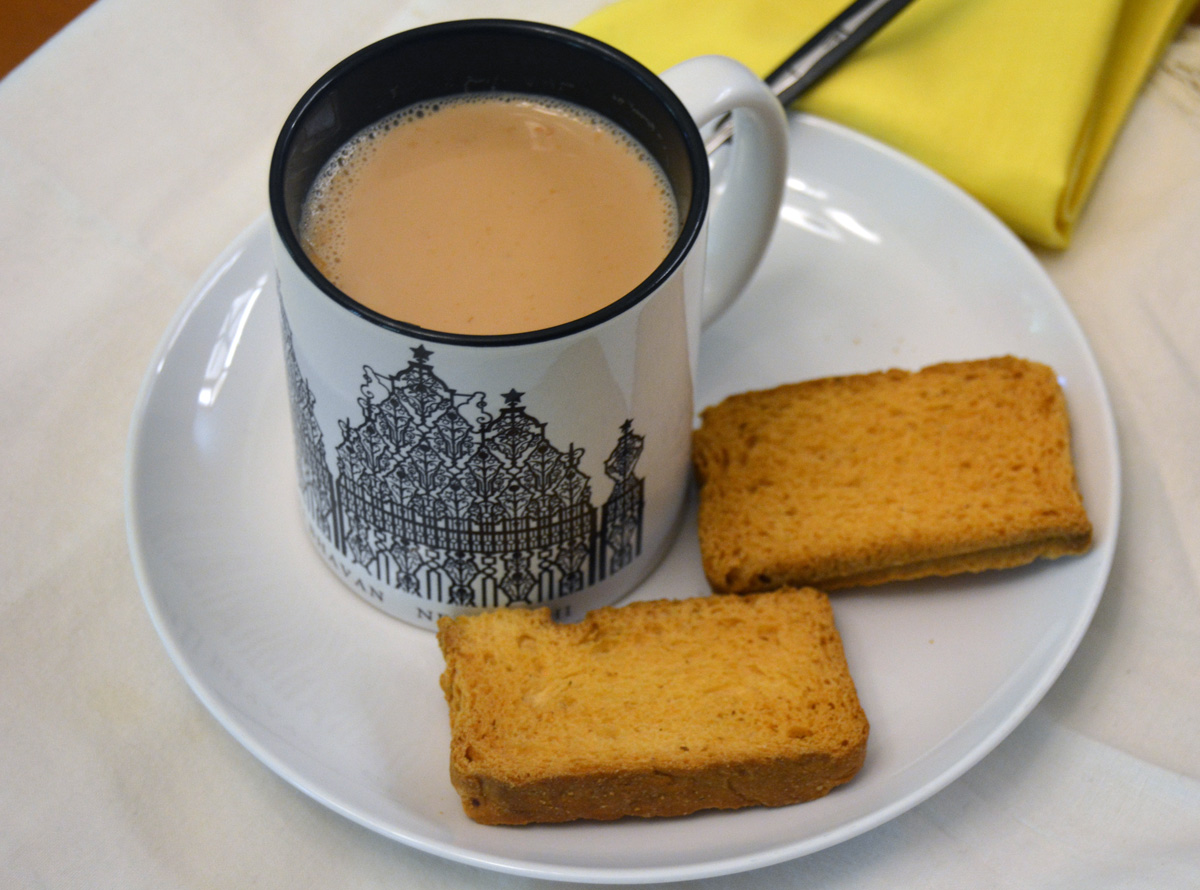
Real Chai has to be aromatic, sweet, and milky, but you can adjust it according to your taste.

Chai: Indian Aromatic Tea

Prep Time 5 minutes
Cook Time 15 minutes
Total Time 20 minutes
Servings 2 servings
Calories 90
The authentic Indian tea classic. While real Chai has to be aromatic, sweet and milky, you can adjust this recipe according to your taste.

Ingredients

  • 2 cups whole milk (you can also use low fat if you are watching calories, or a vegan milk substitute)
  • 1 cup water
  • 2 tsp sugar (white or brown, according to your taste)
  • 2 teabags black tea (or 2 teaspoons of loose black tealeaves)
  • 2 green cardamom
  • 1/4 tsp cinnamon powder
  • 1/4 tsp clove powder

Instructions 

  • Crush the cardamom with a rolling pin. The top shell should come off easily. Bow crush the seeds as best you can. It does not have to be absolutely smooth.
  • Put all ingredients in a small pot and bring to boil. Lower heat and simmer for 3-4 minutes while you do a taste test. Add more spice accordingly. 
  • Pour into cups and sprinkle a bit of cinnamon or grate a little nutmeg on top.
  • Enjoy!

Notes

Some do not like the taste of crushed cardamom in their mouth while drinking chai. In that case, you can strain the chai and then serve it. Most Indians do not mind the cardamon as it serves as a breath freshener!
Milks: If you are lactose intolerant or vegan, you can use oat milk instead, or another vegan milk substitute. The flavour will be different but still delicious! If you're watching calorie intake, you can also use a low-fat or non-fat milk instead of whole milk.
 
Calories: 90kcal
Course: Drinks
Cuisine: Indian
Keyword: Tea

Indian Airlines Photo by Sean D’Silva
Kulhar Photo by Inspo on Unsplash

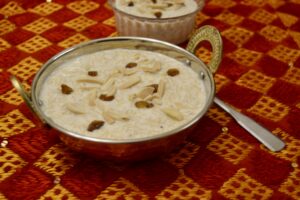
My neighbor has sent over some Seviyan Kheer she has fixed for Eid-al-Fitr, one of the biggest Muslim festivals. It marks the end of the holy month of Ramadan, a time of fasting and prayer. Celebrating religious festivals was special in India due to the diversity of faiths. It was common for neighbors to share the sweets prepared to celebrate their festivals, irrespective of religion. This was especially so in smaller towns than big cities.


Seviyan, is made out of roasted vermicelli, milk, sugar, plums, cardamom, and almonds. It is a quick fix and a dish most Indians like to make as a dessert. There is also Sweet Seviyan, a dish that does not involve milk.

Seviyan Kheer (Vermicelli Pudding)

Cook Time 35 minutes
Total Time 45 minutes
Seviyan is a delicious dessert made from roasted vermicelli,milk, sugar, plums, cardamom, and almonds.

Instructions 

  • Break the roasted seviyan into several bits.
  • Heat a heavy-bottomed large saucepan on medium heat and add the tablespoon of butter and the seviyan. Stir for about 1 minute.
  • Pour it onto a plate and set aside.
  • Return the pan to the stove, and on medium heat, add the milk and bring it to a boil—about 10 minutes.
  • Once it boils, reduce the heat to medium-low.
  • Add the crushed cardamom and let it simmer uncovered for about 15 minutes until the milk is reduced slightly. Stir often, scraping the sides and bottom to avoid the milk sticking and burning.
  • Add the roasted vermicelli and let it cook for about 2 minutes.
  • Add the sugar and stir to dissolve. About 3 minutes.
  • Do a taste test and add more sugar if desired.
  • Add almonds, golden raisins, cardamom powder, and kewra drops.
  • Simmer for another 5 minutes,stirring gently, until the pudding mix is creamy.
  • Pour into a serving dish and garnish with reserved almonds and raisins.
  • You can serve Seviyan warm or chilled.

Notes

1. If you cannot get roasted vermicelli, you can roast it yourself. Add 2 teaspoons of ghee or unsalted butter into the pan and roast the vermicelli for 3-4 minutes on medium heat till golden. Be careful not to burn. Remove from pan and set aside. Now add your milk to the pan and follow the rest of the instructions.
2. Seviyan kheer will thicken as it cools and get a film on top. If you plan to serve it chilled, cover it with cling wrap and keep it in the refrigerator. When ready to serve, mix it well. You can add some heavy cream or half-and-half to thin it out if it is too thick. It should have the consistency of porridge. You can then pour it into a serving bowl or individual bowls and garnish it.
3. Tip: When using a stainless steel pot to boil milk, rinse it with water first, as the milk tends to form a quick film at the bottom that tends to burn.
Course: Dessert
Cuisine: Indian
Keyword: dessert, kheer, pudding, seviyan, vermicelli

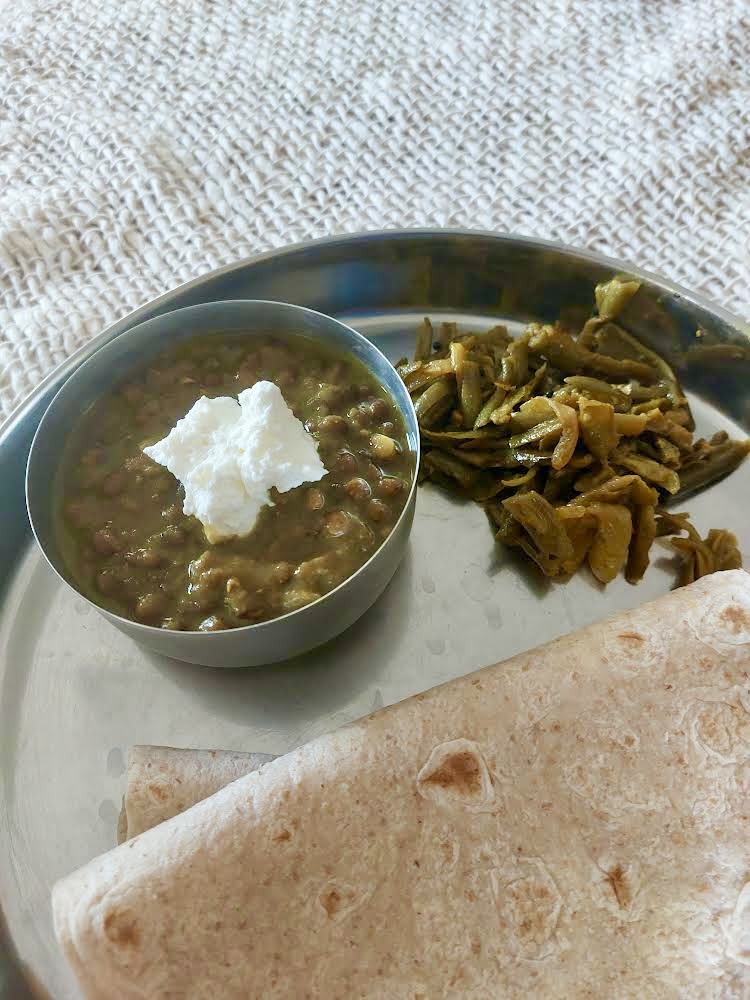
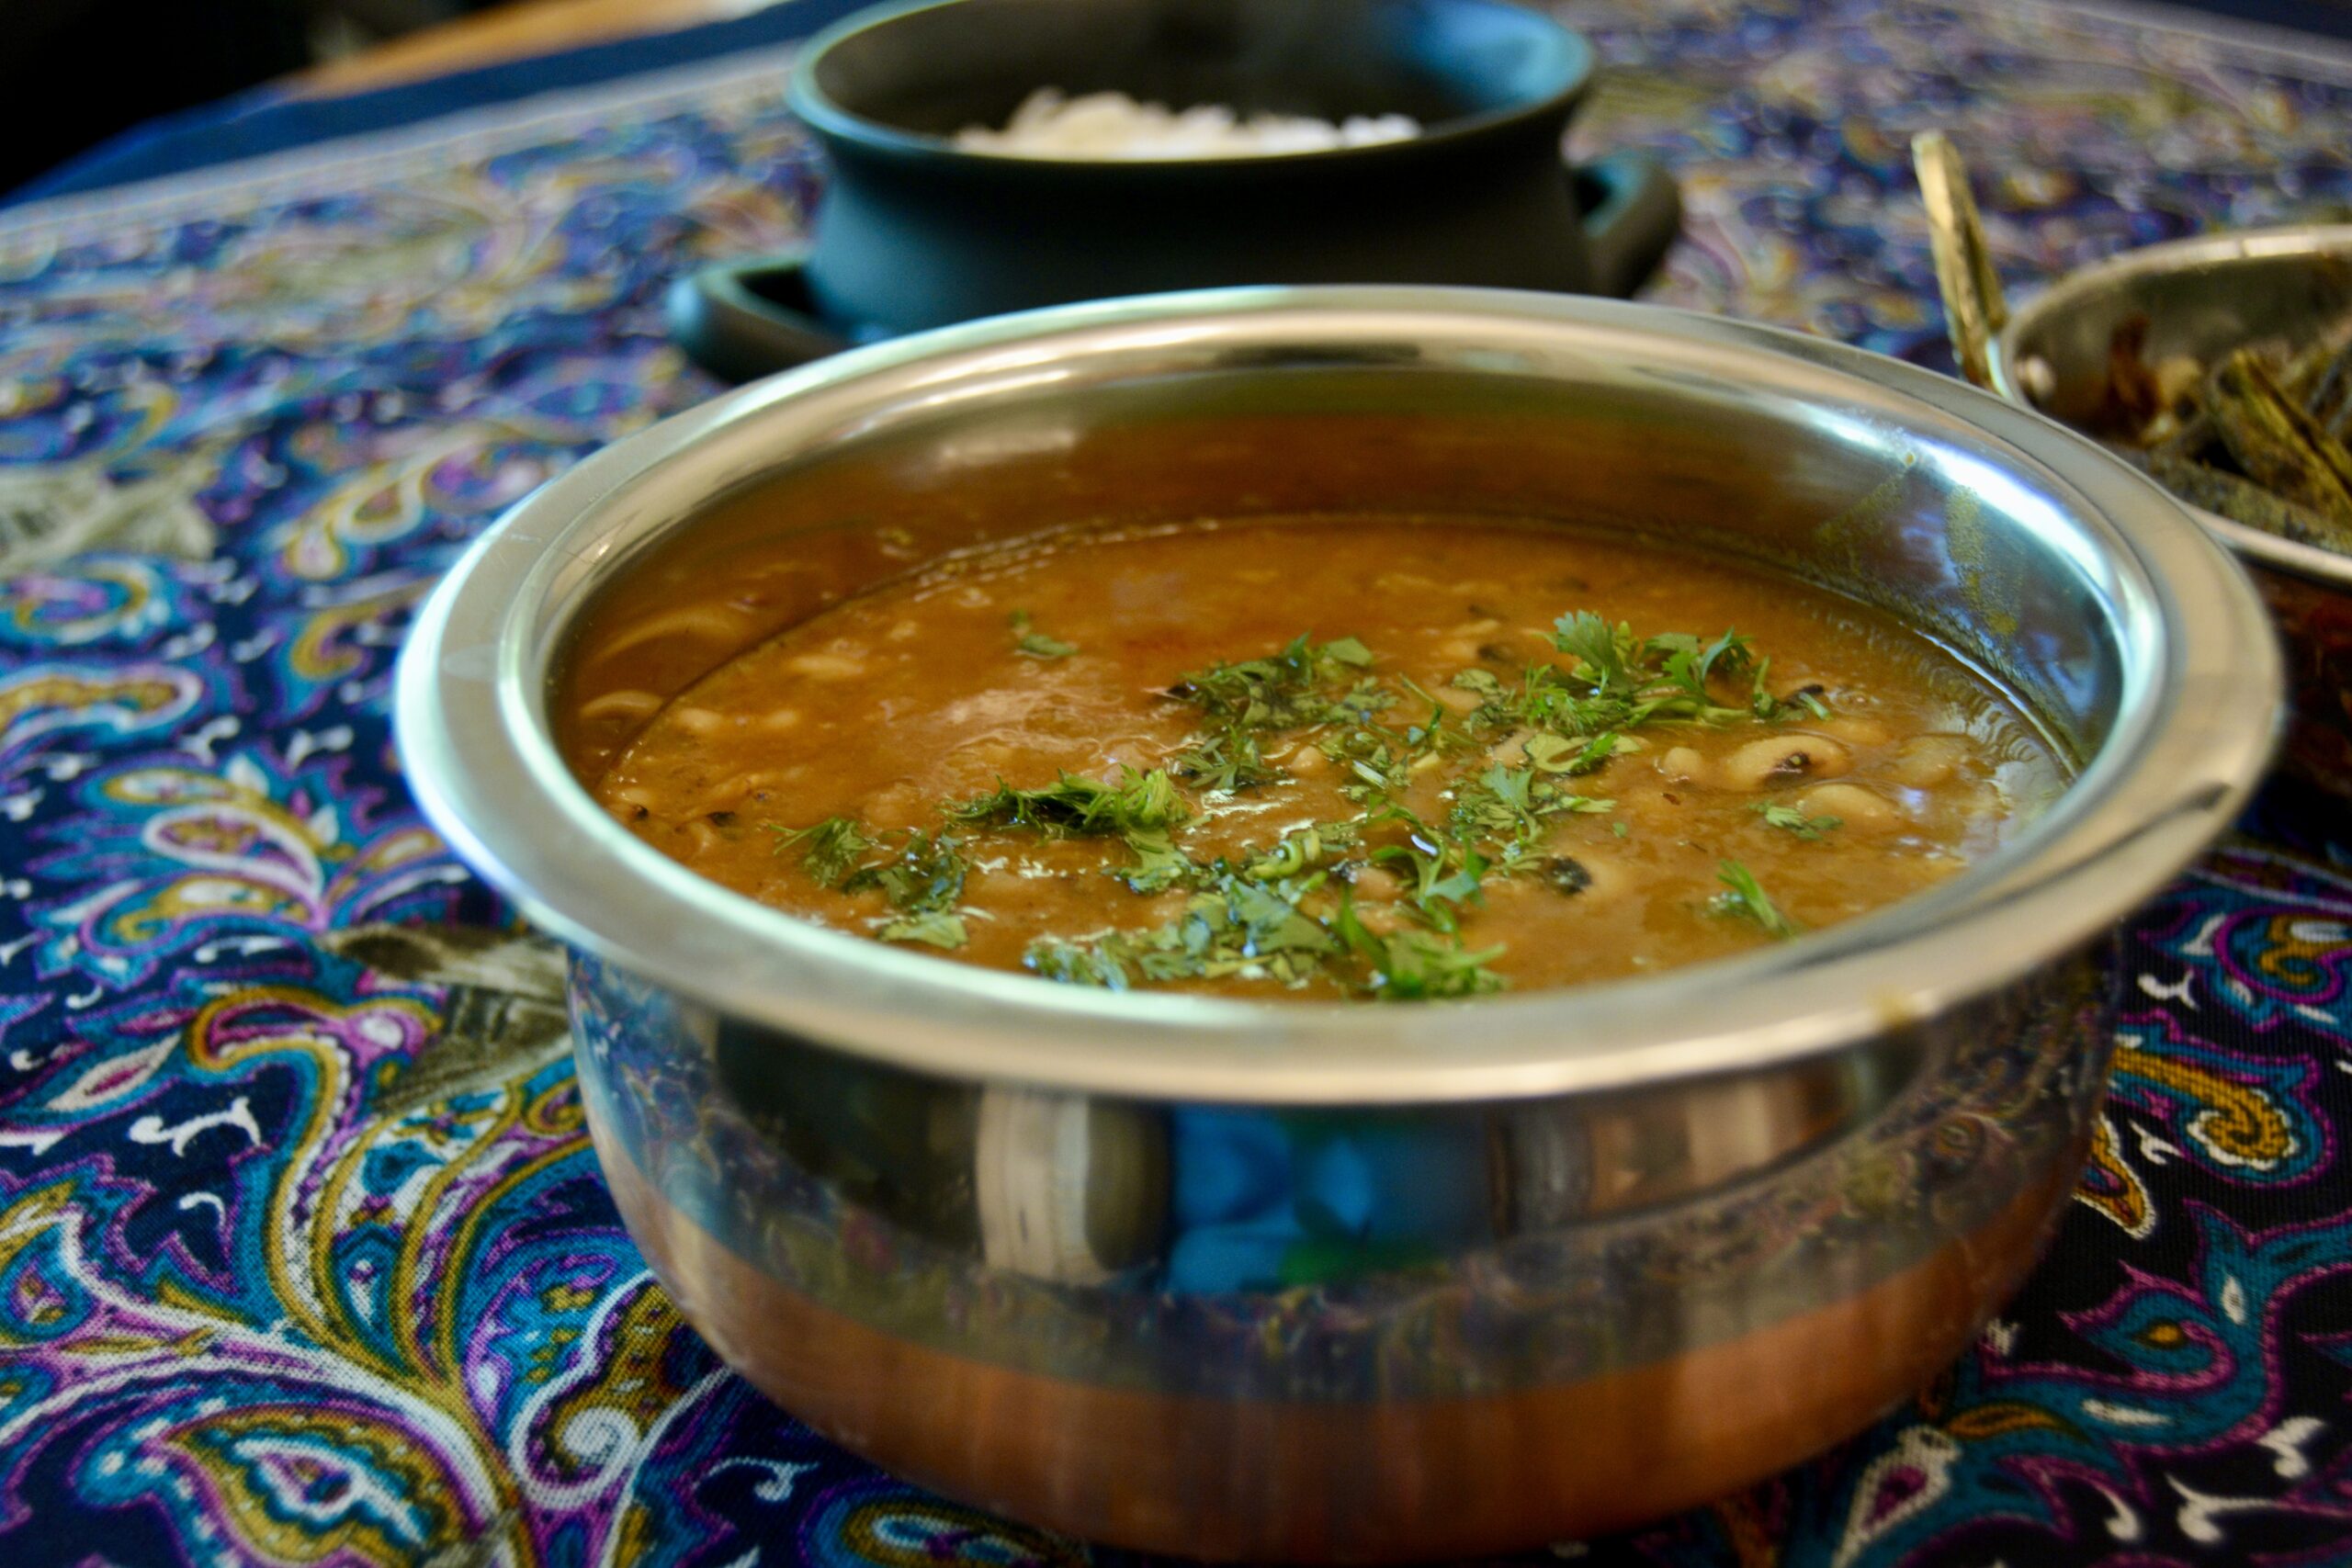
Our second-youngest sibling is a picky eater. Not only that, she takes forever to finish her food! I recall a day when we sat chatting around the dining table. Aunt Dolly was visiting. She watched while my sister ate a banana. Finally, she said, “For goodness sake, finish that thing, you have taken 45 minutes already!” We all laughed at her exasperation! Today, I am fixing her lobia curry, one of the few lentils she enjoys.

Lobia Lentil Curry (Black-Eyed Peas)

Prep Time 15 minutes
Cook Time 1 hour
Total Time 1 hour 15 minutes
A delicious lentil curry made with black-eyed peas simmered in a tomato spicy sauce.

Ingredients

  • 2 cups dried black-eyed peas
  • tbsp cooking oil
  • 2 medium onions (peeled and chopped very fine)
  • 1 medium green Serrano chili (optional)
  • 2 tbsp tomato paste ( or 1 8 oz can tomato sauce)
  • 1 tbsp fresh ginger paste (or bottled)
  • 1 tbsp fresh garlic paste (or bottled)
  • 1 tsp cumin powder
  • ½ tsp tumeric powder
  • ¼ tsp red chili powder (more or less, according to your taste)
  • 4-6 cups water (or more, depending on the amount of gravy you want)
  • 2 tbsp chopped cilantro (fresh coriander leaves, for garnish)

Whole Spices

  • 1 large black cardamom ( )
  • 2 bay leaves
  • 2-3 cloves
  • 4 peppercorns

Instructions 

To Prepare

  • Pick and clean the black-eyed peas of any grit. Rinse well 4 times. Cover with 5 cups of water and soak overnight. When ready to cook, rinse through a sieve. 

To Cook

  • Heat oil in  4-6 quart cooking pot over medium heat. Add the whole spices, wait 30 seconds, stirring once or twice, and then add the onions. Sauté till ¾ brown, about 5-8 minutes.
  • Add the rest of the masala, garlic, and ginger. You can mix these all together with a little water before adding them to the pot. Stir for 2 minutes, scraping the bottom of the pan to ensure the ginger, garlic, and masalas don't stick and burn.  
  • Add the tomatoes and cook for another 2 minutes. Then add the black-eyed peas and water. Cover and cook until tender. Approximately 35-40 mins. If the water starts to dry up during the cooking process, add a little more hot water.
  • When nearly done, use the back of your ladle to mash some peas against the side of the pot to make a thicker gravy. Cook for another 3-5minutes.
  • Transfer to a serving bowl and garnish with the chopped cilantro. It tastes good with plain boiled rice or any Indian-style pilaf.

Simple Tadka / Tempering

  • A simpler tempering can be done with just:
     1 medium onion chopped,
    1 large tomato chopped
    ½ tsp turmeric
    1 tsp cumin powder  
    Chili powder to your taste.
    Sauté the onions and tomatoes, and then stir in the powders and pour the mixture into the boiled beans.  

Notes

You can boil the beans separately and then add to the onion-masala mix. You can also use canned beans. Rinse them before use. Since they are already cooked, it cuts the cooking time in almost half.
You can also use frozen black-eyed peas which, again, cook faster.
Cook them till they are soft but not mushy.
When using an electric or manual pressure cooker, I suggest  you cook the beans for less than the time indicated in the instruction booklet. When all the pressure is released, remove the lid and then return it to the stove top to simmer it for another 10-15 minutes until the beans are fully cooked, and the gravy has a nice consistency. If you do that, the beans don't end up a gooey mess. Once you start to gauge the cooking time in the pressure cooker,  you will not have to do that.    
Course: Main Course, Side Dish, Soup
Cuisine: Indian
Keyword: lobia, black-eyed peas, lentils

It is the winter holidays, and school is out. Dad is stationed in  Calcutta. Dad and Mom’s social life is pretty hectic. Nanny watches us like a hawk when they are out for cocktails, dinner, or at the club.

Daniel, our cook, is prepping for a pre-Christmas party. Some of us, older siblings, have helped him beat the eggs for the vanilla cake and are fascinated as he slowly places the cake in a large round tin half filled with sand sitting on top of the sigiri (a clay stove fueled with coal).

Daniel tests to see if the sand is hot enough. He then slowly sets the cake pan in the middle of the drum on top of the sand. He then covers it with a fitted lid and places hot coal on top. This way of cooking was the method that Daniel preferred to use to bake our cakes, and they always turned out delicious.

In those days, other than clubs, restaurants, and military dining halls, ovens (other than tandooris) were not widely used in Indian homes since most Indian cuisine did not require it. The local bakeries, schooled under the British Raj with recipes handed down for generations, baked some of the best pastries and cakes I have ever eaten. They would also oblige families by baking any homemade cakes in their ovens upon request—and for a fee, of course!

With time, stovetop and small electric ovens found their way into homes. Baking ovens have now become a necessity in most urban Indian homes.

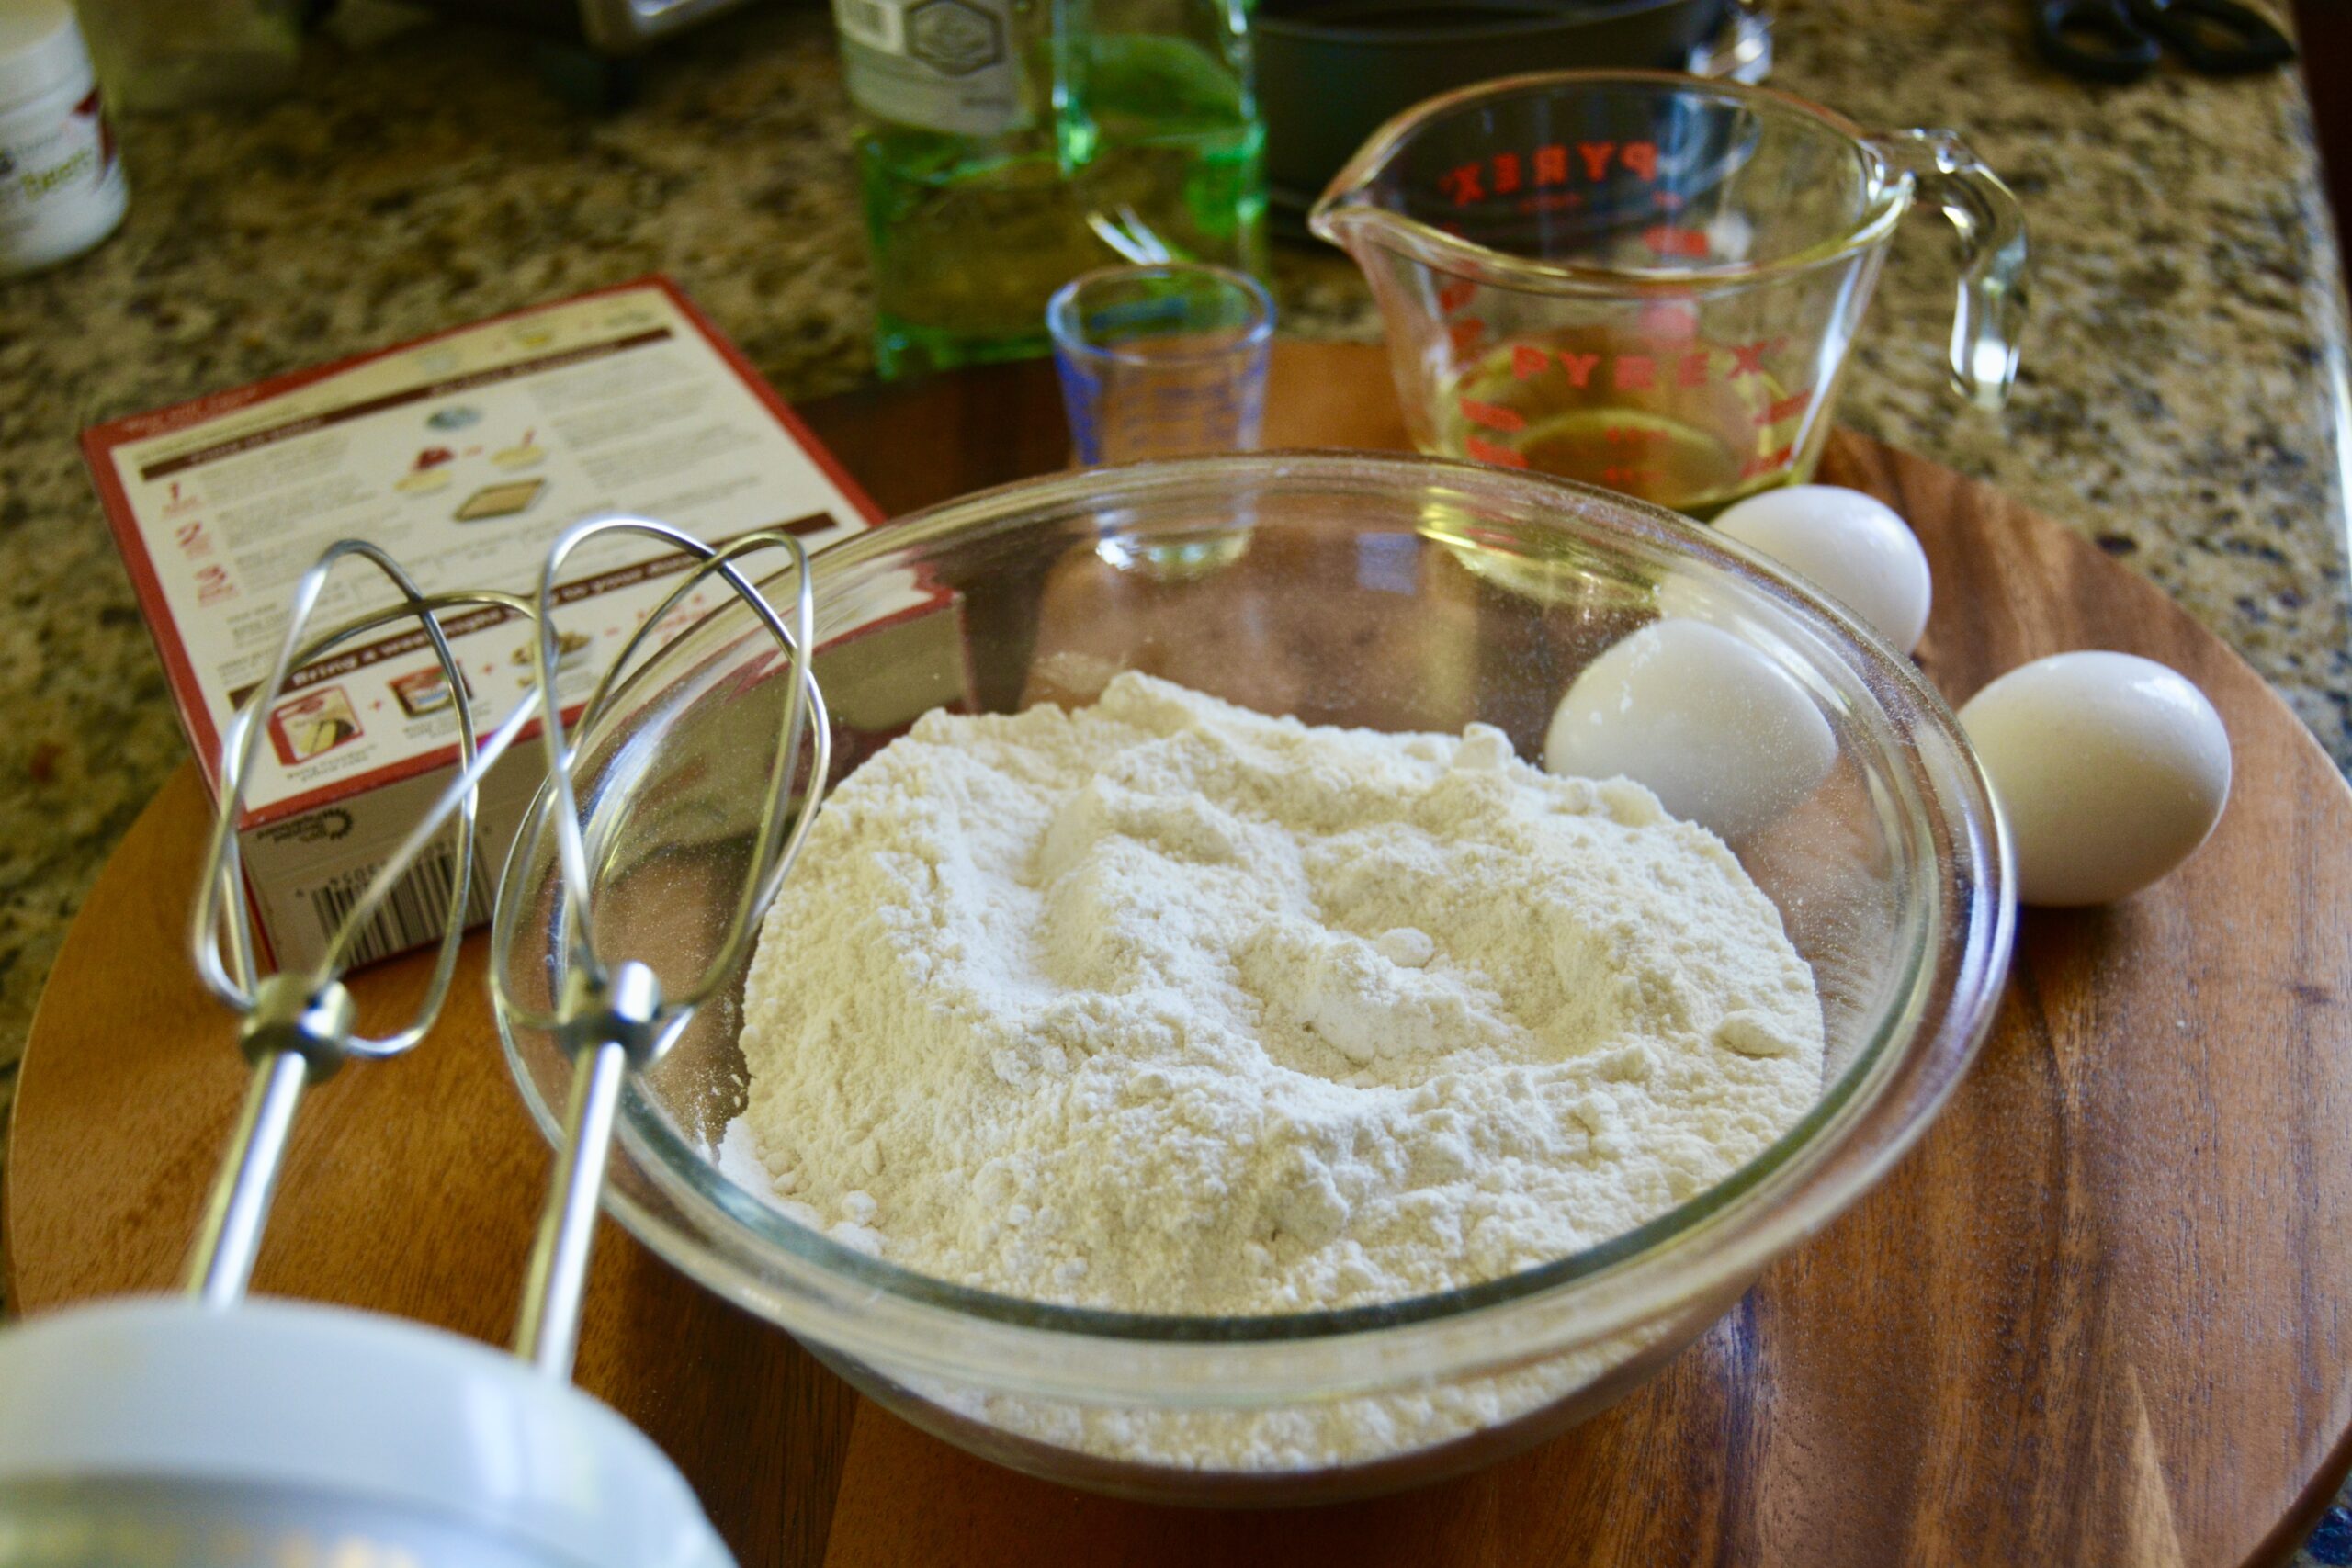
I used to bake cakes from scratch, but when I moved to the US, I  took the easy way out and used packaged cake mixes. The one that I like best is the Super Moist Yellow Cake Mix. My twin was in town one holiday season when I prepared to bake the cake. She suggested I substitute some water with rum and fix a rum cake.

The Rum Cake became a big hit at potlucks, church gatherings, dinners, and as baked gifts to my neighbors for Christmas. Thank you, Twin!

Rum Cake

Prep Time 10 minutes
Cook Time 30 minutes
Total Time 40 minutes
Servings 12
A delicious, festive, super moist yellow cake drizzled with rum!

Ingredients

  • 1 box yellow cake mix (I like Betty Crocker's Super Moist Yellow Cake or Duncan Hines Classic Yellow Deliciously Moist Cake)
  • ½ cup vegetable oil (Please check the instructions on box to see the exact amount of oil needed as it may differ)
  • 3 eggs
  • ¾ cup water
  • ¼ cup rum (Ensure it is an excellent strong rum, white or dark)
  • powdered sugar (for dusting the cake - more or less, per your taste)
  • dash cake sprinkles

Instructions 

Yellow Cake

  • Prepare according to the instructions on the box.
  • Keep an eye on the cake towards the end to ensure it does not dry out. I generally stick a bamboo skewer into it 5 minutes before the bake time. If it comes out clean, I remove it from the oven and allow it to cool.
  • Once cool, dust it with the powdered sugar and decorate the top with sprinkles. 

Notes

Where the recipe on the box indicates adding water, substitute it for ¼ cup of the water with a ¼ cup of rum (I've already done this in the recipe above).
Sometimes, my twin will make a Buttercream frosting or rum drizzle.

Buttercream Frosting

Check Wilton's easy recipe. Click the link here: Best Homemade Vanilla Buttercream Frosting.

Buttercream Rum Drizzle

1 cup Buttercream Frosting
¼ cup rum
Heat the cup of buttercream frosting in a saucepan on low heat. When it starts to bubble, add the rum. Be careful as the rum makes the frosting bubble up.
Stir and drizzle it over the cooled cake.     
When I prepare the drizzle, I take a cup of store-bought frosting and zap it in the microwave for less than a minute. Remove from the microwave, and add the rum. Stir and drizzle the mixture over the cake.
I do prefer the light sugar dusting!
Course: Dessert
Cuisine: American, British
Keyword: Christmas, rum, yellow cake